
Hardware: DSBOX-NX2
OS: JetPack 4.5 (L4T-32.5.0)
In this blog post, we will explain how to move your root file system on EMMC flash to SSD storage on M.2 slot directly. The previous version of this post is here:
https://www.forecr.io/blogs/bsp-development/changing-storage-of-the-root-file-system-emmc-to-m-2-ssd
The advantage of this version is the boot up speed. In the previous version, the file system into the SSD mounted with a service after the file system into the eMMC mounted. This process increases the boot up time. In this post, the file system into the SSD mounted directly without any service. On the other hand, the Jetson module won’t boot up without SSD until the extlinux.conf file changed. To avoid this problem, you can backup your Jetson module before changing the root file system.
First, connect your M.2 compatible storage device to M.2 connector and connect the basic interfaces (Ethernet, HDMI, keyboard, mouse) then power on.
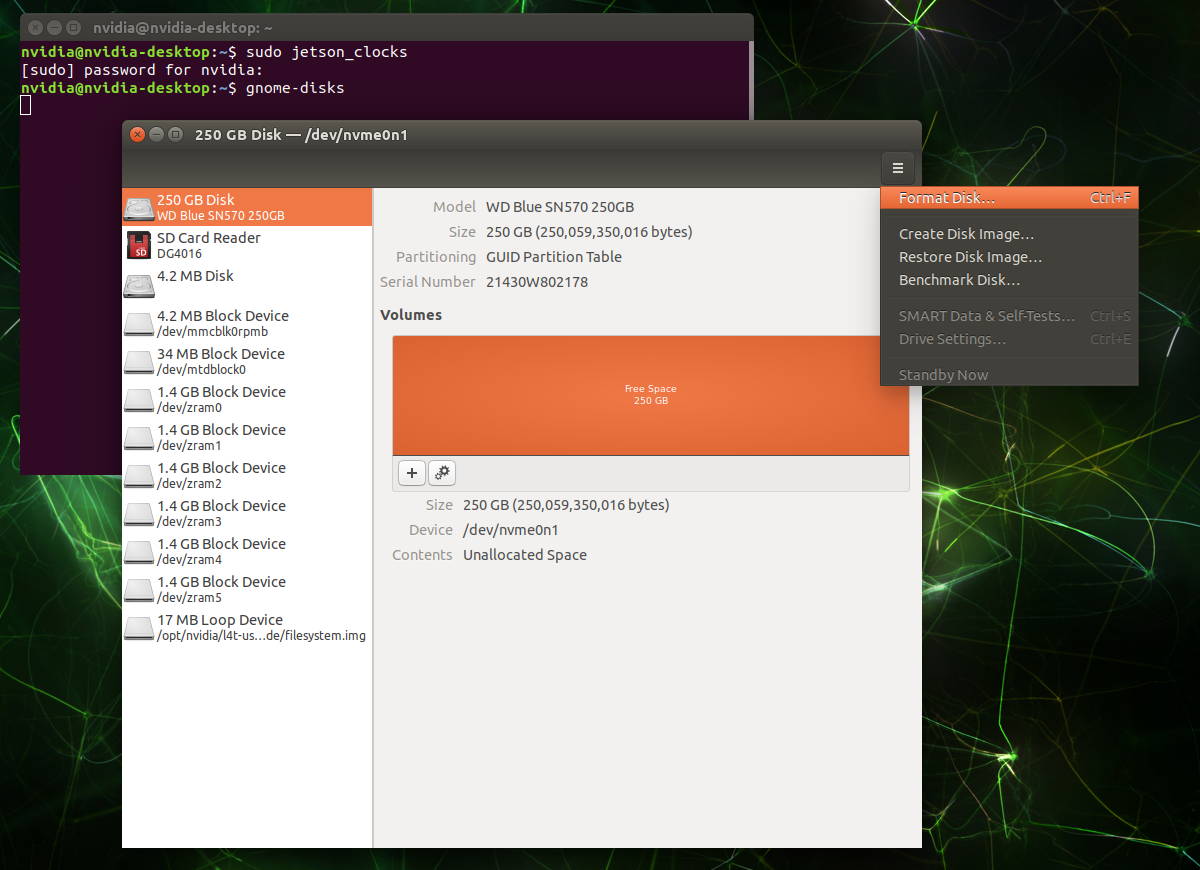
Open a terminal and type these commands below:
sudo jetson_clocks
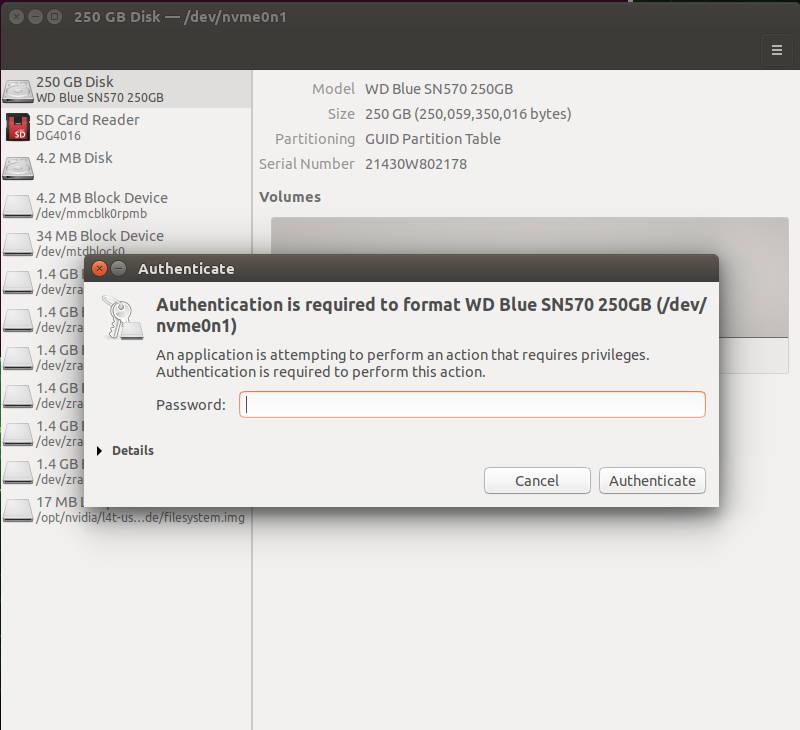
gnome-disks
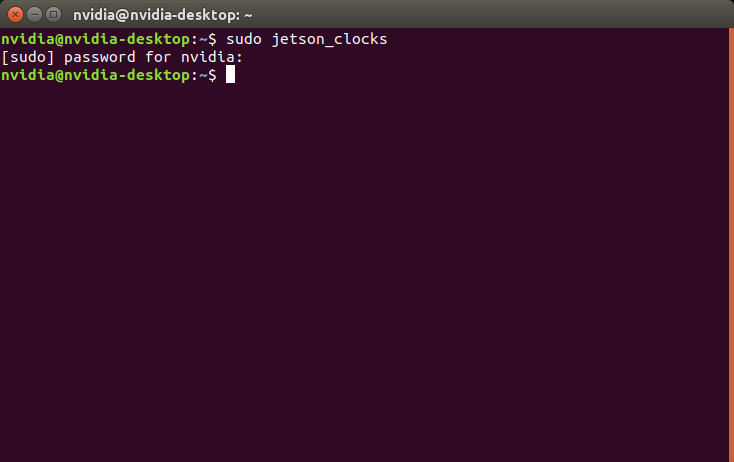
The first command allows the Jetson module’s whole sources to use. The next command opens GNOME Disks application below.

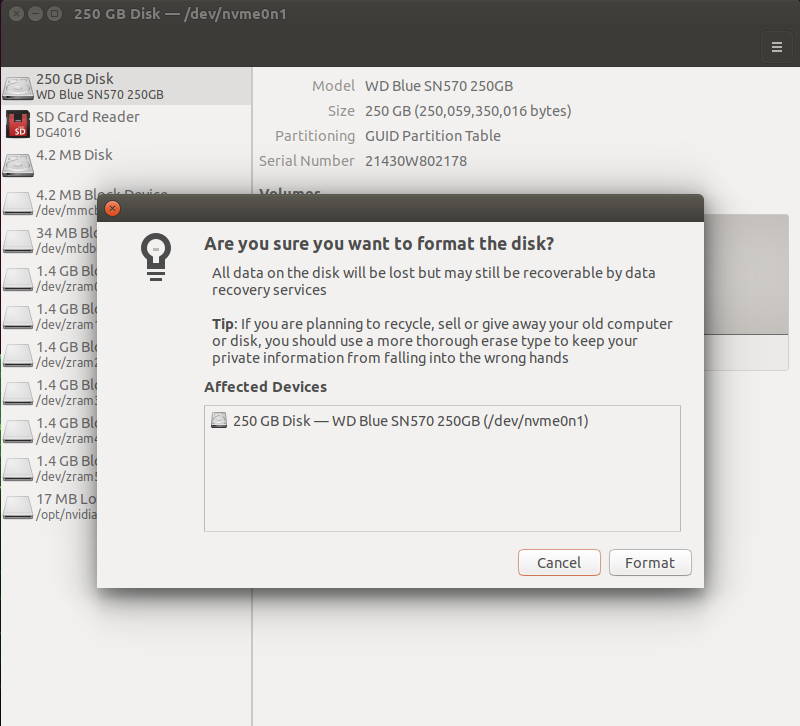
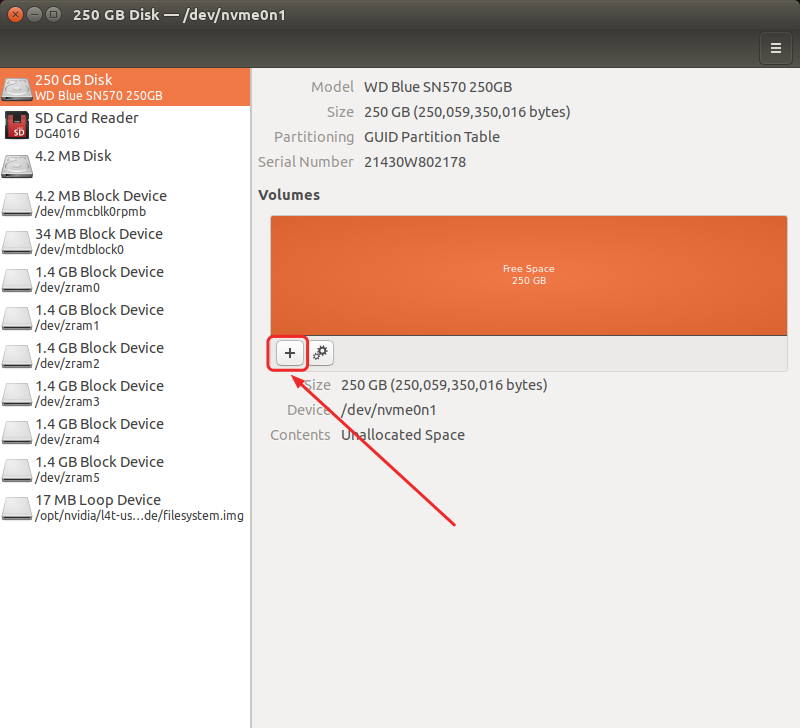
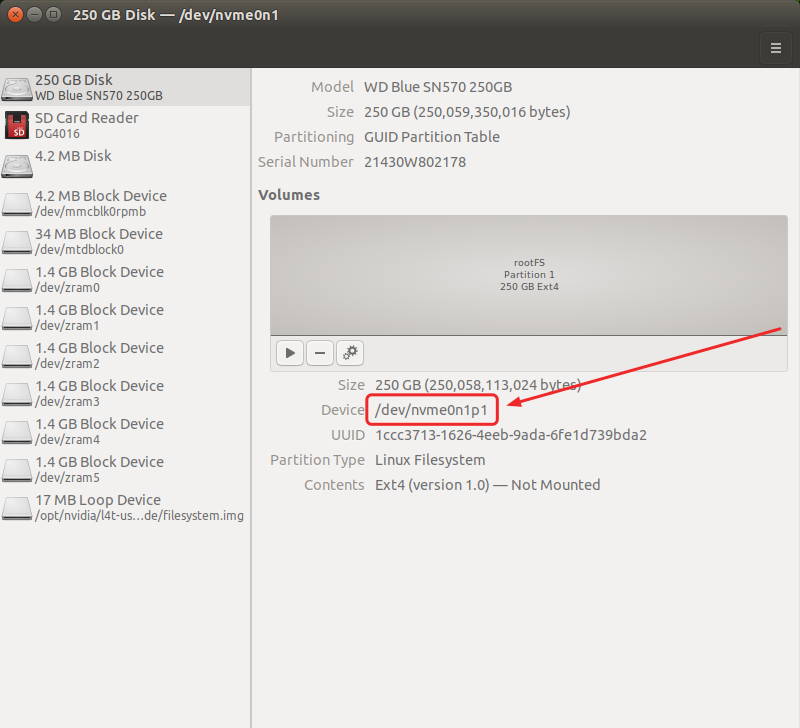
Format the whole disk before creating the storage.
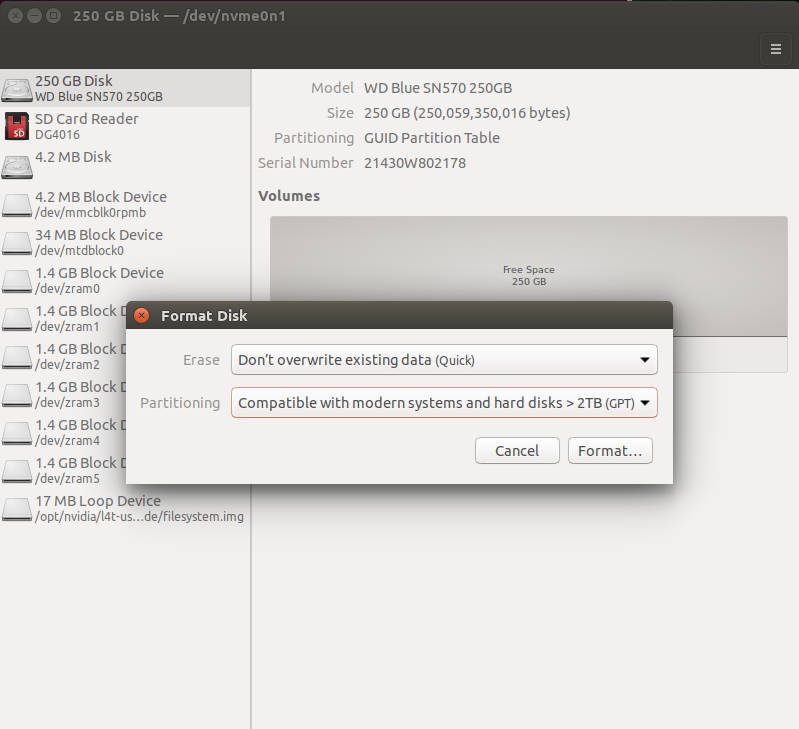
Then, create a new partition from SSD storage.
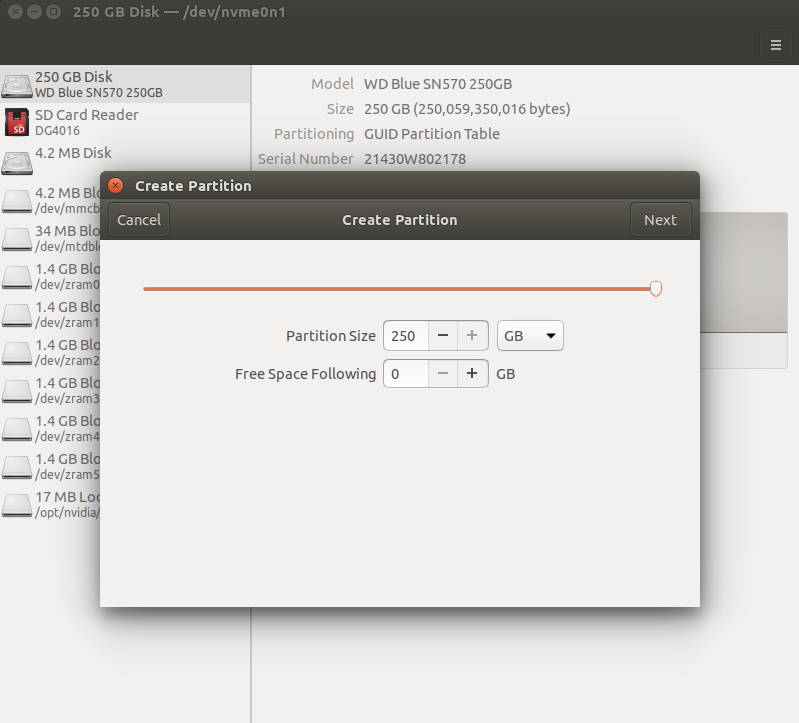
Format the disk as ext4 format (partition size is up to you but must be min current file system’s size).
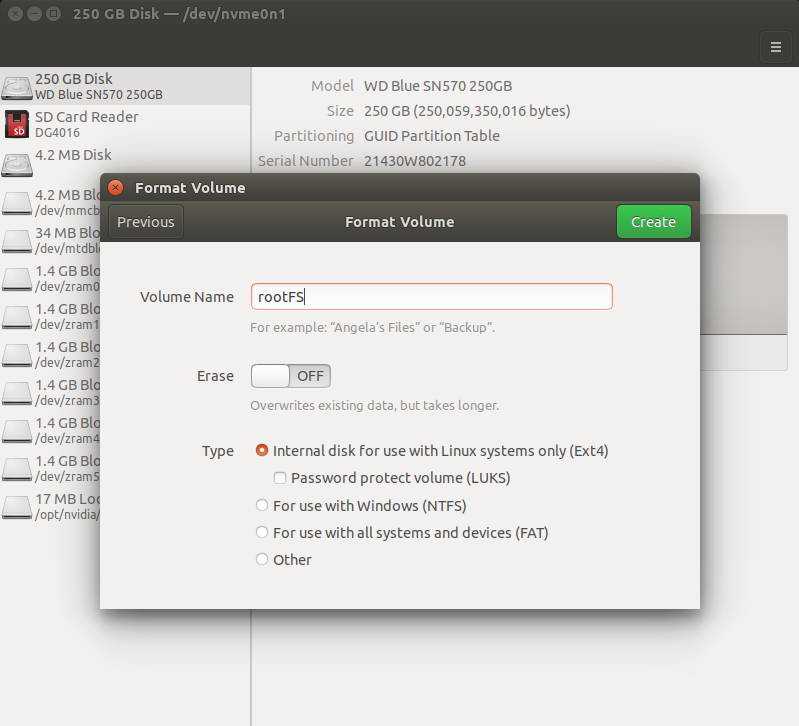
After creating the partition, check it’s name (/dev/nvme0n1p1).
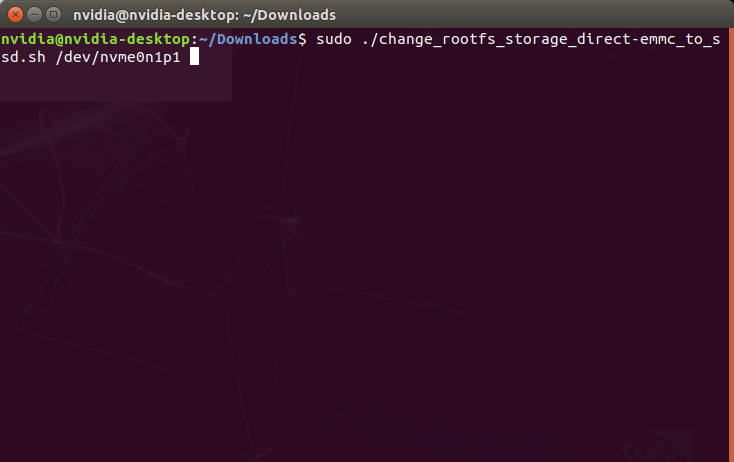
Download the script file from here and extract it. Then, run it with this command below:
sudo ./change_rootfs_storage_direct-emmc_to_ssd.sh {EXTERNAL_STORAGE}
In our setup, we typed this command below:
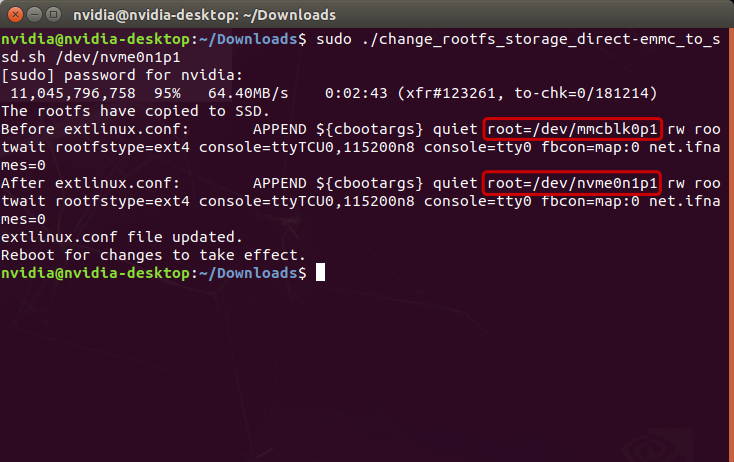
sudo ./change_rootfs_storage_direct-emmc_to_ssd.sh /dev/nvme0n1p1
A few times later, the whole file system copied and the root path changed.
It’s time to reboot the Jetson module. Reboot it and check the Root File System copied successfully.
Open a terminal and type this command to check the root mounted from SSD below:
df -h

After rebooting you can see that the new storage is assigned as root file system.
Thank you for reading our blog post.