
1- The pinout of I/O connector
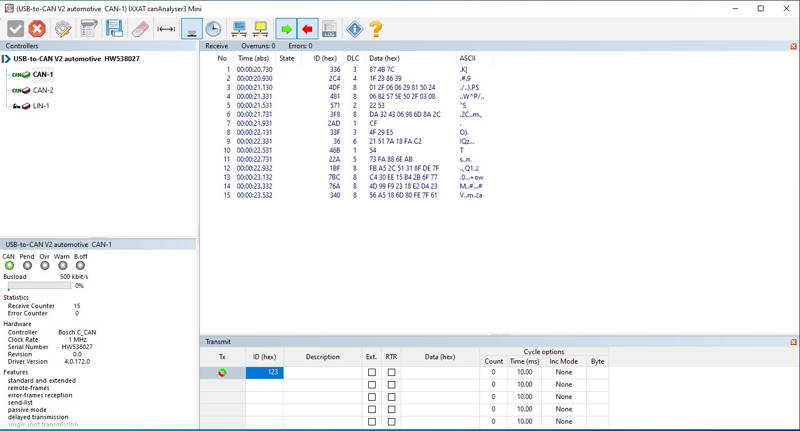
2- Example of an CANBus application
3- Examples of can-utils tools
Hardware: DSBOX-TX2NX
OS: JetPack 4.5.1 (L4T-32.5.1)
This blog post is suitable for:
• NVIDIA Jetson TX2 NX SOM with DSBOARD-NX2 (Rev. 1.1)
• DSBOX-TX2NX
In this blog post, we will test the CANBus interface of DSBOX-TX2NX.

First, let's look at the I/O connector. On the connector, there are 2 pins for CAN Bus and 3 pins for ground.
To test CAN Bus functionality, we used USB-CAN adapter. Connect that adapter to the USB port of the host PC and install its driver software if necessary. To the other side of the adapter connect your device’s CAN pins.
On next step, activate CAN drivers and activate CAN interface with “ip link” command. On host side, be sure that you are using same bitrate with your device.
• sudo modprobe can
• sudo modprobe can-raw
• sudo modprobe mttcan
• sudo ip link set can0 type can bitrate 500000 dbitrate 2000000 berr-reporting on fd on
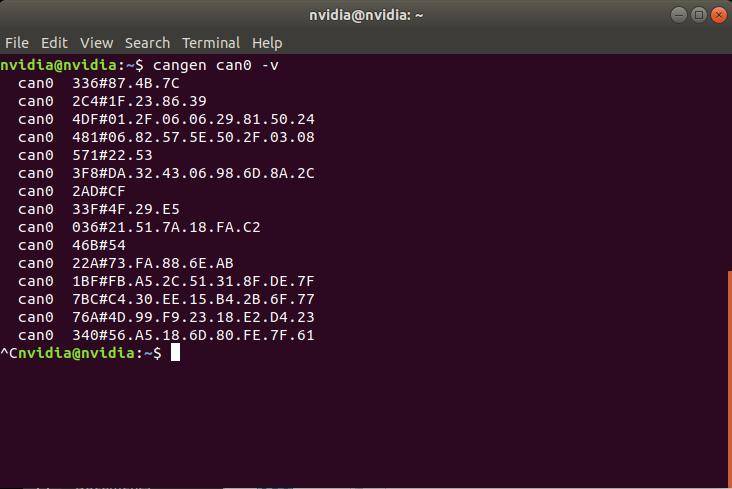
Lastly, you can use can-utils tools to communicate.
Use cangen to write random data:
• cangen can0 -v
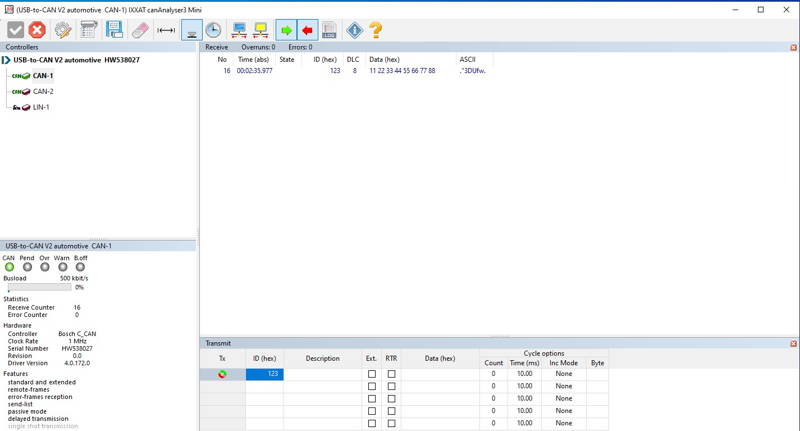
Use cansend to write data:
• cansend can0 123#1122334455667788

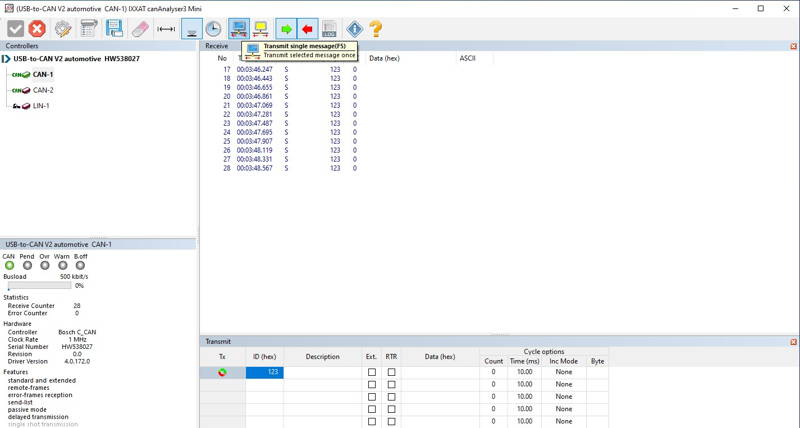
Use candump to listen bus:
• candump can0

Thank you for reading our blog post.