How to Train a YOLOv5 Object Detection Model in Google Colab?
WHAT YOU WILL LEARN?
1- How to Install the Required Packages?
2- How to Download the Custom Object Detection Dataset?
3- How to Create the Configuration Files?
4- How to Run the YOLOv5 Training?
5- How to Evaluate the Model File’s Performance?
6- How to Visualize the Training Data?
7- How to Test the Model File with Test Images?
8- How to Export the Model & Config Files?
ENVIRONMENT
OS: Ubuntu-18.04
Browser: Opera 84.0.4316.21
In this tutorial, we will train a YOLOv5 custom object detection model in Google Colaboratory. First, we will install the required packages and download a custom object detection dataset from Roboflow. Then, we create the configuration files and run the training. Afterwards, we will evaluate & visualize the model file’s performance and test it with test images. Finally, we will export the model & configuration files on Google Drive.
You can find the Python Notebook file from here.

Installing the Required Packages
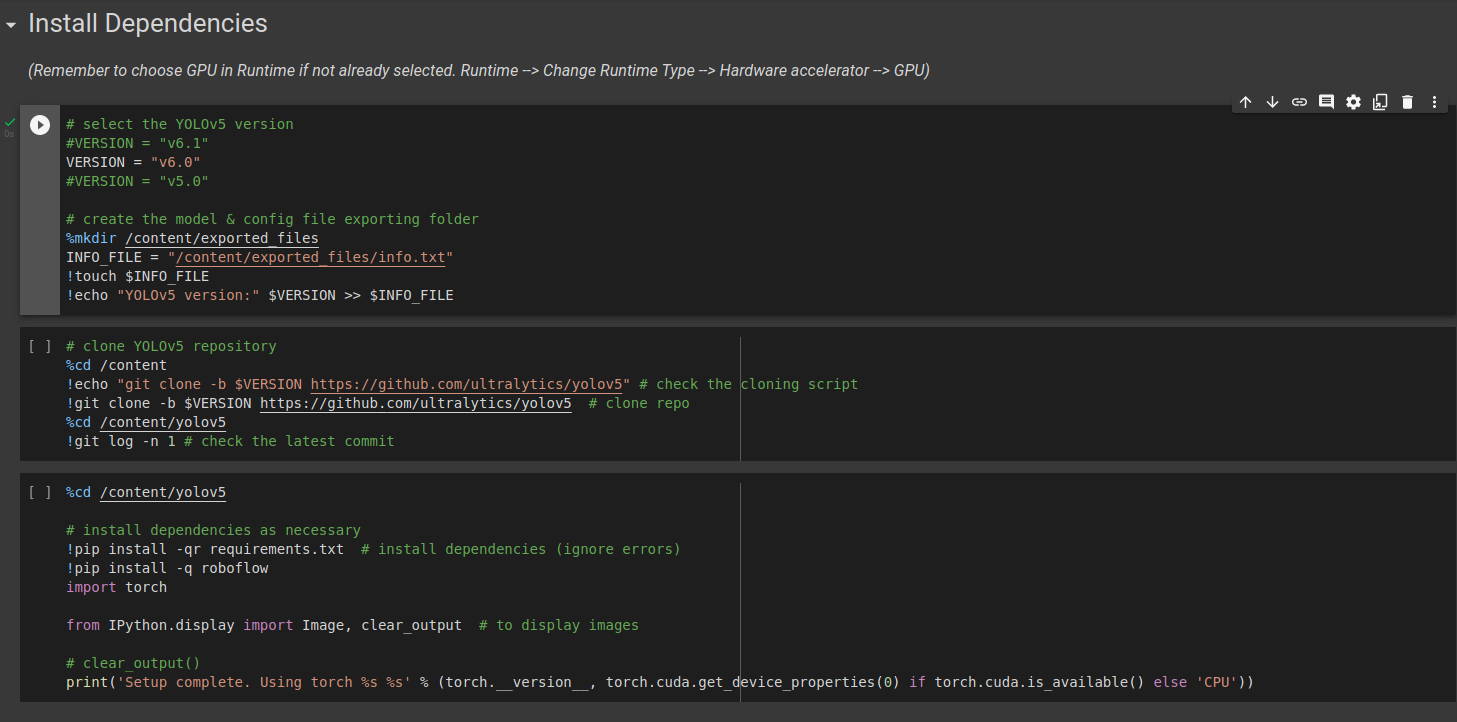
Before installing the required packages, we need to define the YOLOv5 version and create the information text file which will store the training configurations.
Then, in the second block, clone the YOLOv5 repository from GitHub and check the latest commit refers the selected version.

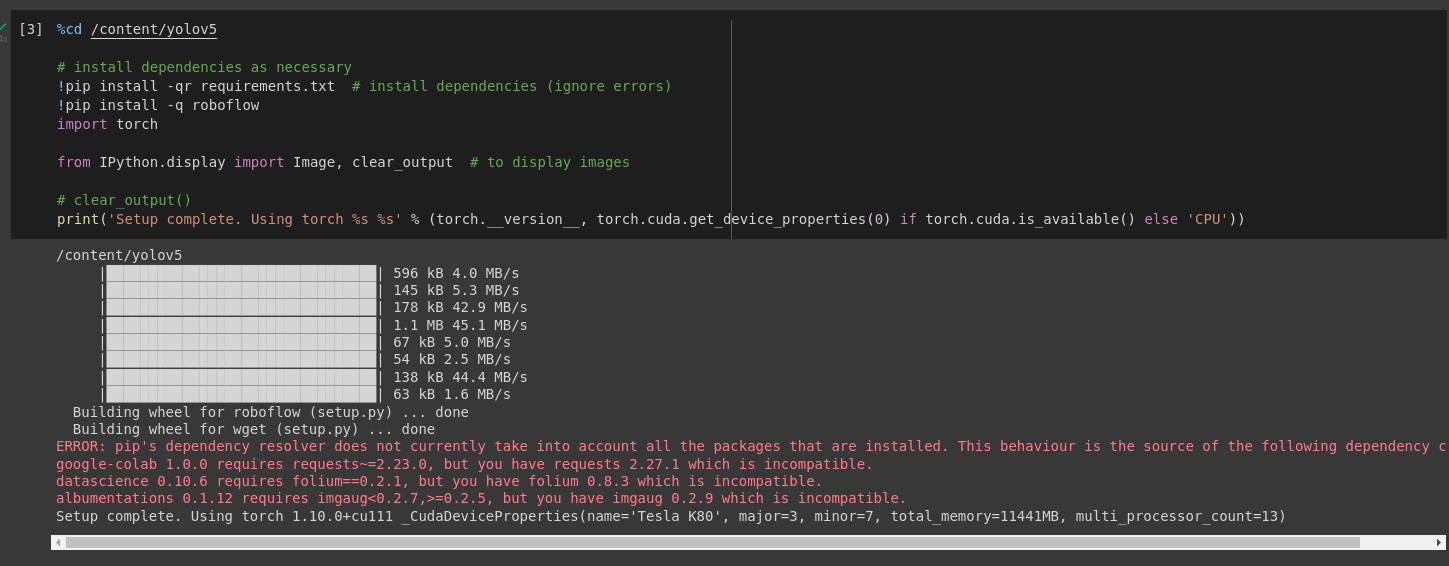
In the next block, install the required packages and check the GPU connected successfully.
Let’s continue to download the custom dataset.
Downloading the Custom Object Detection Dataset
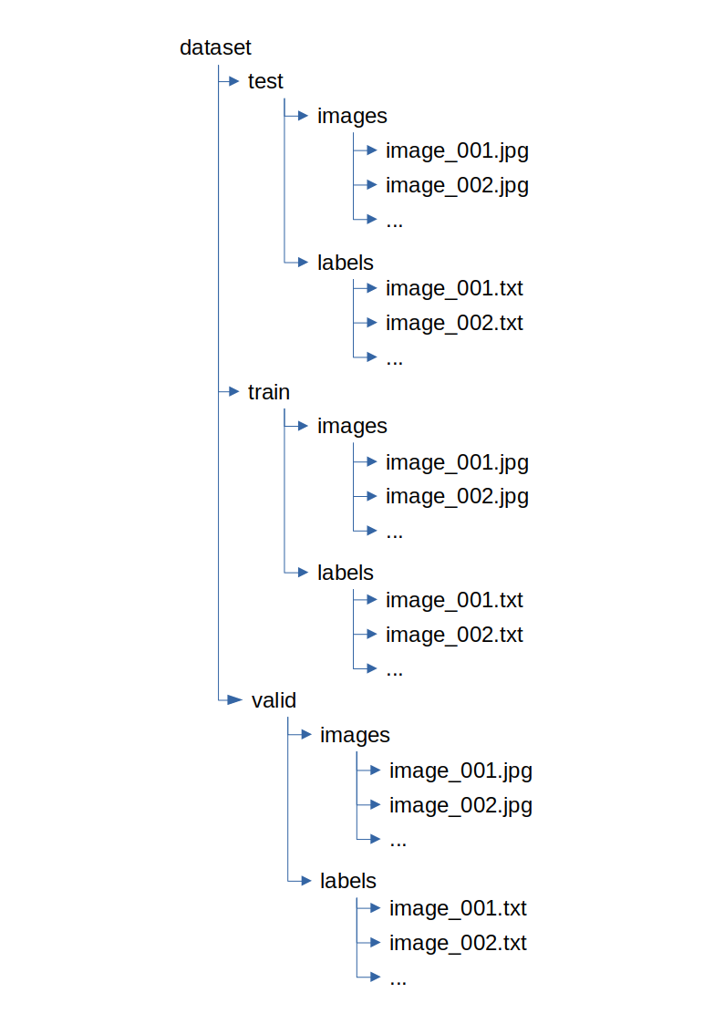
The custom object detection dataset (image & bounding box text file) folder should designed like below. In this tutorial, we will directly download the dataset from Roboflow which will organize it automatically.
From Roboflow, we need to download the custom object detector model in YOLOv5 PyTorch format.

On the dataset page, press “Export” and select “YOLO v5 PyTorch” with “show download code” selection.

Then, copy the Jupyter code to the first block of this section.


The first block will download the custom dataset from Roboflow.
The second block will print the “data.yaml” file. It stores the label names, number of classes (label size) and train-val folders’ path.
The latest block will define the training values and write them into the information file. For better performance, you need to increase the “EPOCHS” value. The “IMG_SIZE” defines the image size of the dataset. The “MODEL” & “MODEL_CONF” defines the training model and its YAML file. For other type of YOLOv5 models, you need to change them.

Creating the Configuration Files
In this section, we will copy the default configuration file as “custom_model.yaml”, get the number of classes from “data.yaml” file and change only the “nc” parameter from the configuration file. Then, we will copy them to the “exported_files” folder.

Before we copying the configuration file, let’s read it first.

Run the next two blocks to define the “num_classes” and save it on “custom_model.yaml” file.

Afterwards, copy these two files to the “exported_files” folder and continue to the next section.

Running the YOLOv5 Training
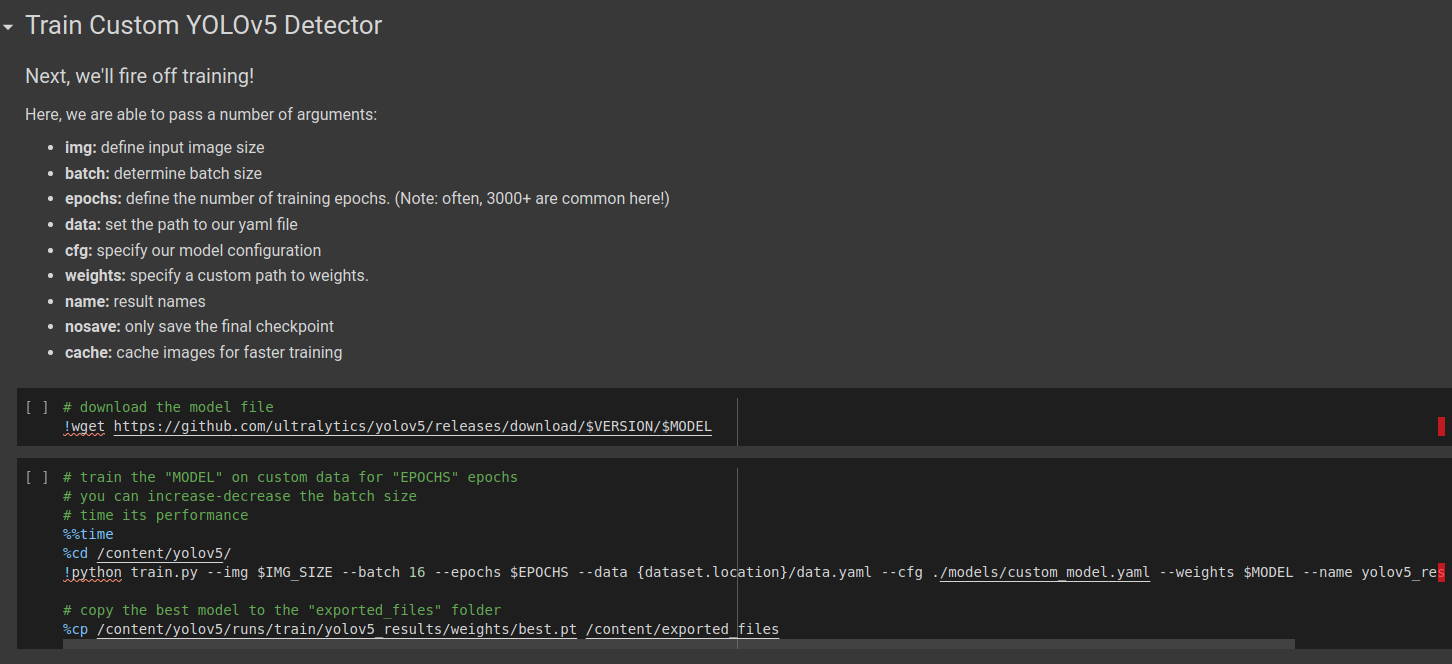
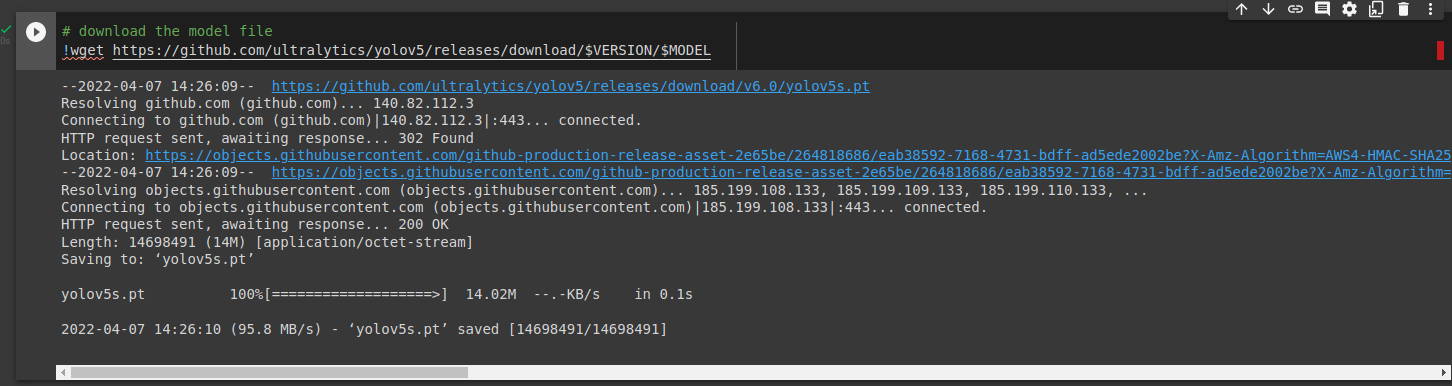
Now, download the model file to use it for training.
Then, start the training. This process will took longer depends on your dataset size, model type and epoch size.
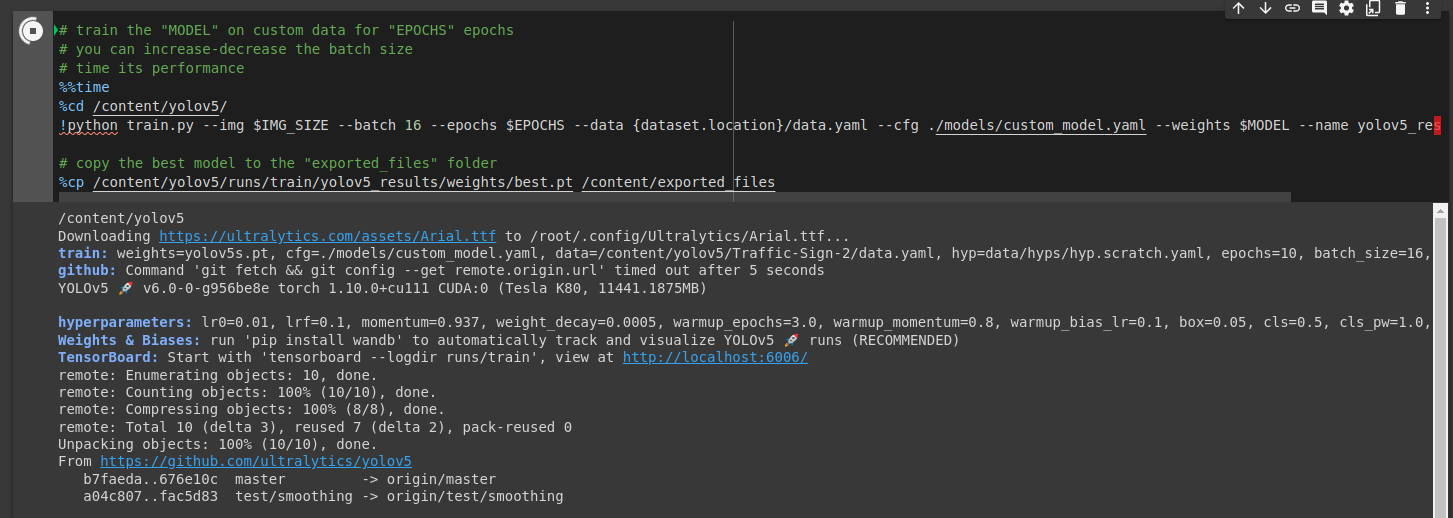
At the end of the training, the result files (model file, batch images etc.) saved into the “runs/train/yolov5_results” folder.

Let’s evaluate and test the model file.
Evaluate the Model File’s Performance
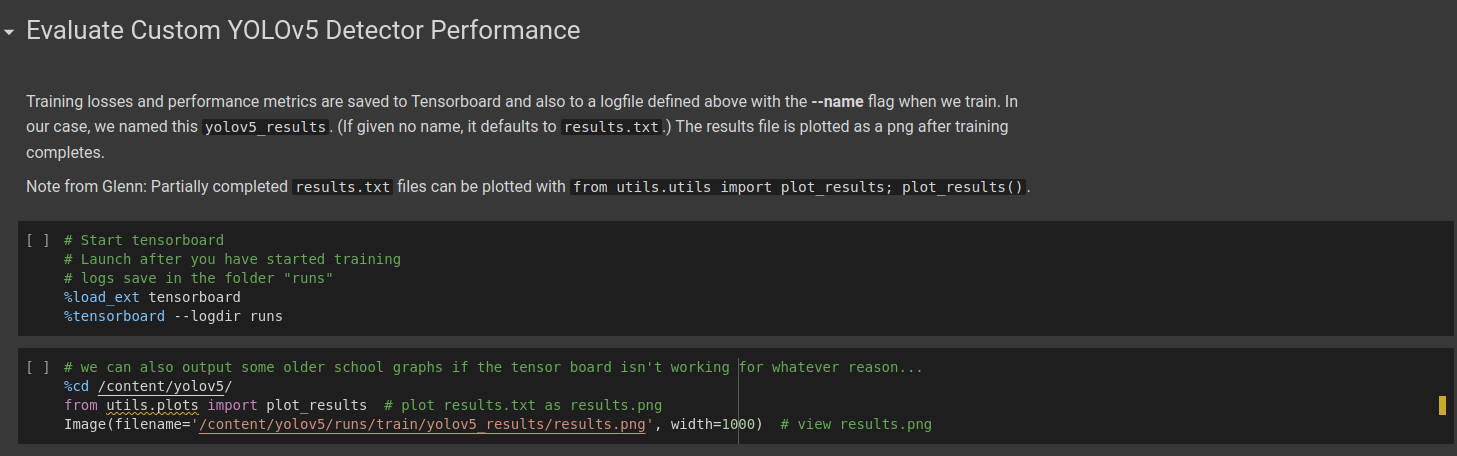
Run the first block to view the results on tensorboard.

Then, run the second block to view the result graphics.
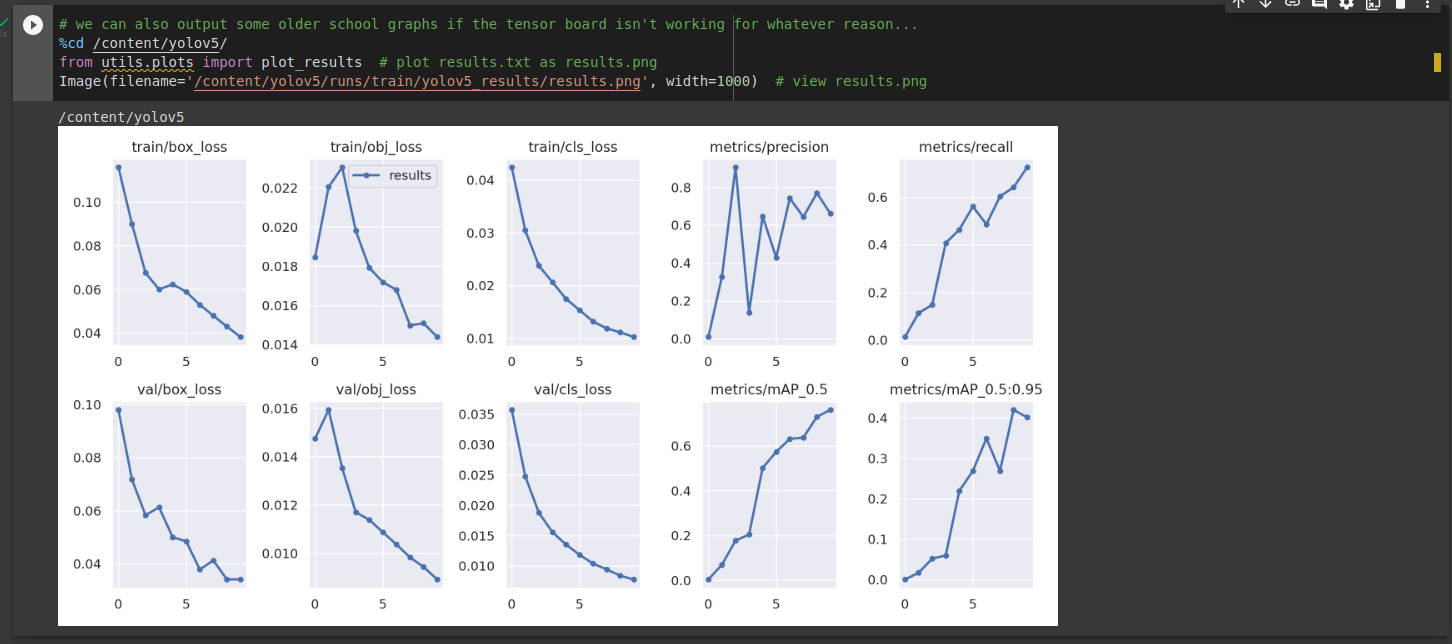
Let’s continue to visualize the training data.
Visualize the Training Data

In this section, we will view the training and augmented training data.
Run the first block to view the training data.

Afterwards, run the next code block to view the augmented data.

Testing the Model File with Test Images
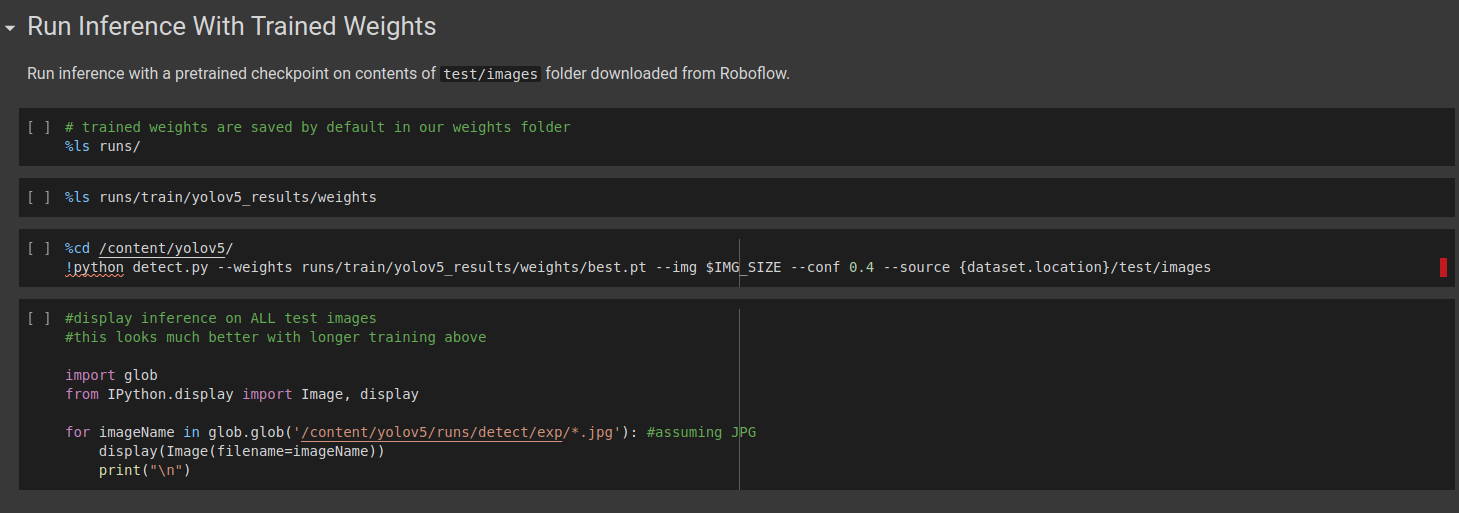
Run the two code blocks in this section to check the model file (best.pt) stored in the right folder.

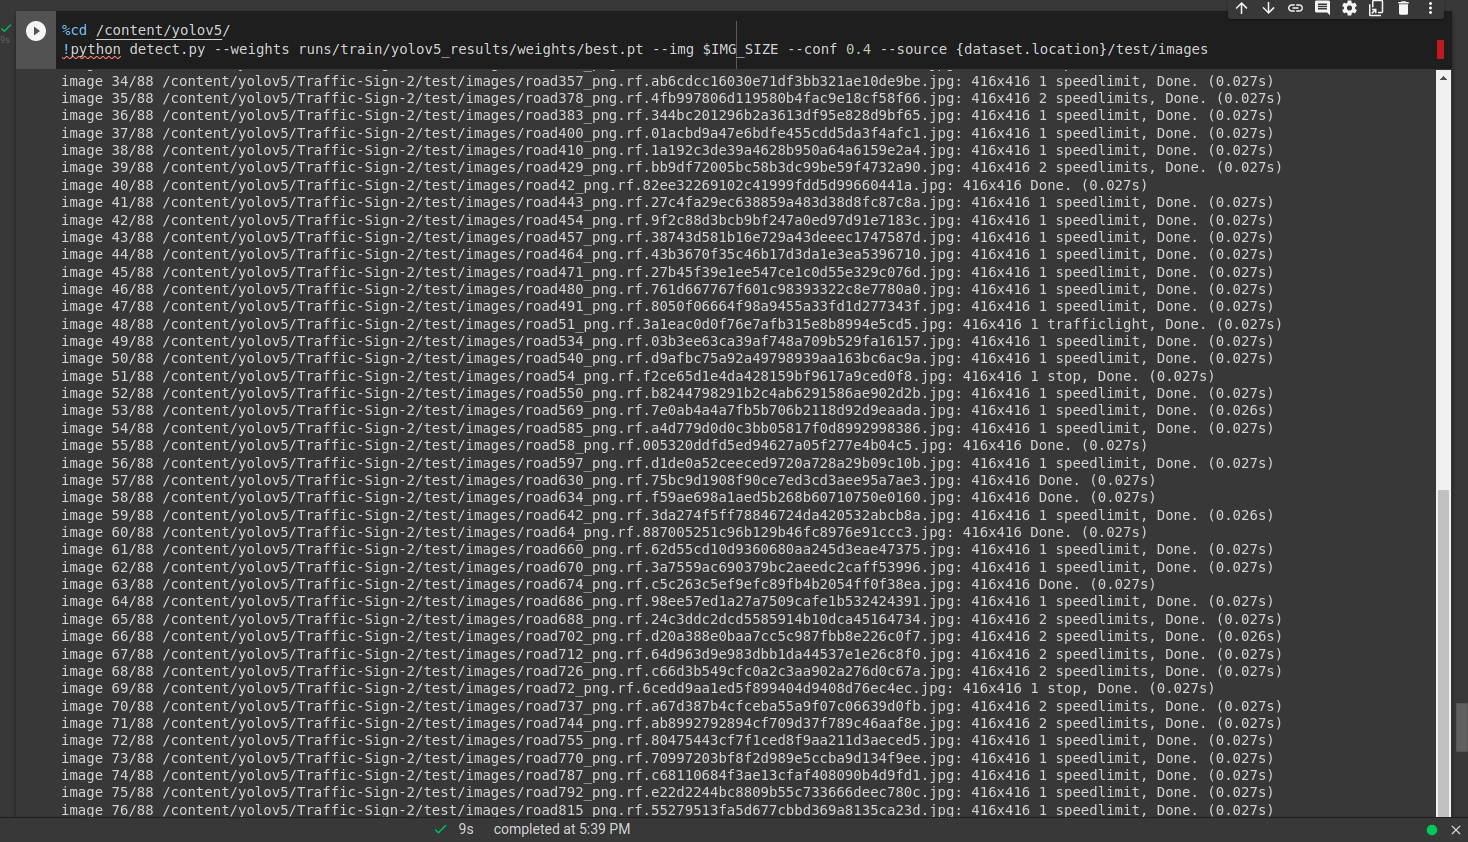
Then, run the next block to test the model file with test images (from dataset).

As you can see that, the result images located on “runs/detect/exp” folder. Let’s view them with the next code block.

If you want to save the result files on Google Drive, please continue to the next section. Otherwise you can download them from the “/content/exported_files” folder on Google Colaboratory.
Exporting the Model & Config Files
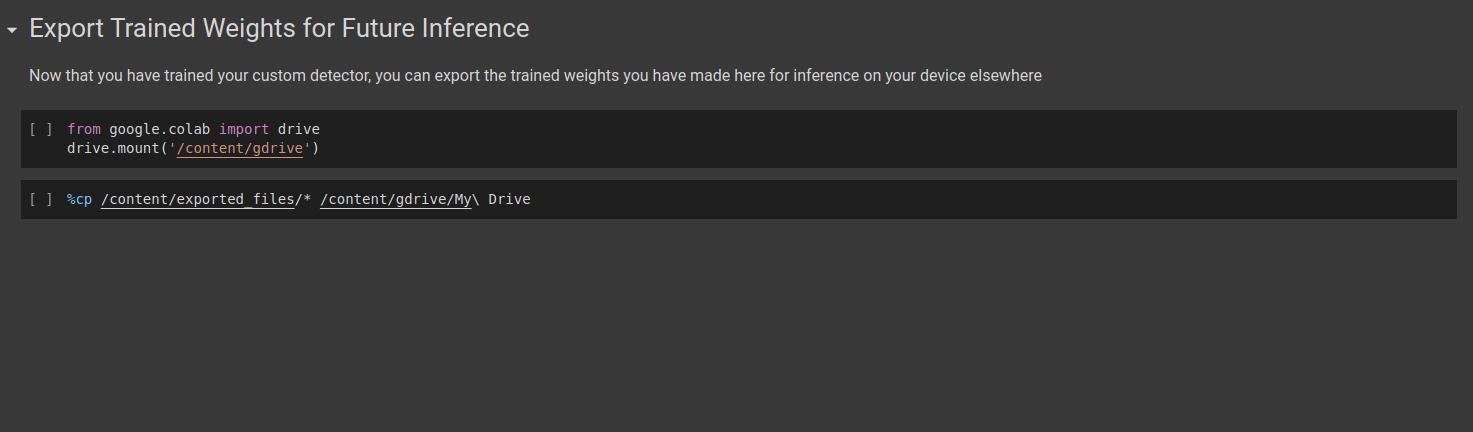
Run these commands to save the model & configuration files on Google Drive. As we said to the previous section, you can download them manually from the “/content/exported_files” folder.
Thank you for reading our blog post.