SIM8200EA-M2 Module Integration for DSBOX-NX2
ENVIRONMENT
Hardware 1: Corsair Gaming PC
OS 1: Ubuntu 18.04.5 LTS
Hardware 2: DSBOX-NX2
OS 2: JetPack 4.5
In this blog post, we will integrate the SIM8200EA-M2 Multi-Band 5G module’s driver on DSBOX-NX2. First, we will prepare the Ubuntu system and include the driver into the kernel source files. Then, we will build the kernel. Finally, we will update the Jetson module’s device-tree.
If you want to update the Jetson module directly (without building the kernel), please download the precompiled BSP files from here. Afterwards, continue to the "Updating the Jetson Module" step with these files.
Hint: In this tutorial, we connected our GSM antennas on this module's ANT0 & ANT2 ports.
Preparing the Kernel Build Environment
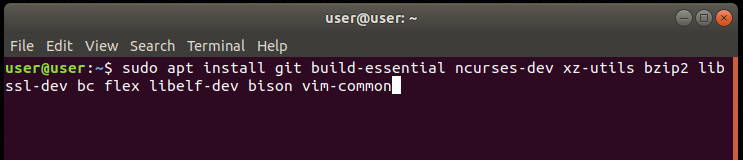
First of all, you must have some development packages installed on your host PC(git, build-essential, ncurses-dev, xz-utils, bzip2, libssl-dev, bc, flex, libelf-dev, bison).
sudo apt install git build-essential ncurses-dev xz-utils bzip2 libssl-dev bc flex libelf-dev bison vim-common

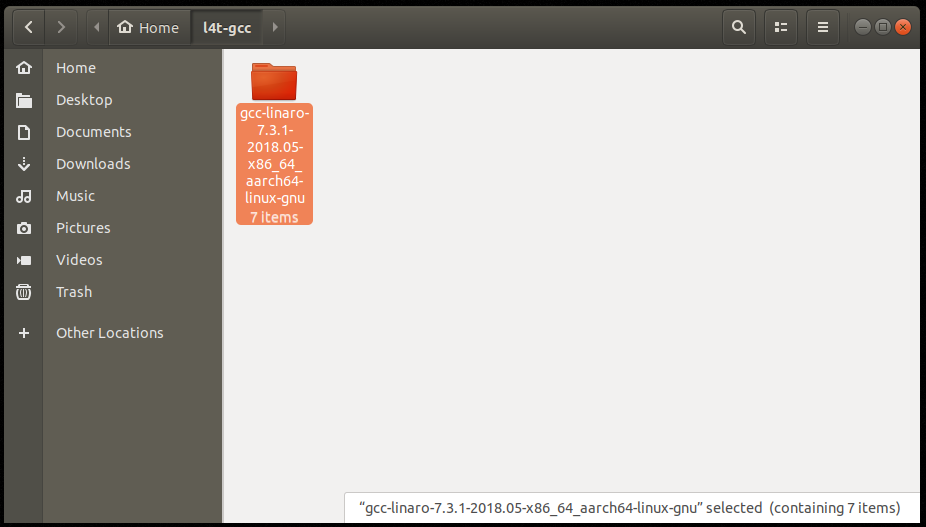
Create “l4t-gcc” folder in your $HOME directory and extract the GCC archive into it.
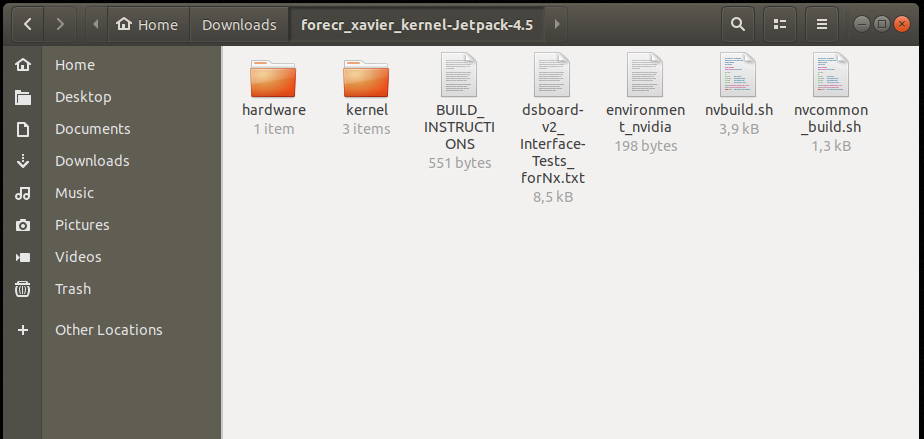
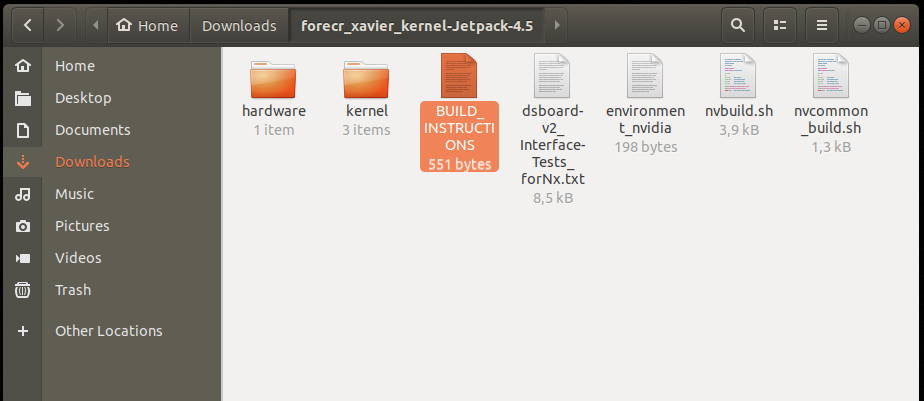
The last step for this section is extracting the kernel archive (forecr_xavier_kernel-Jetpack-4.5.zip). Extract it (For this archive file, its location does not require in a specific path.).
Let’s check the “environment_nvidia” file.
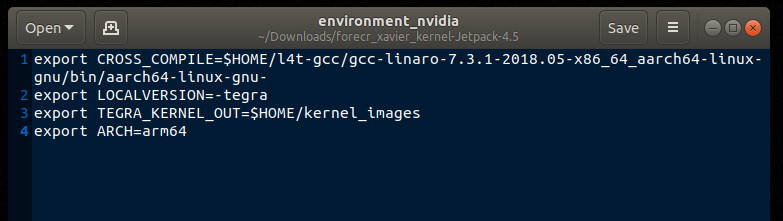
Be careful about “CROSS_COMPILE” environment’s definition. You should update this environment (In our setup, we changed it as "export CROSS_COMPILE=$HOME/l4t-gcc/gcc-linaro-7.3.1-2018.05-x86_64_aarch64-linux-gnu/bin/aarch64-linux-gnu-").
Including the Driver into Kernel
To include the driver into the kernel, we need to the manufacturer’s driver installation package. For SIMCOM SIM8200EA-M2 module, you can find the files from here. In this step, the whole steps are explained into the document (“SIM8200 Series_Linux_USB_User Guide_V1.00.pdf”).
In brief, we will include
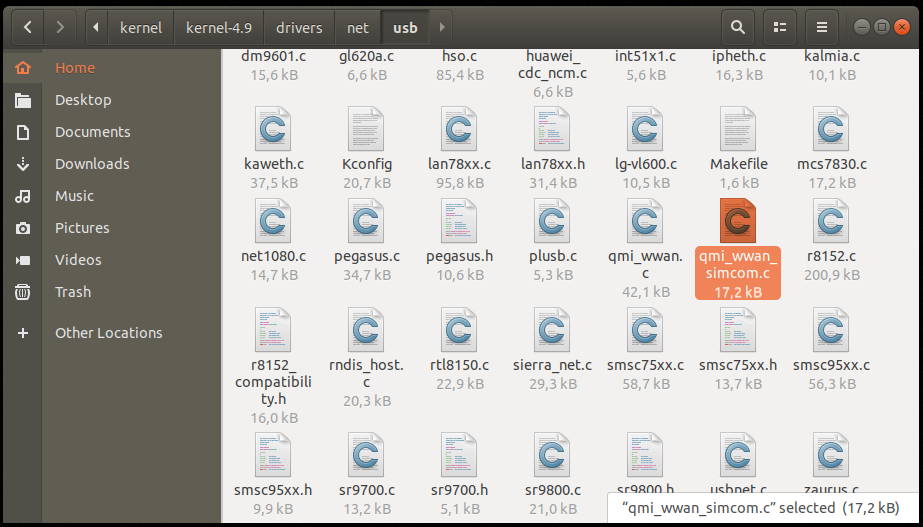
• kernel/kernel-4.9/drivers/net/usb/qmi_wwan_simcom.c
file and update
• kernel/kernel-4.9/drivers/usb/serial/option.c
• kernel/kernel-4.9/drivers/net/usb/qmi_wwan.c
• kernel/kernel-4.9/drivers/net/usb/Makefile
• kernel/kernel-4.9/arch/arm64/configs/dsboard_nx2_defconfig
files.
1- Including the kernel/kernel-4.9/drivers/net/usb/qmi_wwan_simcom.c file.
Simcom provides the source file qmi_wwan_simcom.c, which only be used for SIM8200. You can get the file from customer engineer.
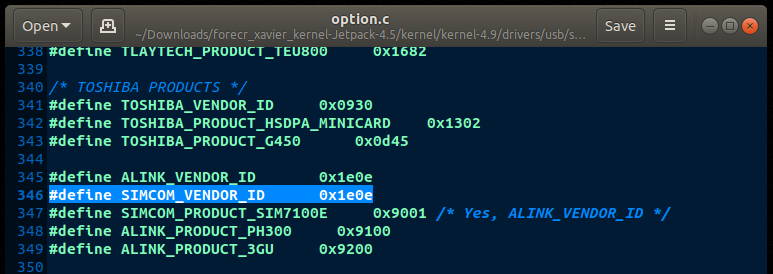
2-Updating the kernel/kernel-4.9/drivers/usb/serial/option.c file.
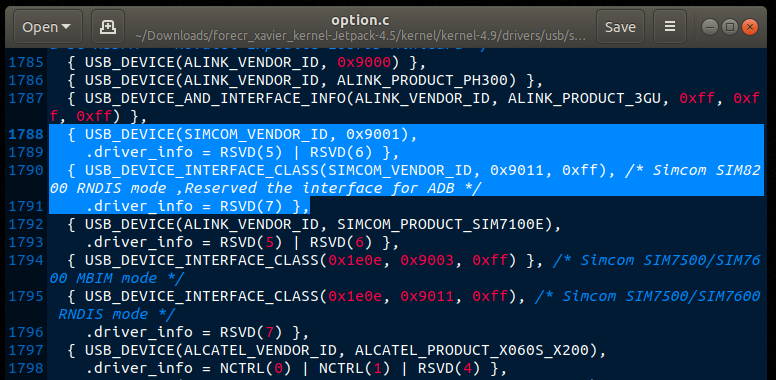
Add these following statements:
#define SIMCOM_VENDOR_ID 0x1e0e
static const struct usb_device_id option_ids[] = {
.....
{ USB_DEVICE(SIMCOM_VENDOR_ID, 0x9001),
.driver_info = RSVD(5) | RSVD(6) },
{ USB_DEVICE_INTERFACE_CLASS(SIMCOM_VENDOR_ID, 0x9011, 0xff), /* Simcom SIM8200 RNDIS mode ,Reserved the interface for ADB */
.driver_info = RSVD(7) },
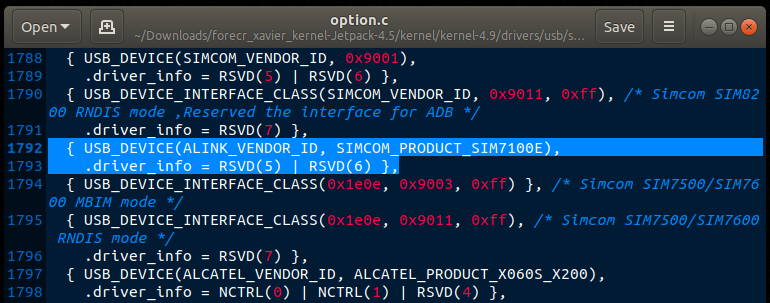
Remove these following statements:
{ USB_DEVICE(ALINK_VENDOR_ID, SIMCOM_PRODUCT_SIM7100E),
.driver_info = RSVD(5) | RSVD(6) },
{ USB_DEVICE_INTERFACE_CLASS(0x1e0e, 0x9011, 0xff), /* Simcom
SIM7500/SIM7600 RNDIS mode */
.driver_info = RSVD(7) },

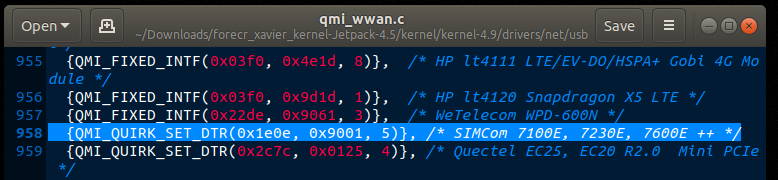
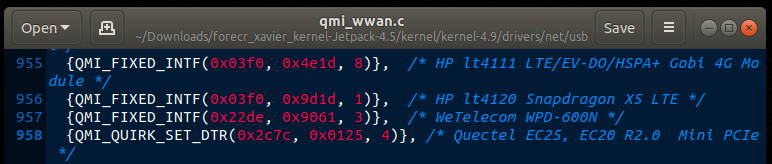
3- Updating the kernel/kernel-4.9/drivers/net/usb/qmi_wwan.c file.
Remove this following statement:
{QMI_QUIRK_SET_DTR(0x1e0e, 0x9001, 5)}, /* SIMCom 7100E, 7230E, 7600E ++ */
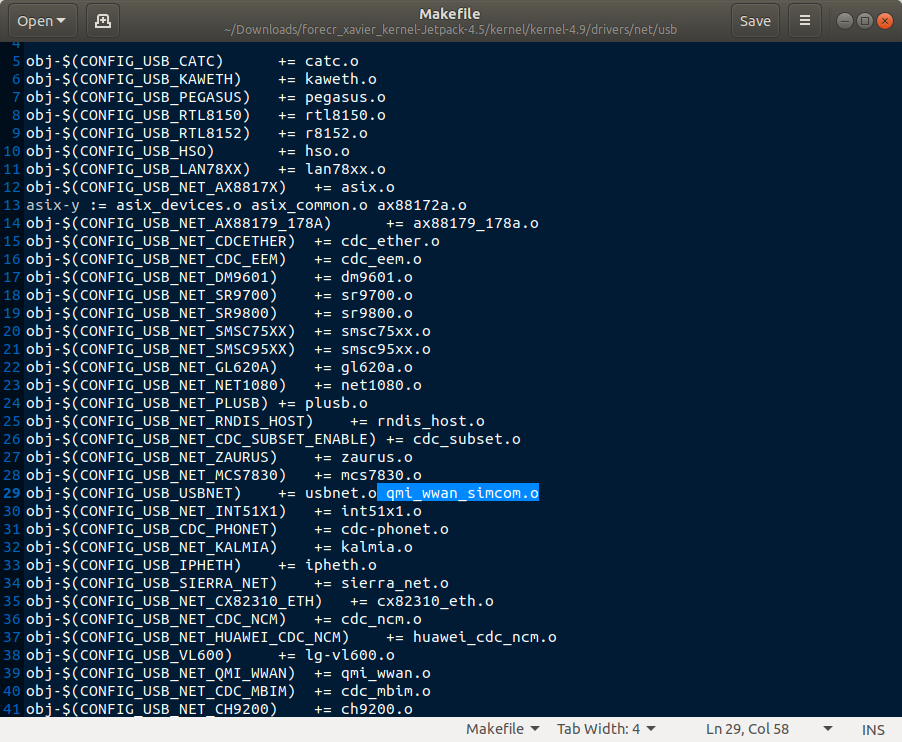
4- Updating the kernel/kernel-4.9/drivers/net/usb/Makefile file.
Change the "usbnet" statement like this:
obj-$(CONFIG_USB_USBNET) += usbnet.o qmi_wwan_simcom.o
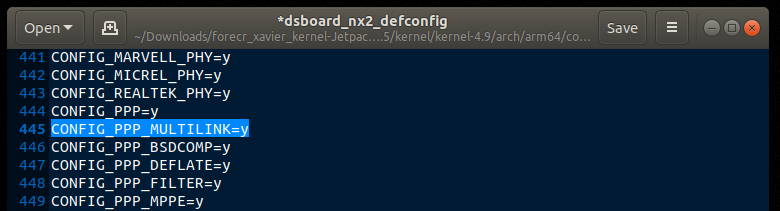
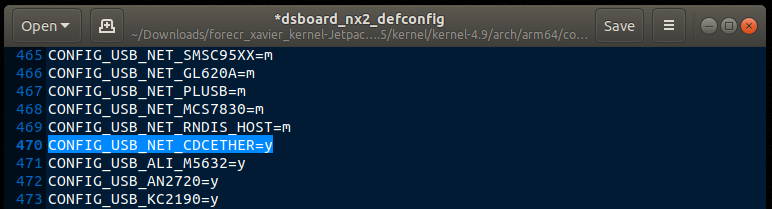
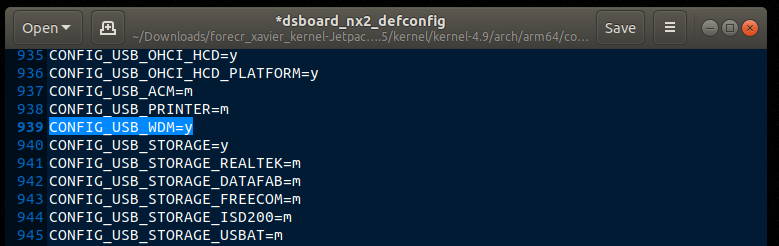
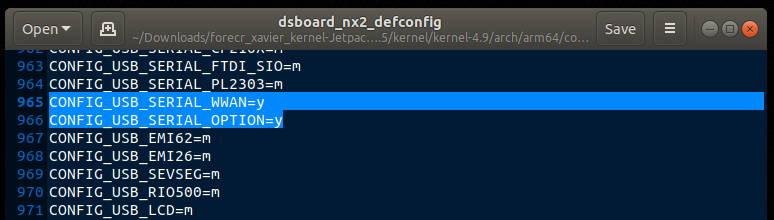
5- Updating the kernel/kernel-4.9/arch/arm64/configs/dsboard_nx2_defconfig file.
These following statements are currently defined as “y”:
CONFIG_USB_SERIAL=y
CONFIG_USB_USBNET=y
CONFIG_PPP=y
CONFIG_PPP_BSDCOMP=y
CONFIG_PPP_DEFLATE=y
CONFIG_PPP_FILTER=y
CONFIG_PPP_ASYNC=y
CONFIG_PPP_SYNC_TTY=y
Change or add these following statements:
CONFIG_PPP_MULTILINK=y
CONFIG_USB_NET_CDCETHER=y
CONFIG_USB_WDM=y
CONFIG_USB_SERIAL_WWAN=y
CONFIG_USB_SERIAL_OPTION=y
Building the Kernel
Open the extracted kernel folder (forecr_xavier_kernel-Jetpack-4.5). The building commands included in “BUILD_INSTRUCTIONS” file.
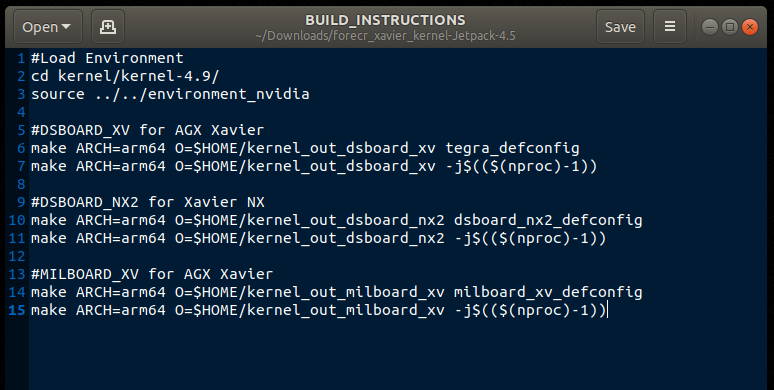
These following commands are our building commands for DSBOX-NX2 below:
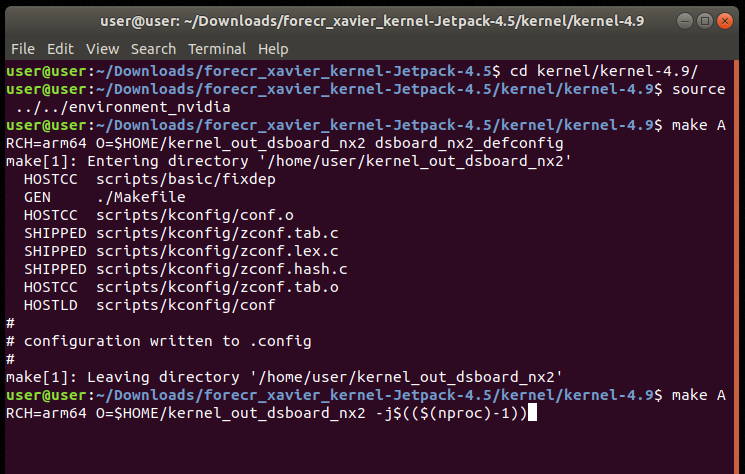
cd kernel/kernel-4.9/
source ../../environment_nvidia
make ARCH=arm64 O=$HOME/kernel_out_dsboard_nx2 dsboard_nx2_defconfig
make ARCH=arm64 O=$HOME/kernel_out_dsboard_nx2 -j$(($(nproc)-1))
A few moments later, the last script ends like that:

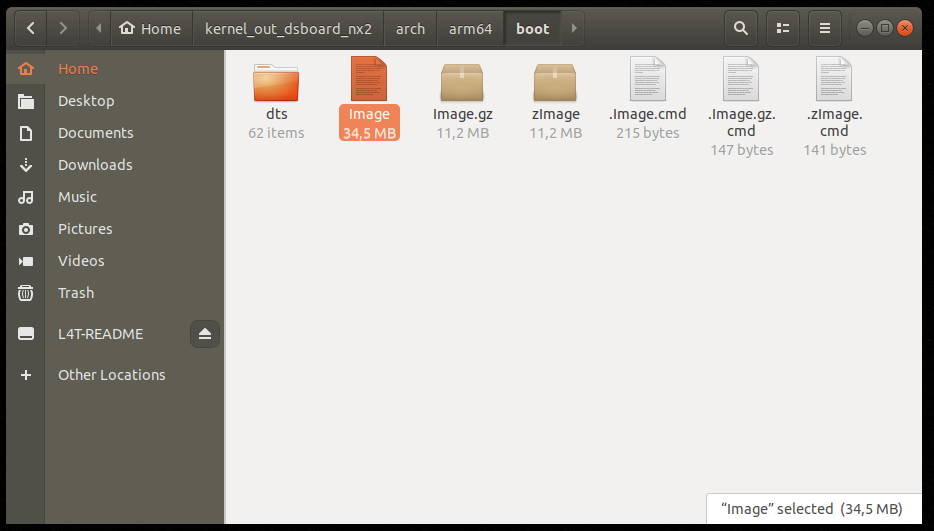
Let’s check the “Image” and DTB file with these commands:
cd $HOME/kernel_out_dsboard_nx2
ls -l arch/arm64/boot/Image
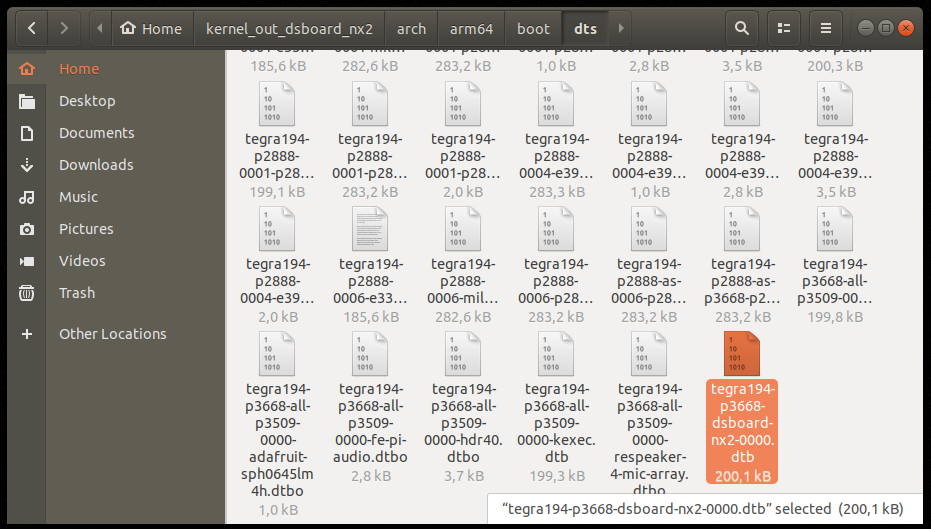
ls -l arch/arm64/boot/dts/tegra194-p3668-dsboard-nx2-0000.dtb
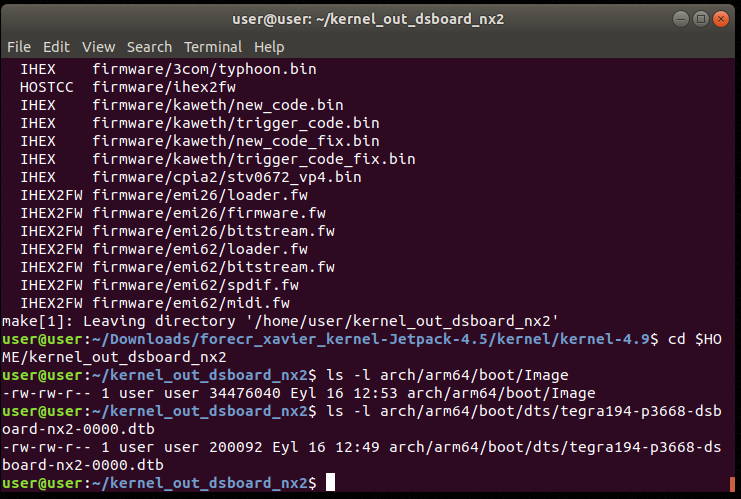
Now, we can update the Jetson module’s kernel with these two files.
Updating the Jetson Module
Open the NVIDIA SDK Manager’s target HW image folder for JetPack 4.5 Xavier NX at the file manager. (In our setup, the folder located at “$HOME/nvidia/nvidia_sdk/JetPack_4.5_Linux_JETSON_XAVIER_NX/Linux_for_Tegra”)
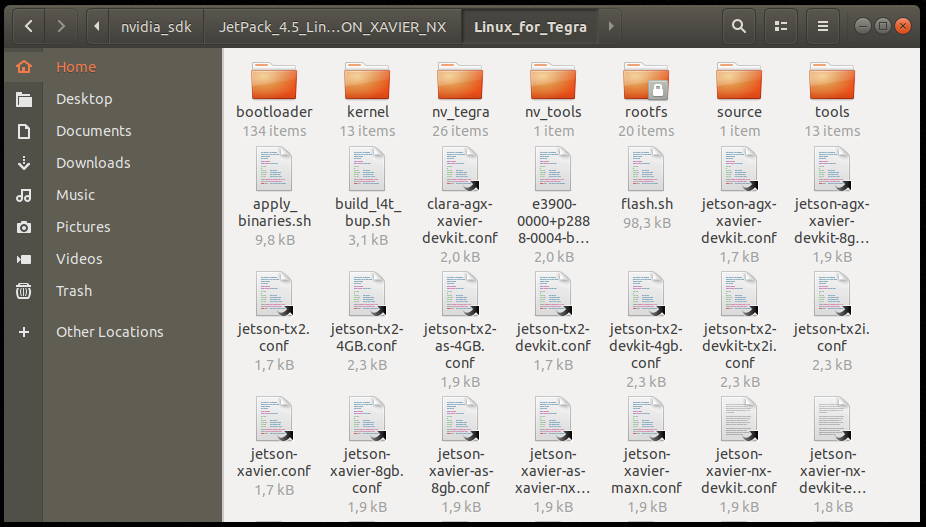
Go to the kernel/dtb folder.
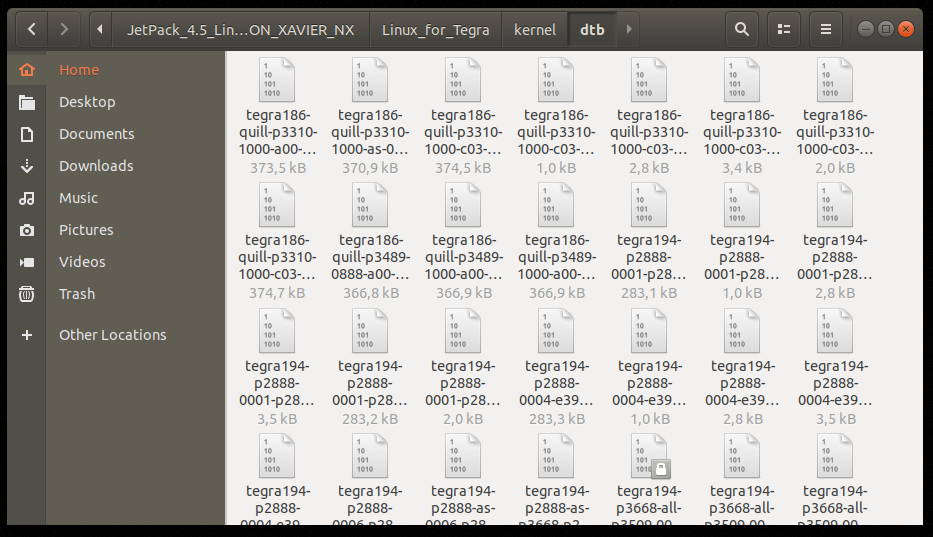
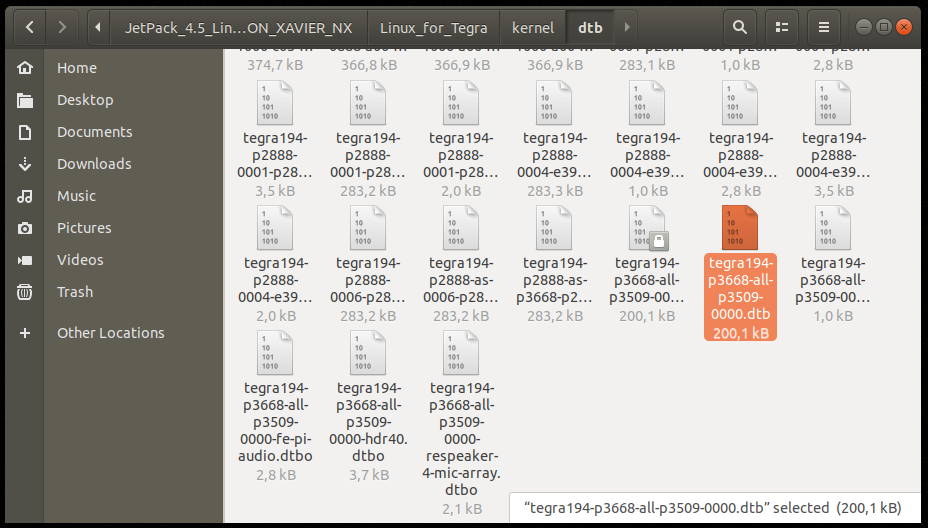
Delete the “tegra194-p3668-all-p3509-0000.dtb” file.

Copy the “tegra194-p3668-dsboard-nx2-0000.dtb” file (located at: $HOME/kernel_out_dsboard_nx2/arch/arm64/boot/dts/tegra194-p3668-dsboard-nx2-0000.dtb) as “tegra194-p3668-all-p3509-0000.dtb” in the current “dtb” folder ($HOME/nvidia/nvidia_sdk/JetPack_4.5_Linux_JETSON_XAVIER_NX/Linux_for_Tegra/kernel/dtb).
Return to the “Linux_for_Tegra” folder ($HOME/nvidia/nvidia_sdk/JetPack_4.5_Linux_JETSON_XAVIER_NX/Linux_for_Tegra).
Then open a Terminal into it.
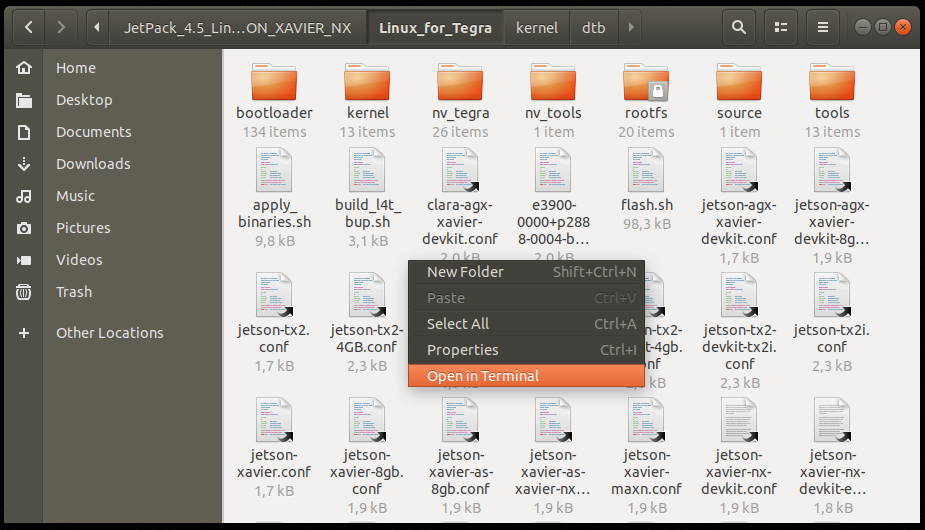
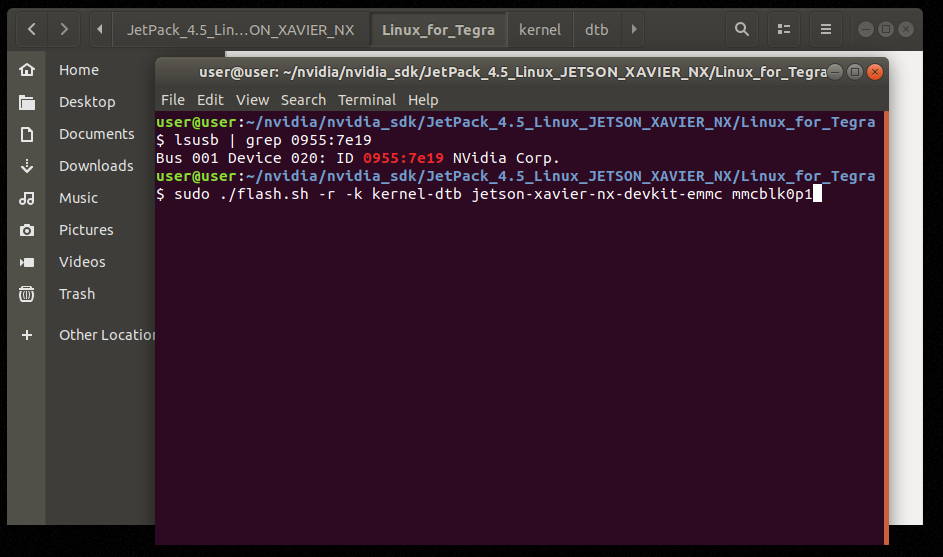
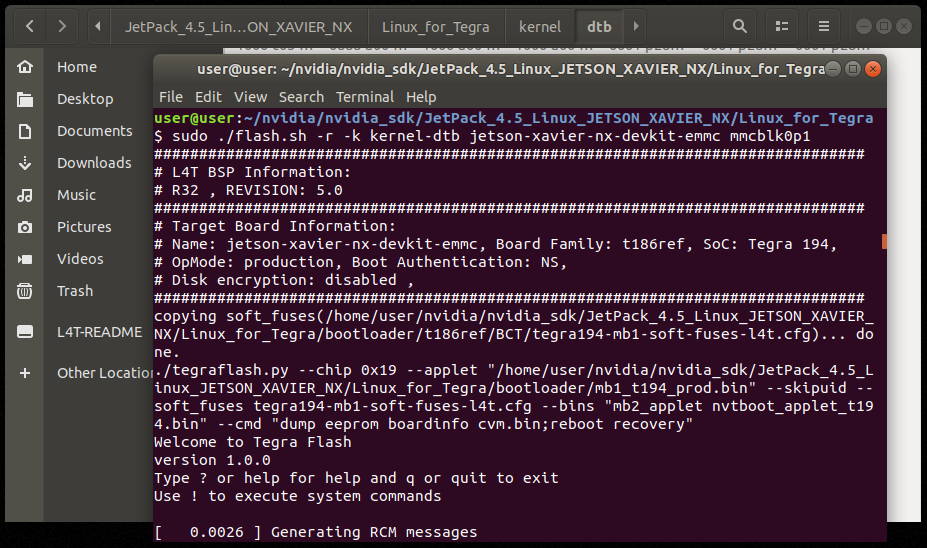
Connect the USB (between DSBOX-NX2’s Recovery USB and Host PC’s USB), HDMI, USB keyboard & mouse and Ethernet connection of DSBOX-NX2. Type these commands to update it with lsusb (to check the Jetson module connected) and “flash.sh”.
lsusb | grep 0955:7e19
sudo ./flash.sh -r -k kernel-dtb jetson-xavier-nx-devkit-emmc mmcblk0p1
Hint: If you got “Reading board information failed” error, you may want to rebuild the files with this command:
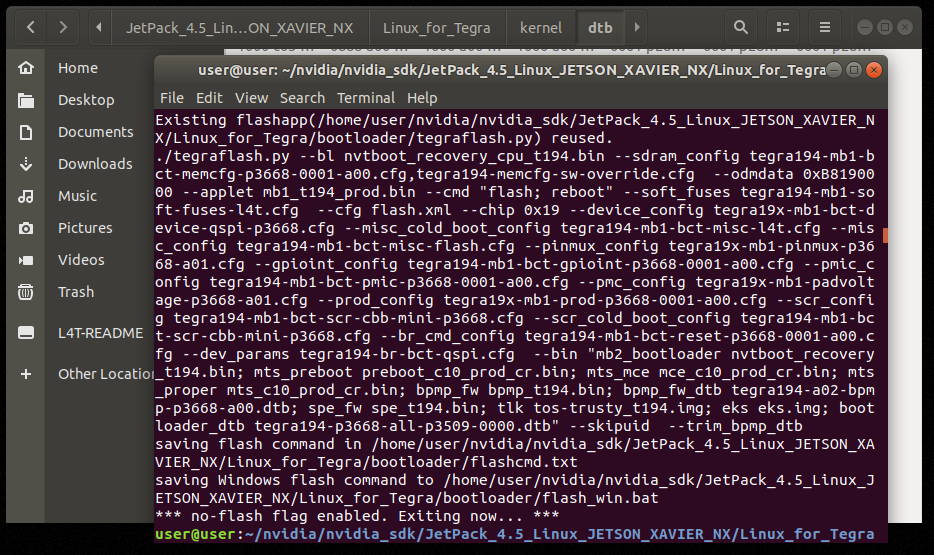
sudo ./flash.sh --no-flash jetson-xavier-nx-devkit-emmc mmcblk0p1
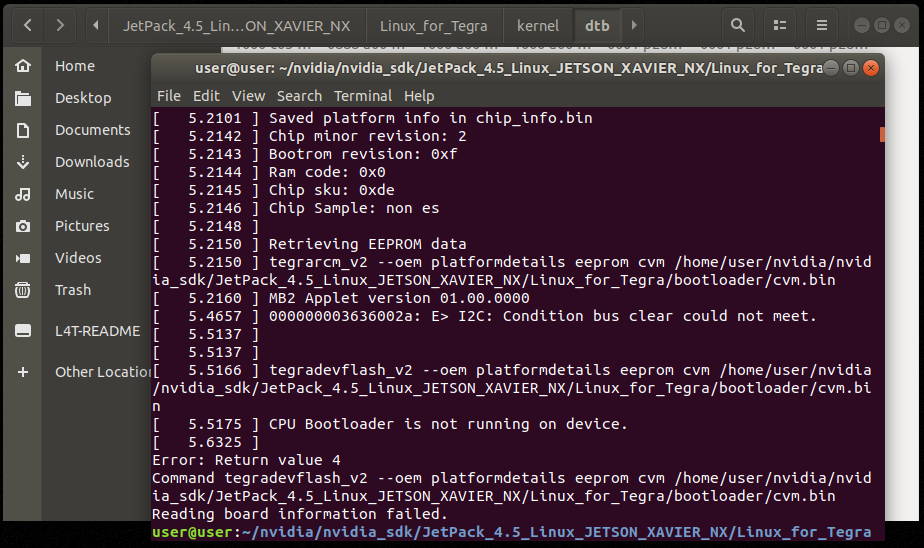
If you rebuild the files, take the Jetson module in Recovery mode again. Then, update the kernel.
sudo ./flash.sh -r -k kernel-dtb jetson-xavier-nx-devkit-emmc mmcblk0p1
If you have not needed to rebuild the image, the kernel update starts like below.
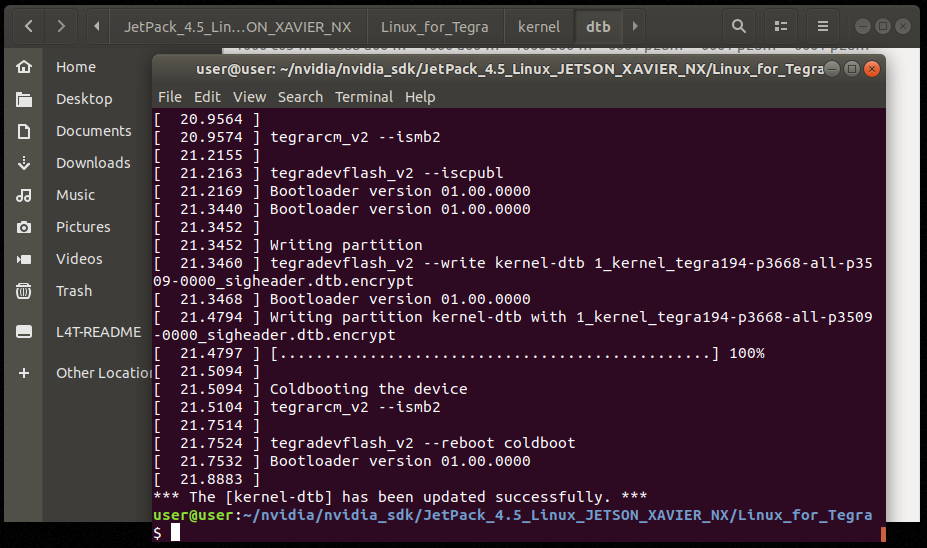
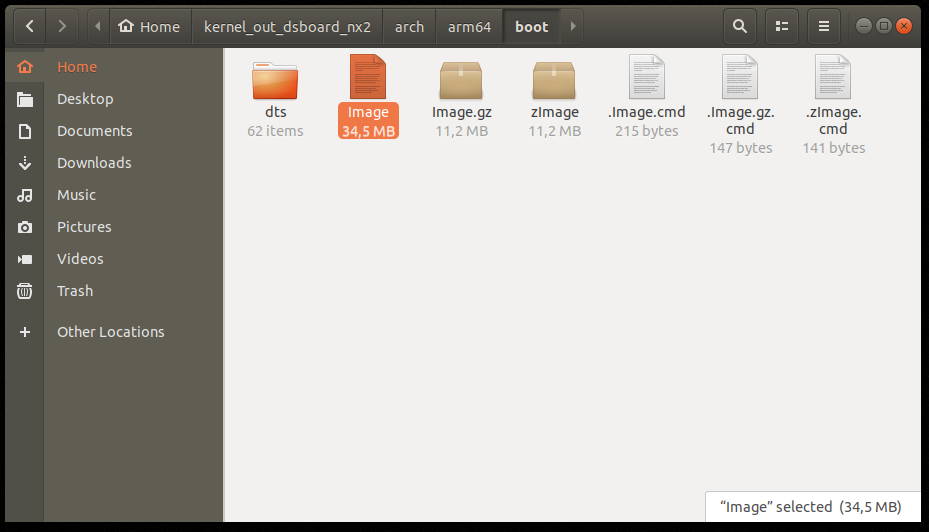
After the flashing script ended with “The [kernel-dtb] has been updated successfully” message, open the “Image” file’s folder ($HOME/kernel_out_dsboard_nx2/arch/arm64/boot/) and open a terminal.
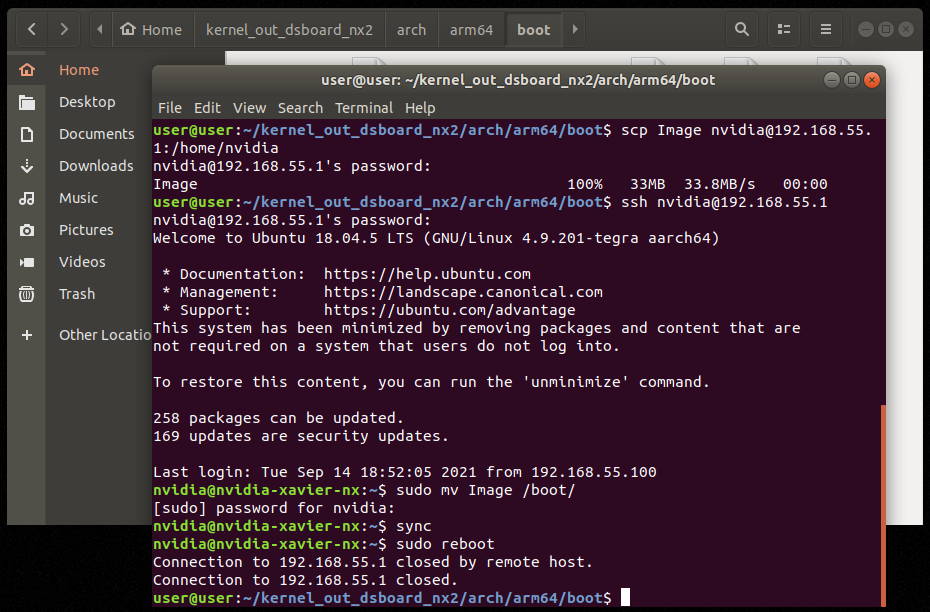
Type these commands to copy the Image file and update it on the Jetson module (For our Jetson module side, the username is “nvidia”):
scp Image nvidia@192.168.55.1:/home/nvidia
ssh nvidia@192.168.55.1
sudo mv Image /boot/
sync
sudo reboot
Testing the SIM8200EA-M2 Module
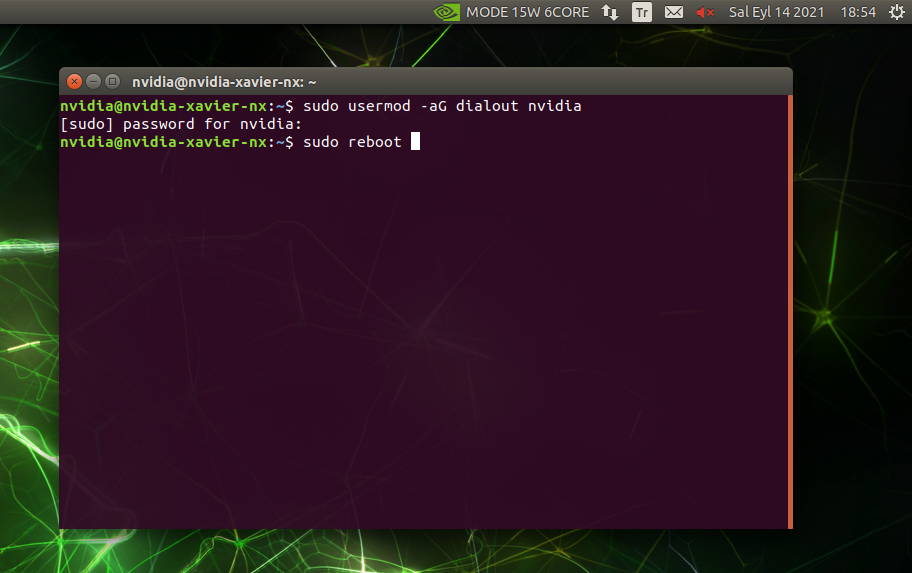
On the Jetson side, we need to get privileges on /dev/ttyUSB* devices. To do this, type these commands and wait the Jetson module to reboot:
sudo usermod -aG dialout nvidia
sudo reboot
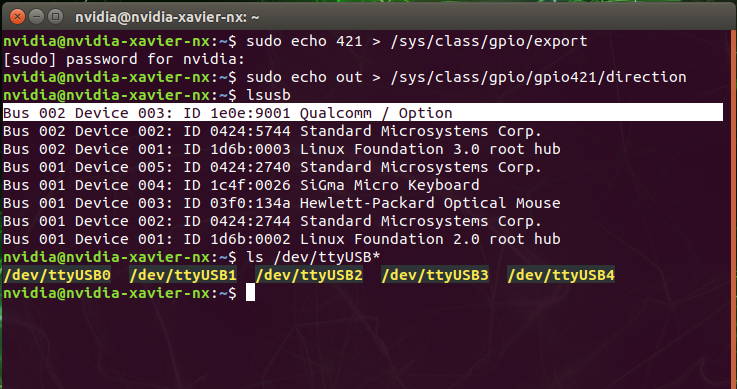
Enable the M.2 Key-B port GPIO pin as output with the first two commands. After a few seconds later, the Qualcomm device detected with “lsusb” command and /dev/ttyUSB* devices (ttyUSB0, ttyUSB1, ttyUSB2, ttyUSB3, ttyUSB4) enabled.
sudo echo 421 > /sys/class/gpio/export
sudo echo out > /sys/class/gpio/gpio421/direction
lsusb
ls /dev/ttyUSB*
If you want to connect your module to Internet directly (without AT commands test), continue to the "Connecting to the Internet" step. Otherwise, continue to the following steps.
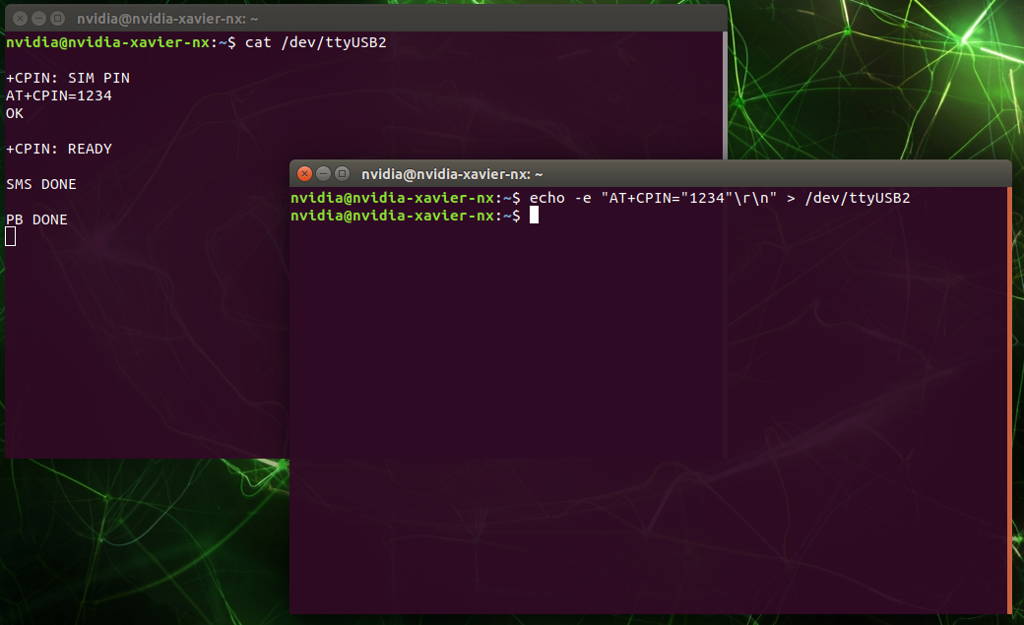
Now open the “/dev/ttyUSB2” for AT port for listening the SIM8200EA-M2 module (it defined in the “SIM8200 Series_Linux_USB_User Guide_V1.00.pdf” file).
cat /dev/ttyUSB2
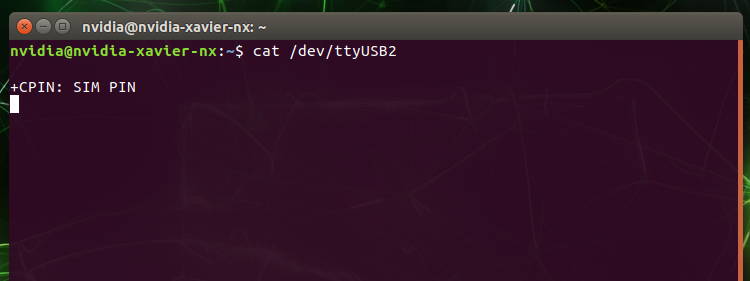
Be sure that, the SIM card should connect on DSBOX-NX2. If it connected successfully, it looks like above. Otherwise, it looks like below.
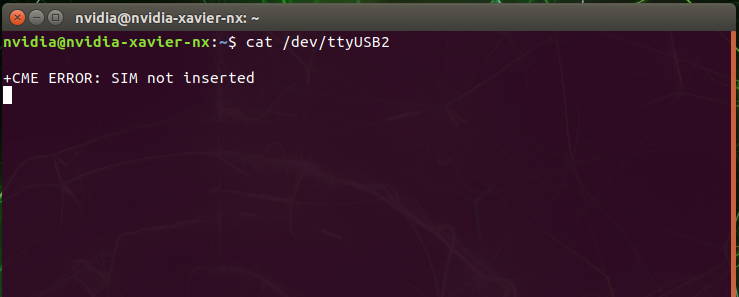
Now, open a terminal and type the PIN code with this terminal command (Our PIN code defined as 1234):
echo -e "AT+CPIN="{PIN_CODE}"\r\n" > /dev/ttyUSB2
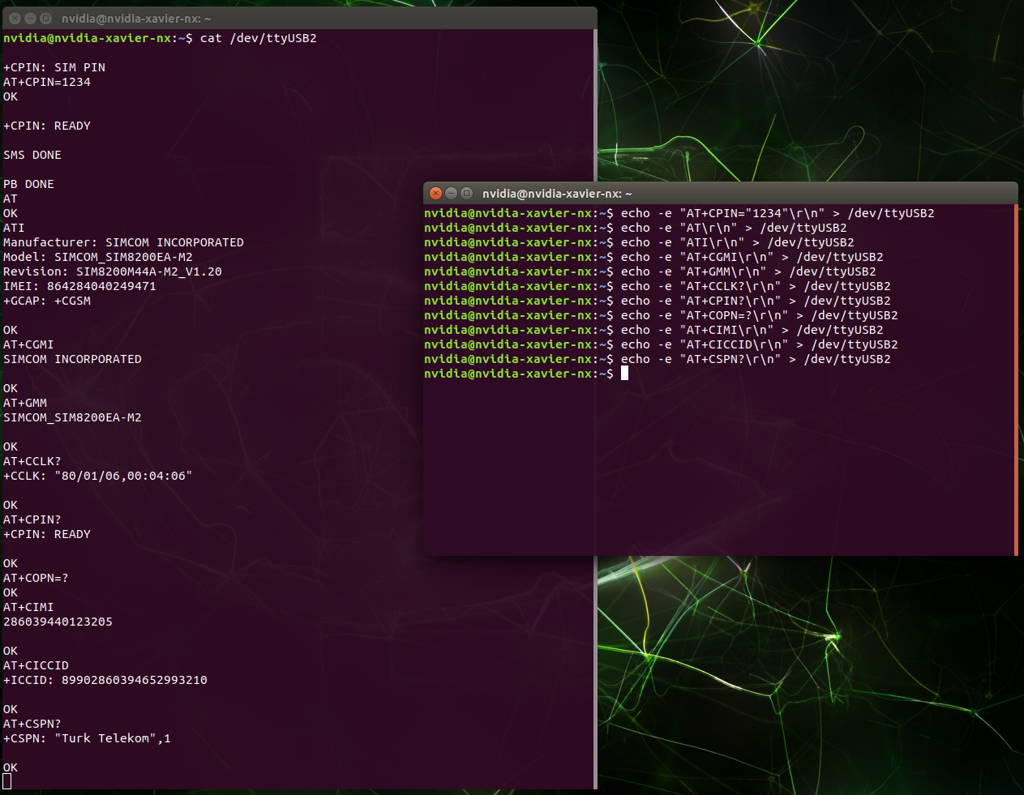
The SIM card connection established correctly. Moreover, enter these commands in another terminal to test the connection and check the output of “/dev/ttyUSB2”.
echo -e "AT\r\n" > /dev/ttyUSB2
echo -e "ATI\r\n" > /dev/ttyUSB2
echo -e "AT+CGMI\r\n" > /dev/ttyUSB2
echo -e "AT+GMM\r\n" > /dev/ttyUSB2
echo -e "AT+CCLK?\r\n" > /dev/ttyUSB2
echo -e "AT+CPIN?\r\n" > /dev/ttyUSB2
echo -e "AT+COPN=?\r\n" > /dev/ttyUSB2
echo -e "AT+CIMI\r\n" > /dev/ttyUSB2
echo -e "AT+CICCID\r\n" > /dev/ttyUSB2
echo -e "AT+CSPN?\r\n" > /dev/ttyUSB2
Connecting to the Internet
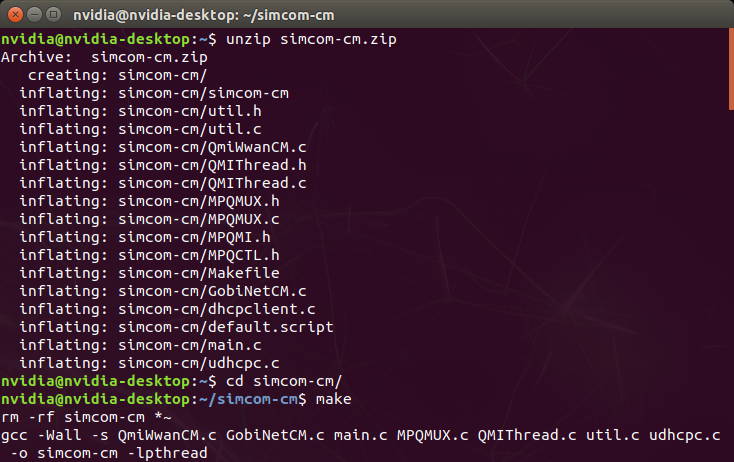
After, the GSM module enabled & connected successfully, download this module's network configuration app from here to the Jetson module. Open a terminal into the downloaded path & type these commands to rebuild the app:
unzip simcom-cm.zip
cd simcom-cm/
make
If your SIM card's PIN code disabled or unlocked with AT command (AT+CPIN), run the connection app with this command:
sudo ./simcom-cm
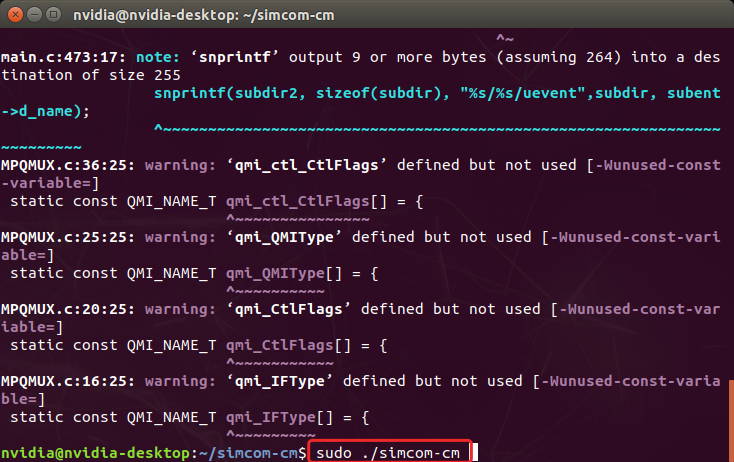
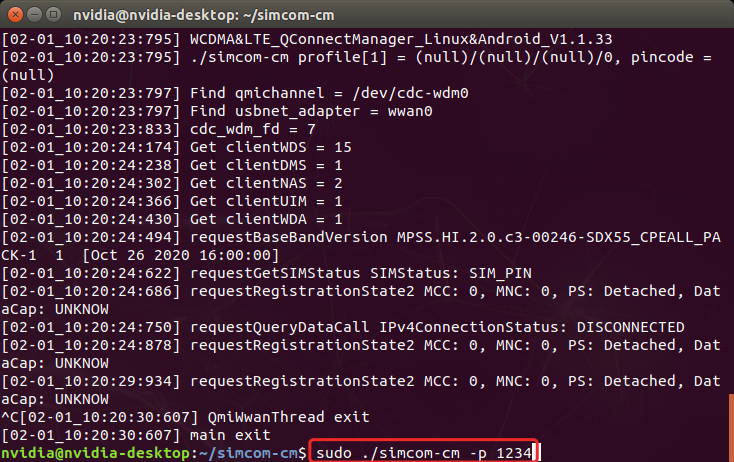
Otherwise, if your SIM card's PIN code enabled and locked, run the connection app with this command:
sudo ./simcom-cm -p {PIN_CODE}
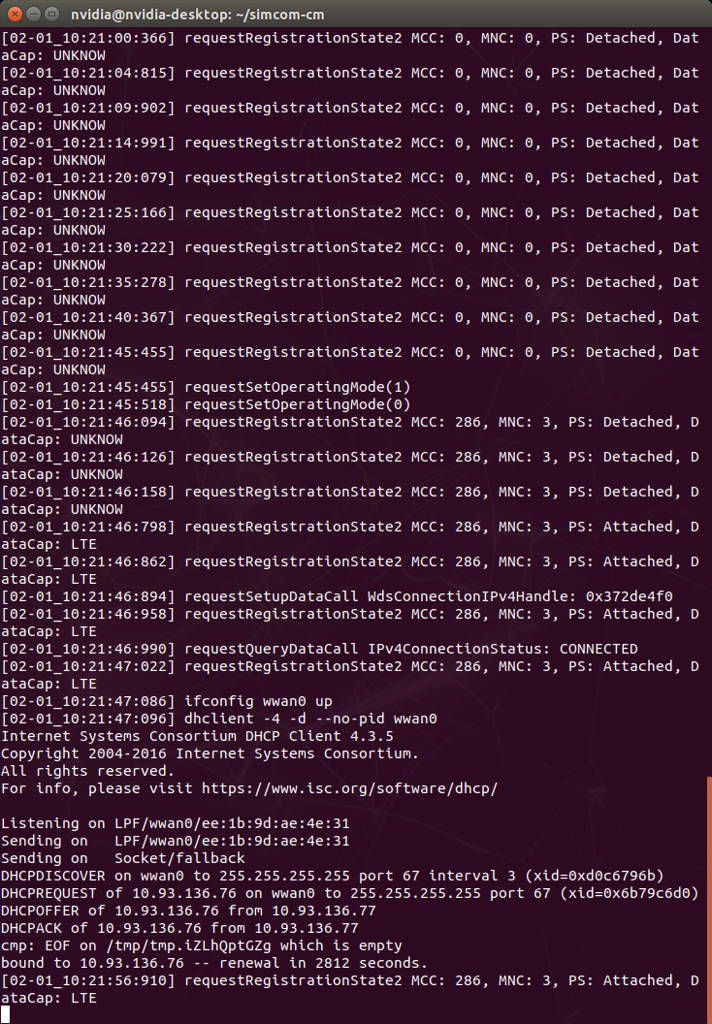
A few seconds later, the application will connect to the Internet via "wwan0" network interface. This application should run at the background while using the Internet.
Now, let's check the connection with "ifconfig" terminal command.
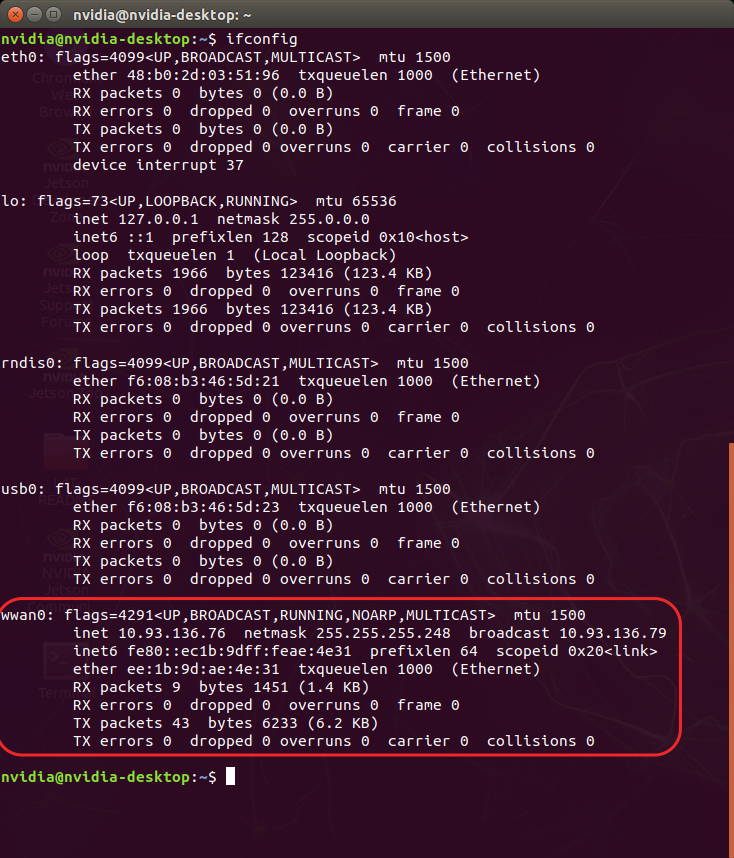
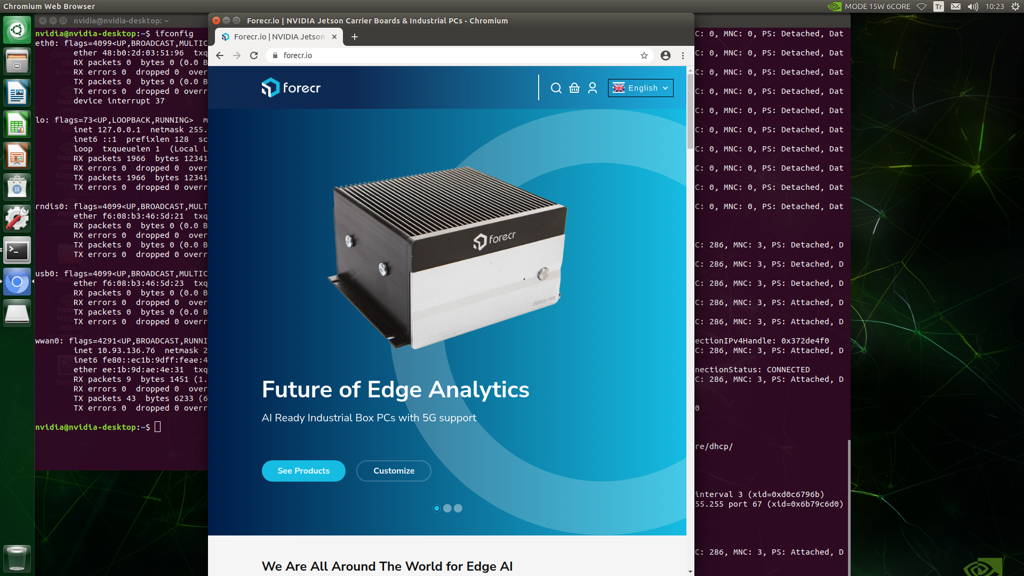
As you can see that, the network connection established successfully. Now you can test it with "ping" command on terminal & surf on browser.
Thank you for reading our blog post.