DSBOX-NX2 CANBus Interface Tutorial
WHAT YOU WILL LEARN?
1- The pinout of I/O connector
2- Example of an CANBus application
3- Examples of can-utils tools
ENVIRONMENT
Hardware: DSBOX-NX2
OS: Jetpack 4.5 (L4T-32.5)
In this blog post, we will test the CANBus interface of DSBOX-NX2.
Attention: If your DSBOX-NX2's carrier board's revision is 1.1, please follow this guide.

First, let's look over the IO connector. On the connector, there are 2 pins for CANBus and 1 for isolated ground. When using CANBus always double check which ground pin you are using. You must use digital ground for CANBus applications.

CANBus Application Example
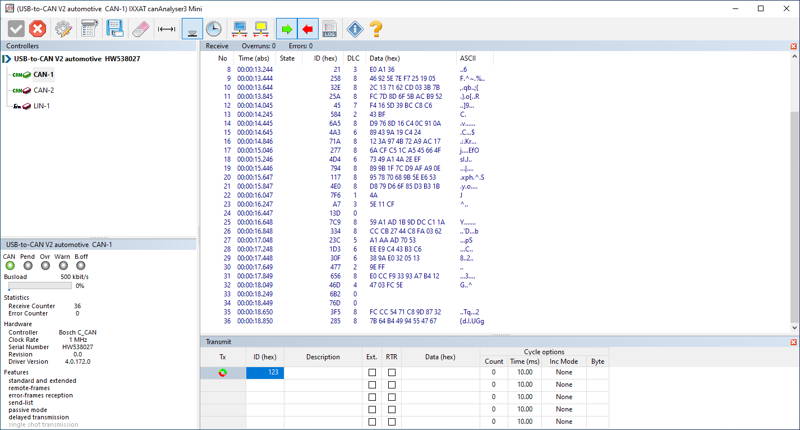
To test CANBus functionality, we used USB-CAN adapter. Connect that adapter to the USB port of the host pc and install its driver software if necessary. To the other side of the adapter connect your DSBOX-NX2 CAN pins.
If you are working with host side, connect to your DSBOX-NX2 with ssh. For this, you can use the ethernet interface or recovery USB connector. If you use recovery USB like us, IP address is 192.168.55.1.

Note: If you have monitor access to the DSBOX-NX2, you can simply open a new terminal window and jump the next step.
On next step, mux pins to use as CAN and activate CAN drivers. After these you can activate CAN interface with Ip link command. On host side be sure that you are using same bitrate with DSBOX-NX2.
sudo busybox devmem 0xc303000 32 0x0000c400
sudo busybox devmem 0xc303008 32 0x0000c450
sudo modprobe can
sudo modprobe can-raw
sudo modprobe mttcan
sudo ip link set can0 type can bitrate 500000 dbitrate 2000000 berr-reporting on fd on

Lastly, you can use can-utils tools to communicate.
Use candump to listen bus:
candump can0


Use cansend to write data:
cansend can0 123#1122334455667788


Use cangen to write random data:
cangen can0 -v


Thank you for reading our blog post.


