How to Test I2C Interface on DSBOARD-NX2 in Python?
WHAT YOU WILL LEARN?
1- How to do configurations?
2- How to test I2C?
ENVIRONMENT
Hardware: DSBOARD-NX2 with Jetson Xavier NX
OS: Jetpack 4.6
In this blog post, we will use extension port’s I2C. First we did I2C configuration. In our example we used EMC2101, we connected EMC2101 to extension port’s I2C. Afterwards, we communicated with EMC2101 using i2c python test file.
Doing Configurations
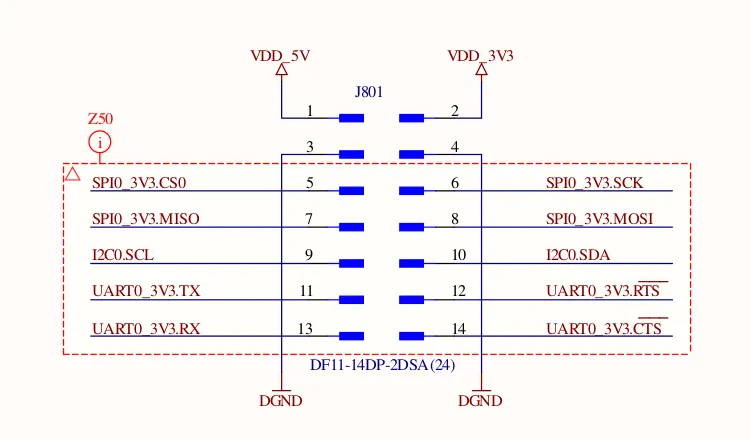
First we need to connect EMC2021 to I2C pins. Below image shows extension connector’s pinout.
Then, we will use below command to configure I2C:
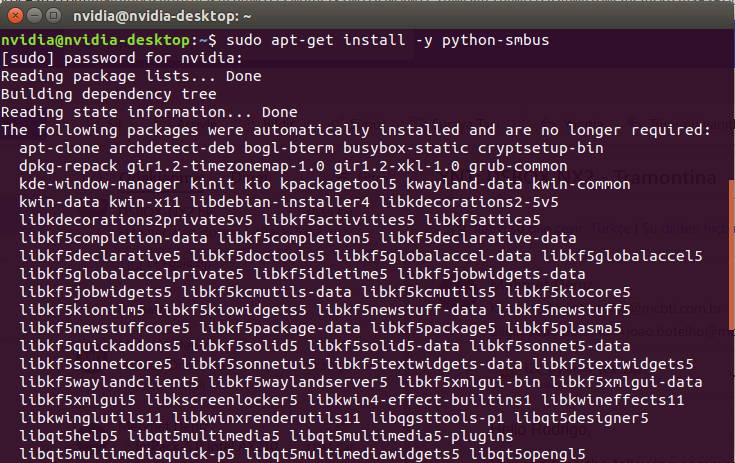
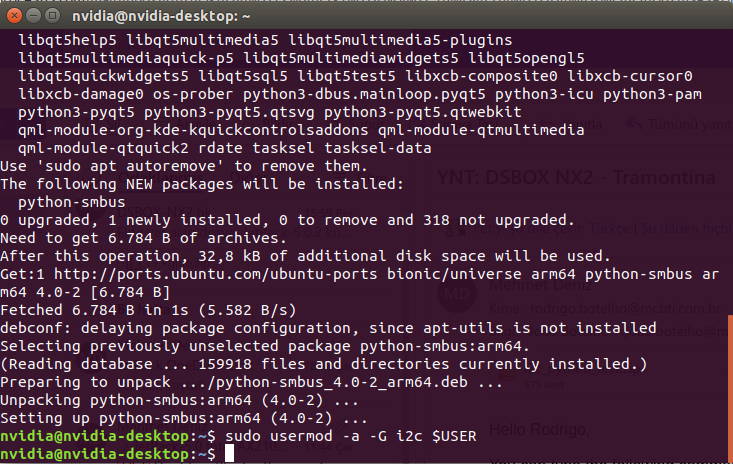
sudo apt-get install -y python-smbus
sudo usermod -a -G i2c $USER
reboot
Testing I2C
i2cdetect -y -r 1
For Jetson Nano & TX2 NX, use the following command below:
i2cdetect -y -r 0
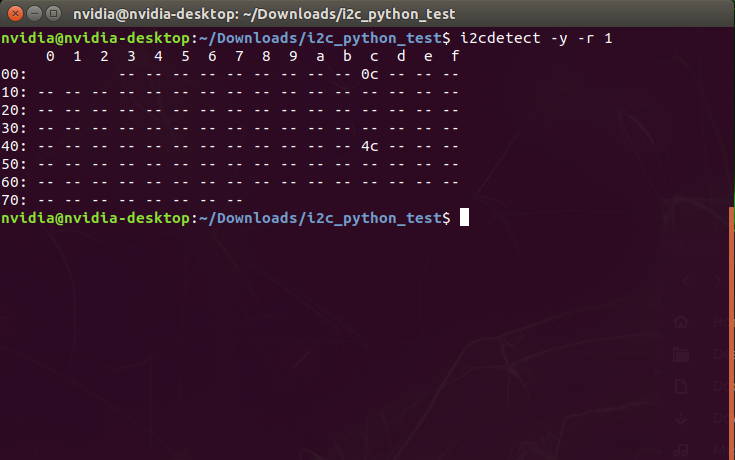
EMC2101 SMBus address is 0x4C, as we can see above.
We used internal temp limit address in our code which is 0x05 and 0x0B, default value of that address is 0x46(decimal 70). You can change it and read another address.
Then, we will execute the test file using below command (we renamed the test file as "i2c_test.py"):
python i2c_test.py

The output result returned as 70 (same value from its datasheet). This confirms our I2C communication.
Thank you reading our blog post.