JetPack-4.4.1 Installation for DSBOARD-XV2
WHAT YOU WILL LEARN?
1-Including the Image and DTB file in Jetson OS Image
2- Jetson OS Installation
3- Jetson SDK Components Installation
ENVIRONMENT
Hardware: DSBOARD-XV2
Host OS: Ubuntu 18.04
In this tutorial, we will install JetPack-4.4.1 for DSBOARD-XV2. First we will include our Image and DTB file in Jetson OS image. Then, we will install the Jetson OS into the DSBOARD-XV2.
Including the Image and DTB file in Jetson OS Image
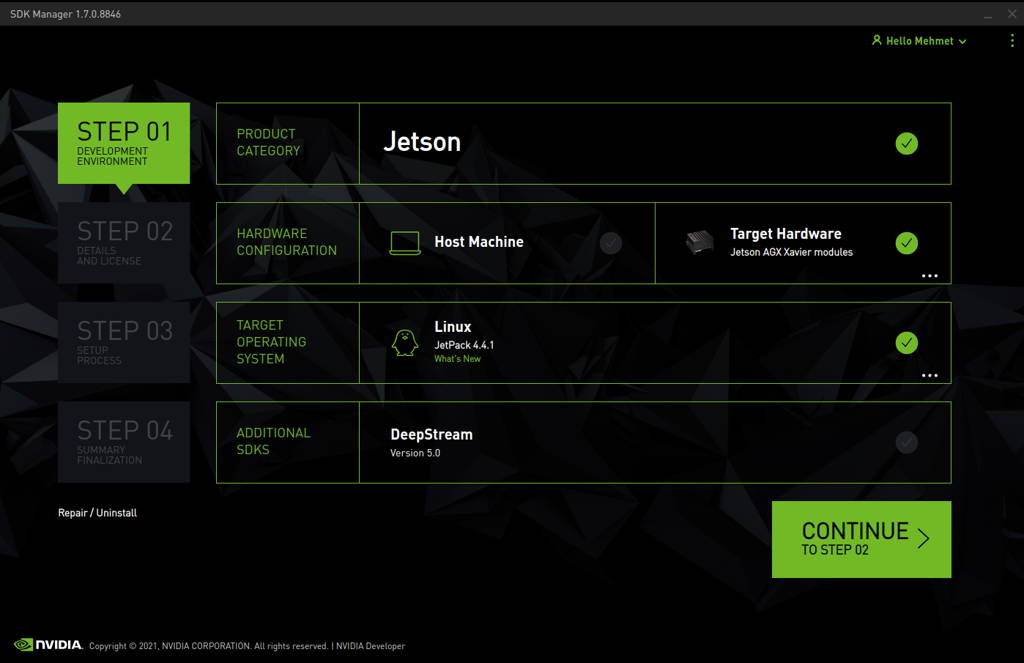
Open the NVIDIA SDK Manager. Select “JetPack 4.4.1” for Target Operating System and “Jetson AGX Xavier modules” for Target Hardware. (The “Host Machine” components are not required) Then continue to Step 2.
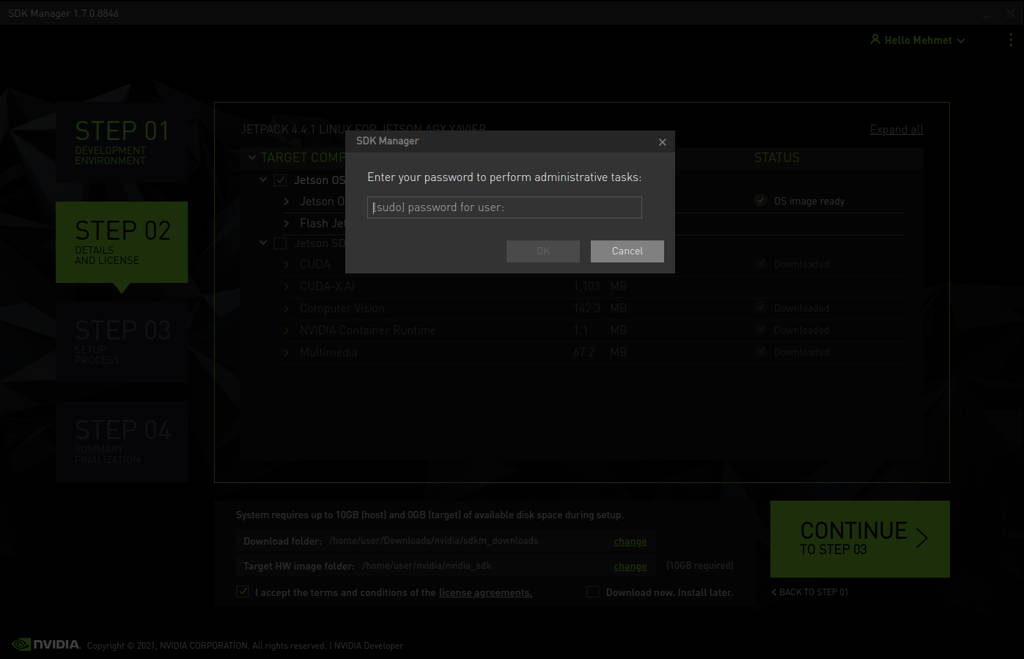
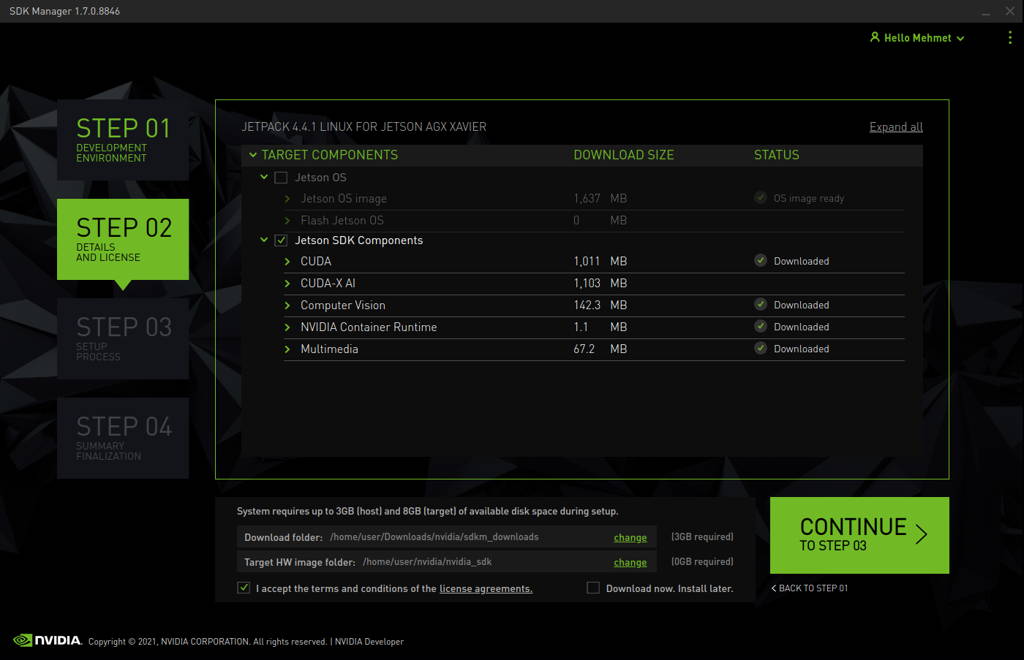
Choose only “Jetson OS”, accept the terms & conditions and continue to Step 3.

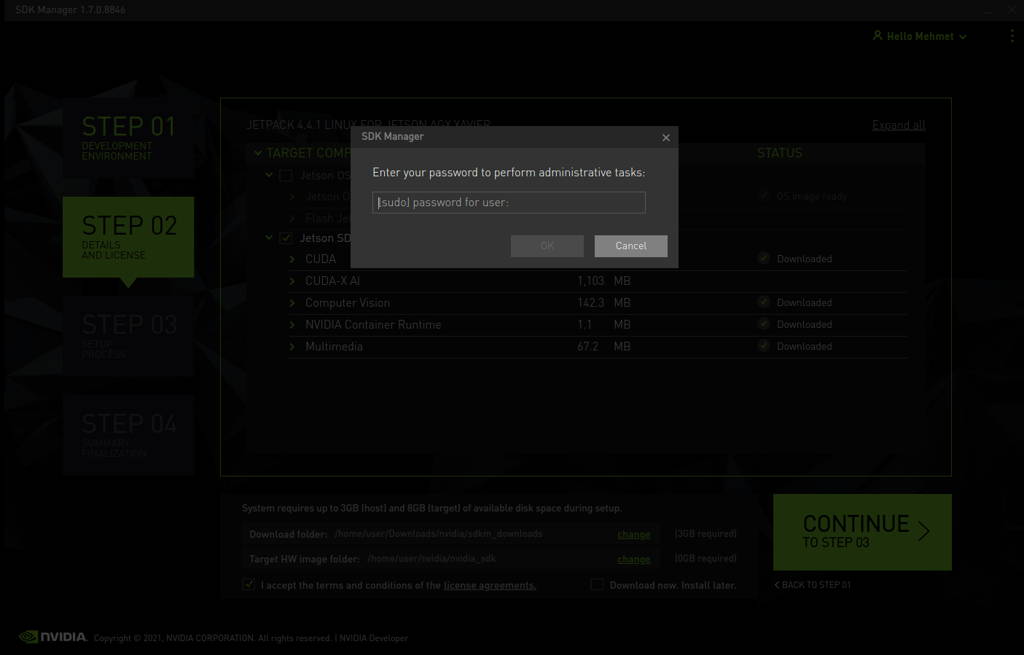
The SDK Manager will ask the username’s password. Fill it and continue.
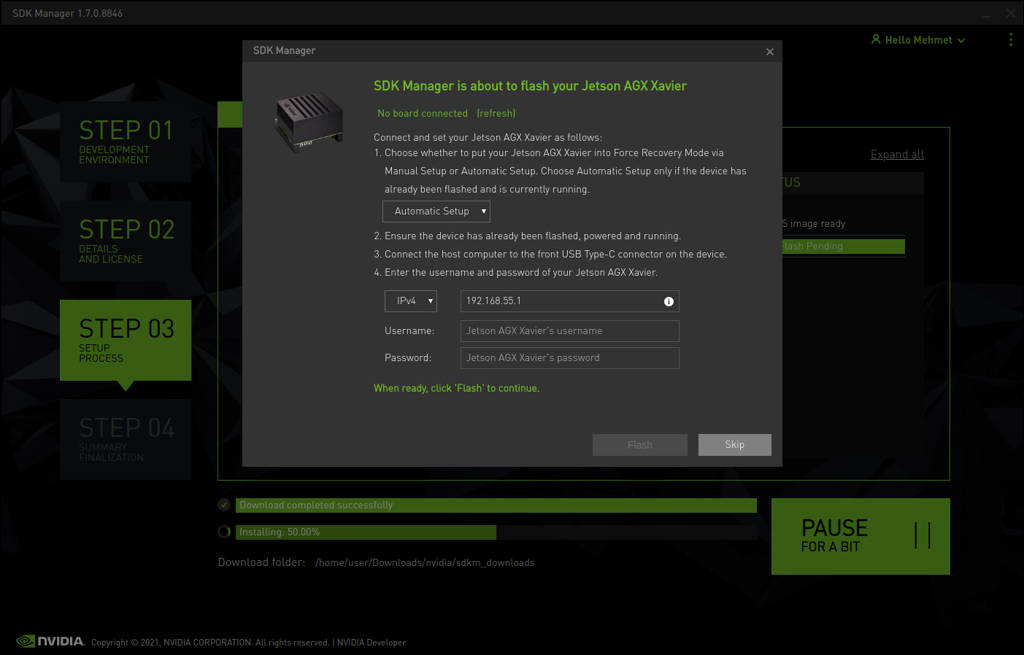
After the Jetson OS has created, the SDK Manager asks the Jetson module’s flashing style. Just skip it and exit from the SDK Manager.

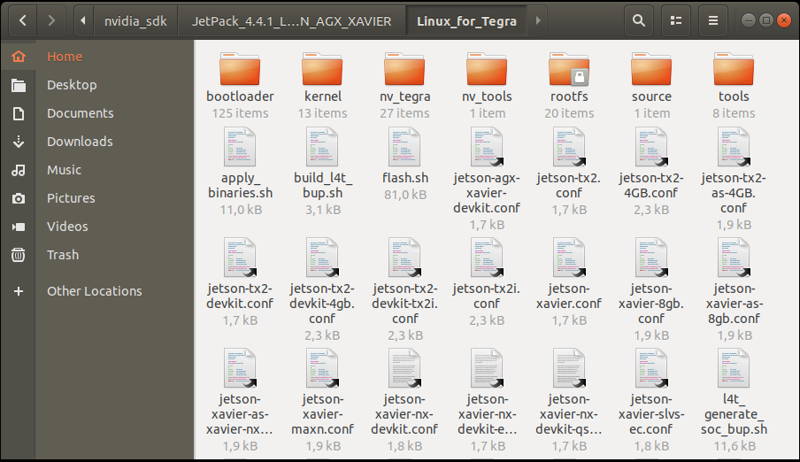
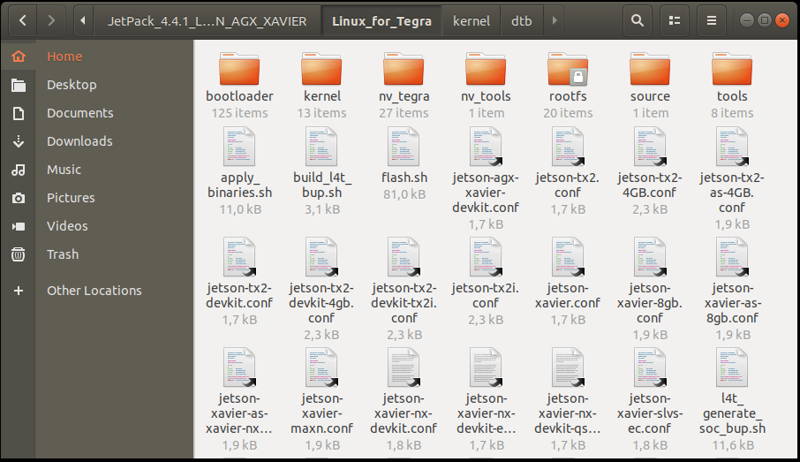
Open the target HW image folder. (${HOME}/nvidia/nvidia_sdk/JetPack_4.4.1_Linux_JETSON_AGX_XAVIER/Linux_for_Tegra/)
Download the BSP files from GitHub link and extract it:
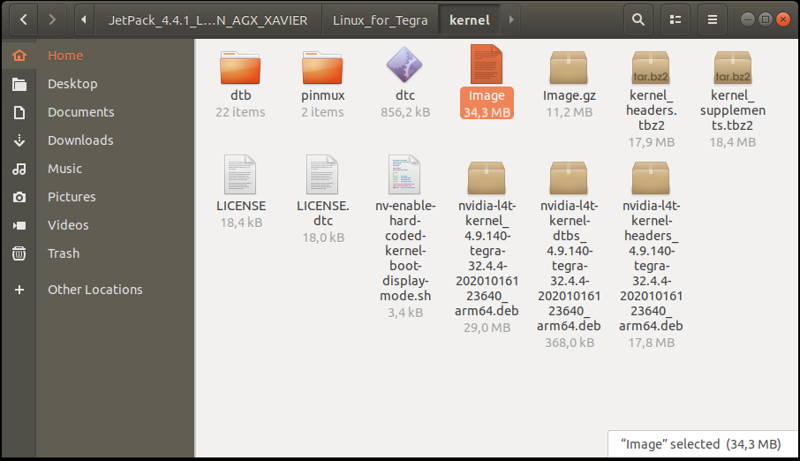
Copy the Image file from the extracted folder to the “kernel” folder.
Then copy the DTB file into the “kernel/dtb” folder.

Return to the “Linux_for_Tegra” folder and open a Terminal.
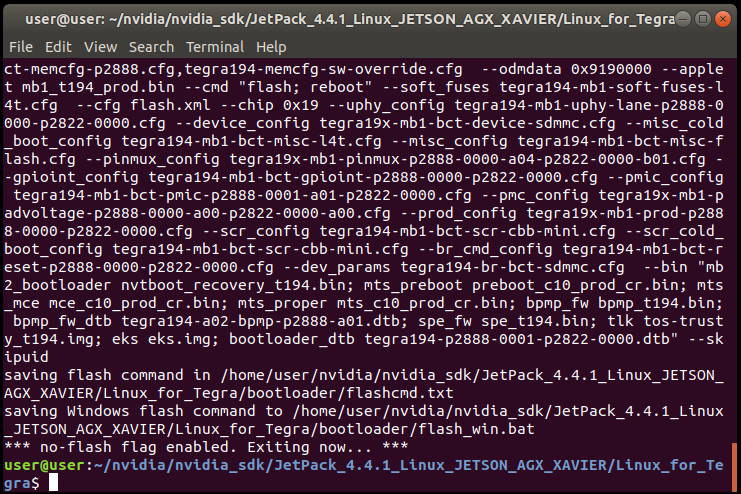
Then, create the system image again with this command:
sudo ./flash.sh --no-flash jetson-xavier mmcblk0p1

A few seconds later …
Jetson OS Installation
Connect the recovery USB (between installer PC & DSBOARD-XV2's recovery USB) and power connection of your DSBOARD-XV2.
While the DSBOARD-XV2's power connector plugged in,
• wait for boot led lights up.
• press reset & recovery buttons together
• release reset button
• release the recovery button after 3 seconds later. This will set it to Recovery mode.
Then type “lsusb” and check the device connected in Recovery mode (0955:7019 NVidia Corp.)

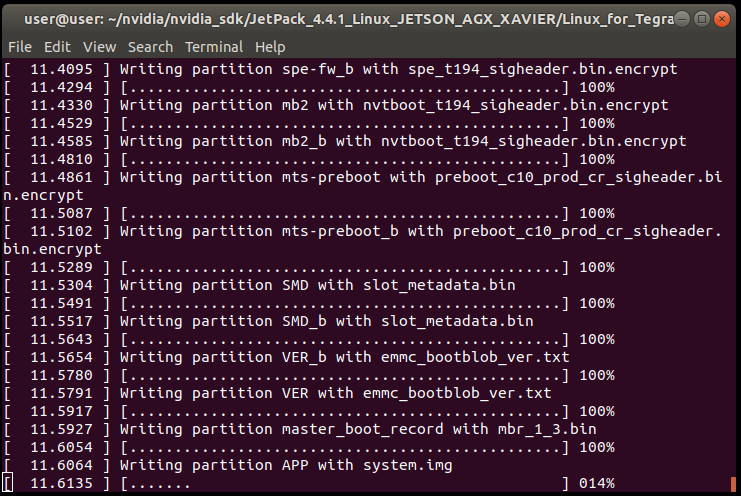
Flash the Jetson OS with this script:
sudo ./flash.sh -r jetson-xavier mmcblk0p1

A few seconds later …
At the end of the script, the device will reboot. Complete your Ubuntu installation wizard from the DSBOARD-XV2 (language, keyboard type, location, username & password etc.).

To avoid kernel update with "apt upgrade" or "apt-get upgrade" commands, please follow this guide on the Jetson module.
Jetson SDK Components Installation
Delete LibreOffice & ThunderBird packages (if you don’t need) and remove the unnecessary packages to increase the free space. To do this type these commands to the DSBOARD-XV2 side:
sudo apt remove -y libreoffice* thunderbird*
sudo apt autoremove -y
sudo apt clean
Connect the DSBOARD-XV2 to the Ethernet. Then open the NVIDIA SDK Manager. Select “JetPack 4.4.1” for Target Operating System and “Jetson AGX Xavier modules” for Target Hardware. (The “Host Machine” components are not required) Then continue to Step 2.

Choose only “Jetson SDK Components”, accept the terms & conditions and continue to Step 3.
The SDK Manager will ask the username’s password. Fill it and continue.
Type the IP address, username and password of DSBOARD-XV2 and install the SDK Components.

At the end of the installation, the DSBOARD-XV2 becomes ready.
Thank you for reading our blog post.