How to Test SPI Interface on DSBOARD-NX2 with TX2 NX in C?
WHAT YOU WILL LEARN?
1- How to configure BSP files to enable SPI?
2- How to Test SPI?
ENVIRONMENT
Hardware: DSBOARD-NX2 with Jetson TX2 NX
OS: Jetpack 4.6
In this blog post, we will use SPI port which is on the extension connector. First we will flash the module which includes BSP files. Then, we will copy test file to Jetson. Afterwards, we can build test file and execute it.
Configuring BSP Files
Open the target HW image folder.
(${HOME}/nvidia/nvidia_sdk/JetPack_4.6_Linux_JETSON_TX2_TARGETS/Linux_for_Tegra/)

Download SPI BSP files from here & extract it.
Copy files that mentioned below to the directories inside JetPack-4.6.
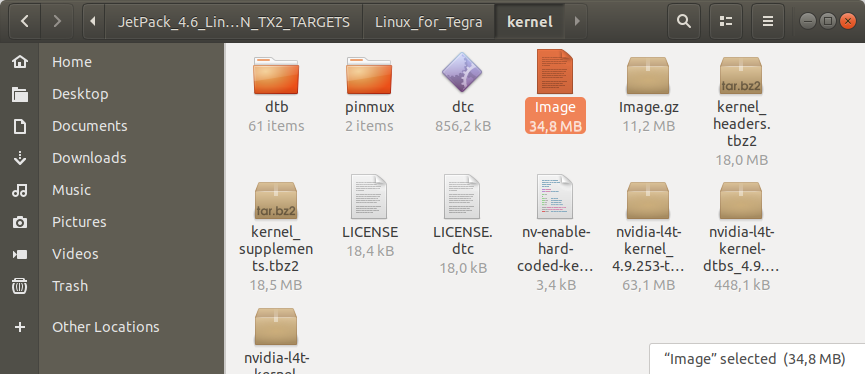
Move the Image file inside to ./kernel/ directory and overwrite on the file that exist before.
Move the DTB file inside to ./kernel/dtb directory and overwrite on the file that exist before.
Attention: If you use one of the previous DSBOARD-NX2 (rev-1.0, 1.1 & 1.21) carrier boards, please use the DTB file from the “without_fan” folder.

Move the BPMP-DTB file to ./bootloader/t186ref directory and overwrite on the file that exist before.

Move the pinmux config file to ./bootloader/t186ref/BCT directory and overwrite on the file that exist before.

Return to the “Linux_for_Tegra” folder and open a Terminal.

Type "lsusb" and check the device connected in Recovery mode (0955:7c18 NVidia Corp.)

After this step, you can flash the module with the command below.
sudo ./flash.sh jetson-xavier-nx-devkit-tx2-nx mmcblk0p1

When the flash is successfully done, the module will reboot and open itself.
Testing SPI
First, we need to connect MOSI to MISO pins with a jumper. Below image shows connector’s pinout.

After that, we need to download spidev_test file from here and extract it.
Then, go to file destination, open a terminal there and compile this file using below command:
gcc spidev_test.c -o spidev_test

After this step, use below command to test SPI:
sudo ./spidev_test -D /dev/spidev0.0

Thank you for reading our blog post.