How to Login to the Jetson with Forgotten Password?
WHAT YOU WILL LEARN?
ENVIRONMENT
Hardware: DSBOX-NX2
OS: JetPack 4.6
Language: Bash
In this blog post, we will reconnect to a Jetson module with a forgotten password. First, we will prepare the Jetson hardware image folder at the host PC with our custom BSP files. Then, we will clone the Jetson module and change the user's password at the Jetson image file. Finally, we will flash the changed image on it.
Preparing the Jetson Hardware Image Folder
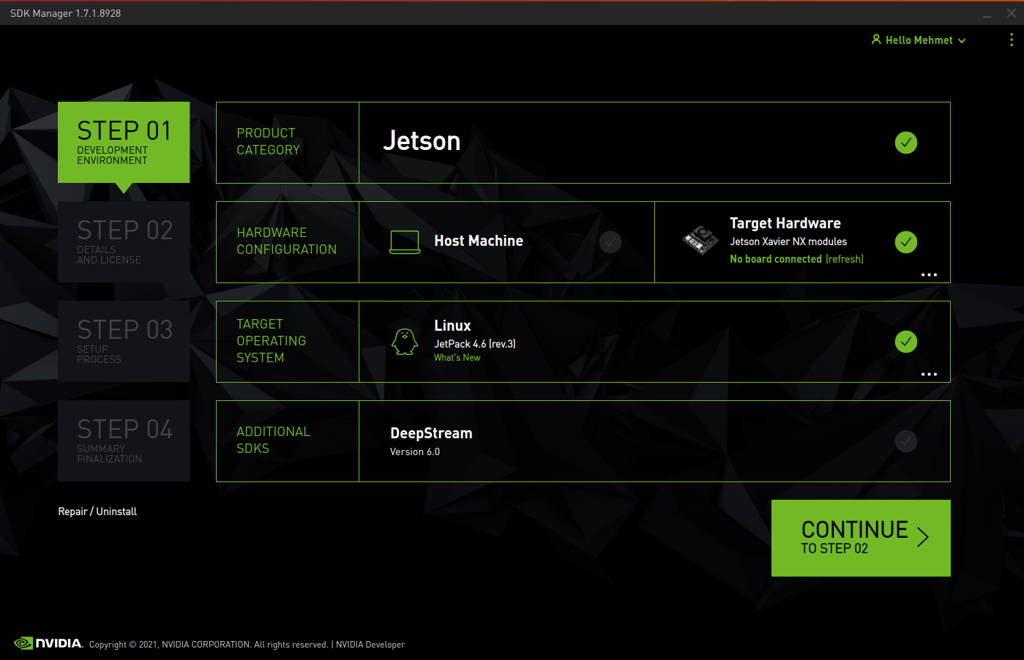
Open the NVIDIA SDK Manager. Select the JetPack version for Target Operating System and Jetson module type for Target Hardware. (The “Host Machine” components are not required) Then continue to Step 2.
In this tutorial, we created it for Jetson Xavier NX (JetPack-4.6).
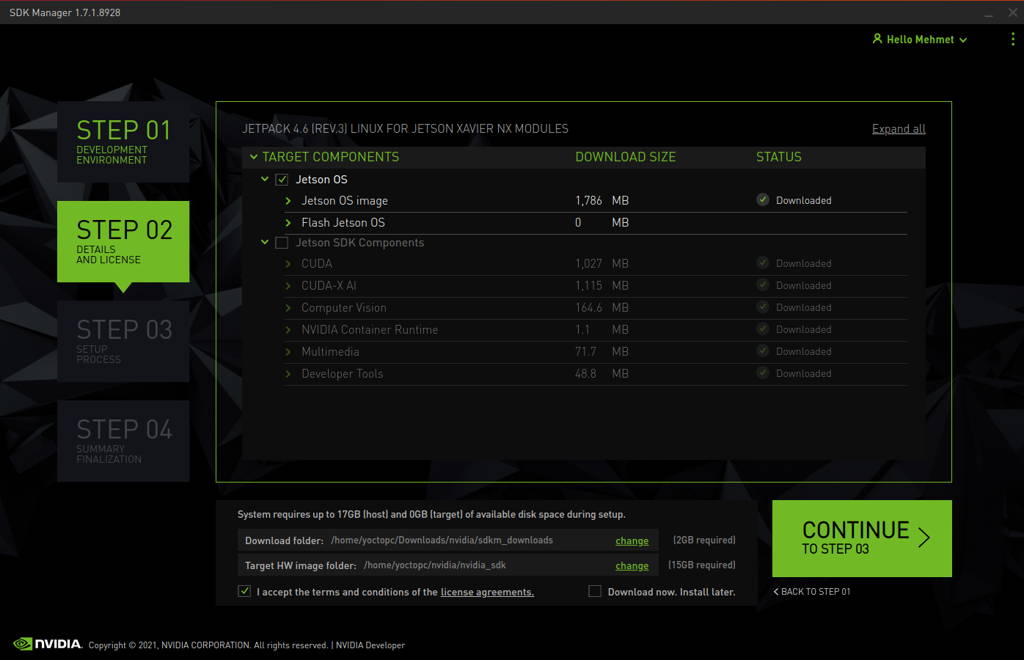
Choose only “Jetson OS”, accept the terms & conditions and continue to Step 3.
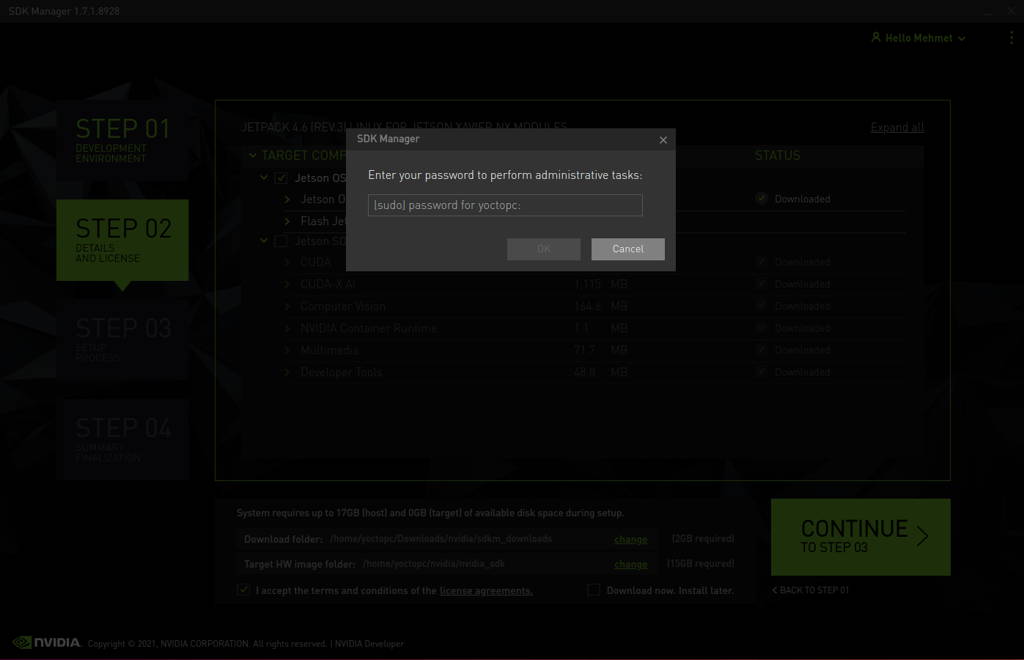
The SDK Manager will ask the username’s password. Fill it and continue.
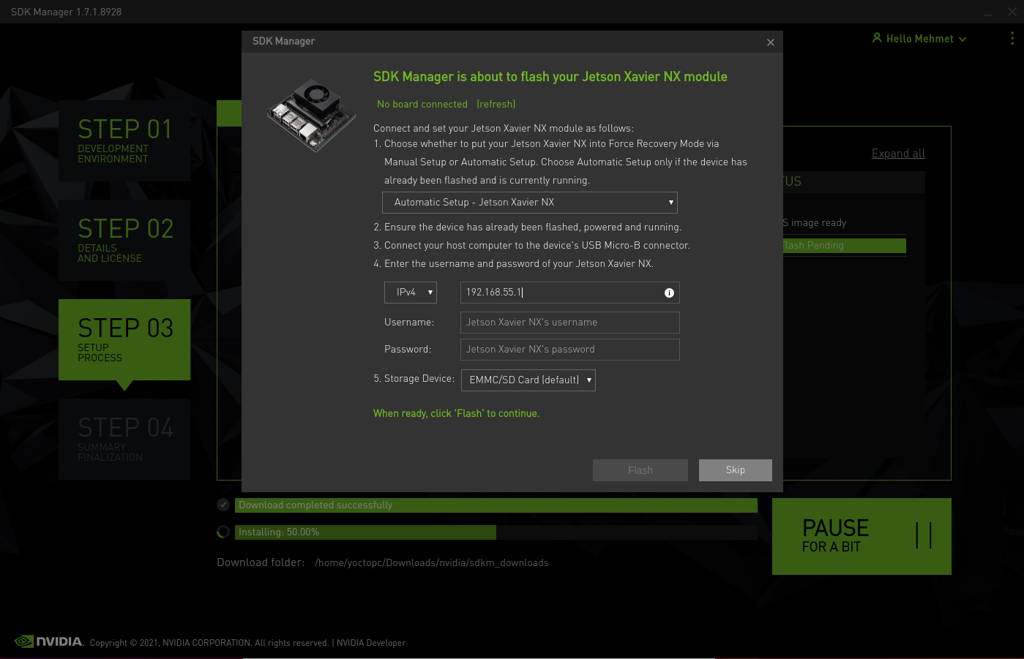
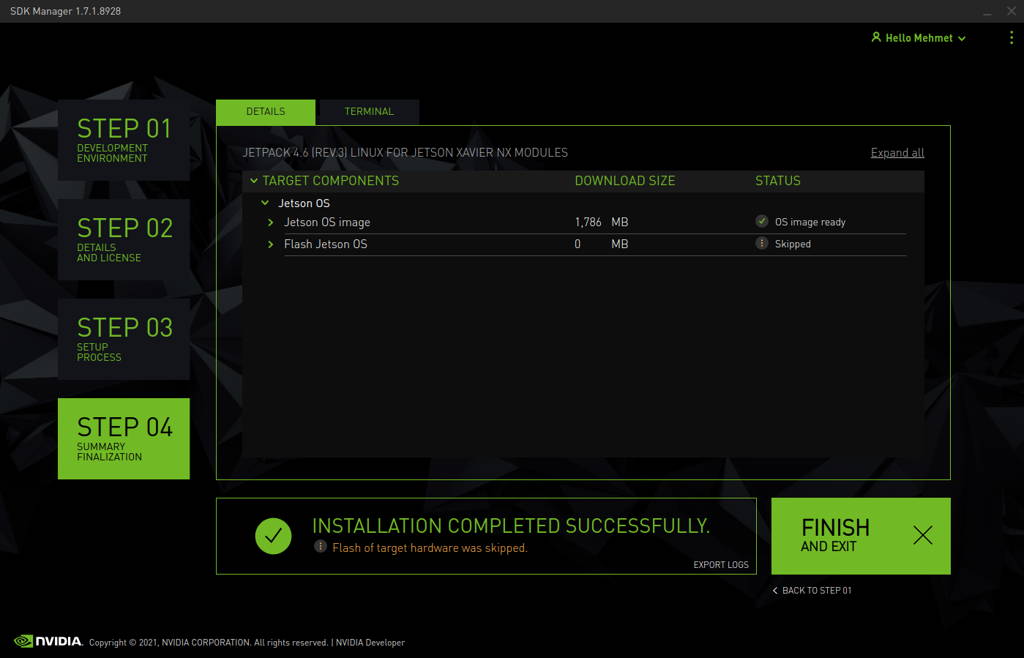
After the Jetson OS has created, the SDK Manager asks the Jetson module’s flashing style. Just skip it and exit from the SDK Manager.
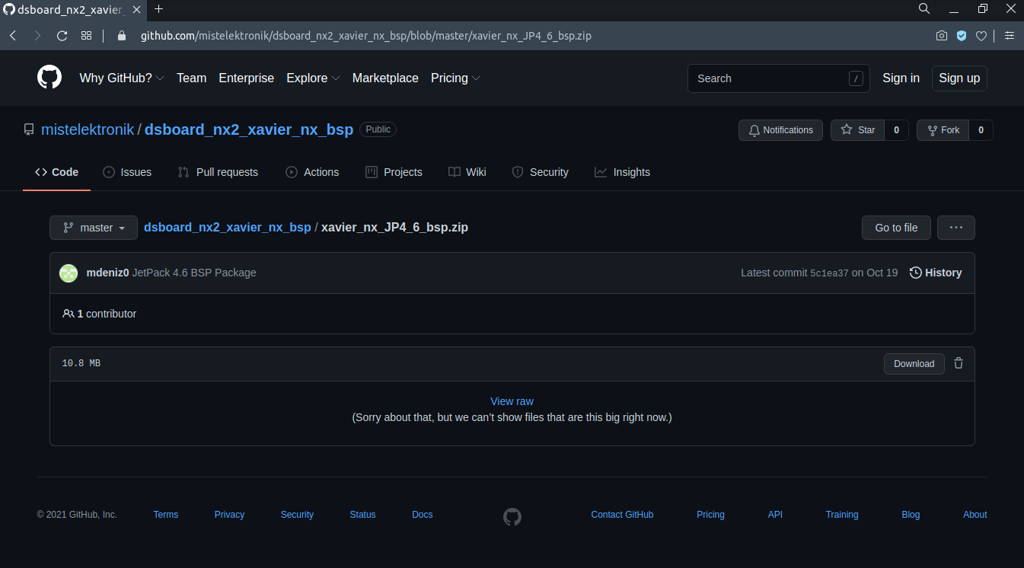
Download our custom BSP files for your Jetson module type from GitHub.
For Jetson Xavier NX (DSBOARD-NX2): https://github.com/forecr/dsboard_nx2_xavier_nx_bsp
For Jetson TX2 NX (DSBOARD-NX2): https://github.com/forecr/dsboard_nx2_tx2_nx_bsp
For Jetson Nano (DSBOARD-NX2): https://github.com/forecr/dsboard_nx2_nano_bsp
For Jetson AGX Xavier (DSBOARD-XV2): https://github.com/forecr/dsboard_xv2_agx_xavier_bsp
For Jetson AGX Xavier (MILBOARD-XV): https://github.com/forecr/milboard_xv_agx_xavier_bsp
In our setup, we downloaded the JetPack-4.6 BSP package for Xavier NX (DSBOARD-NX2).
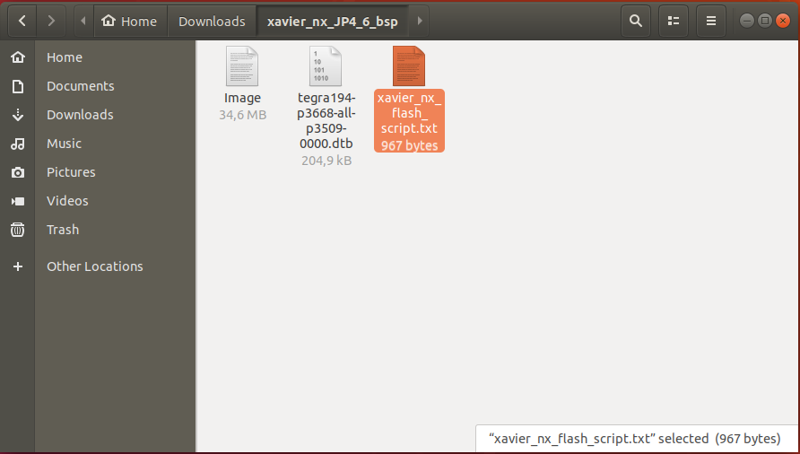
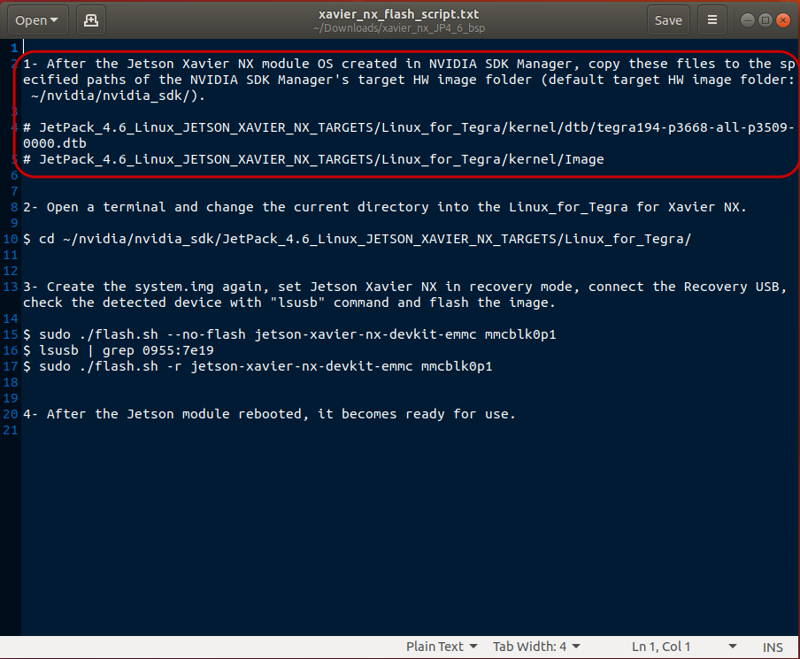
Extract the downloaded archive file and follow the first copying step at the text file (.txt).
For Jetson Xavier NX, we copied the Image and tegra194-p3668-all-p3509-0000.dtb files into their specified paths.
Now, the Jetson hardware image folder is ready to clone the Jetson module.
Cloning the Jetson & Changing the Password
Change the current directory to the Jetson hardware image folder on terminal.
In our setup, our image folder is "~/nvidia/nvidia_sdk/JetPack_4.6_Linux_JETSON_XAVIER_NX_TARGETS/Linux_for_Tegra".
cd ~/nvidia/nvidia_sdk/JetPack_4.6_Linux_JETSON_XAVIER_NX_TARGETS/Linux_for_Tegra
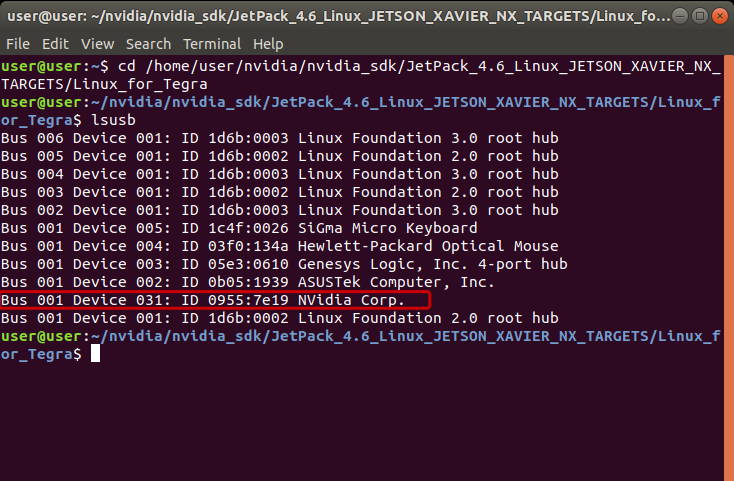
Connect the Jetson module's Recovery USB to the host PC and set it in Recovery Mode. Then, check it connected successfully.
lsusb
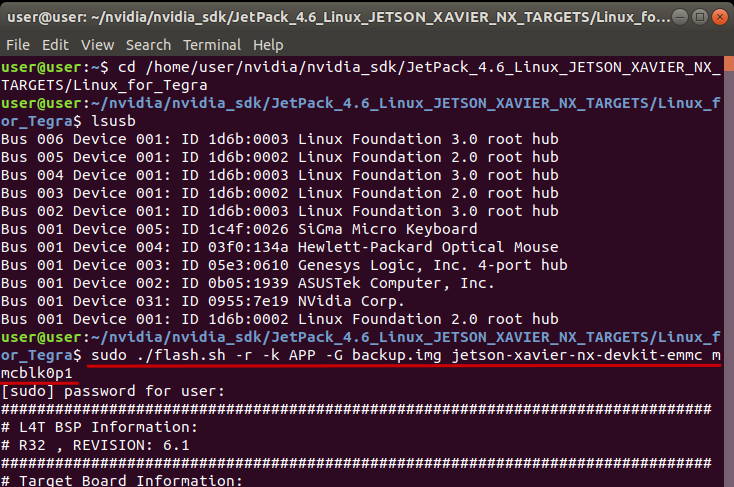
Now, clone the Jetson module. (The "target_module_type" for Xavier NX is "jetson-xavier-nx-devkit-emmc", for TX2 NX is "jetson-xavier-nx-devkit-tx2-nx", for Nano is "jetson-nano-emmc" & for AGX Xavier is "jetson-xavier")
sudo ./flash.sh -r -k APP -G backup.img {target_module_type} mmcblk0p1
In our setup, we typed this command:
sudo ./flash.sh -r -k APP -G backup.img jetson-xavier-nx-devkit-emmc mmcblk0p1
At the end of the backup step, give writing privileges to the RAW image.
sudo chmod 755 backup.img.raw

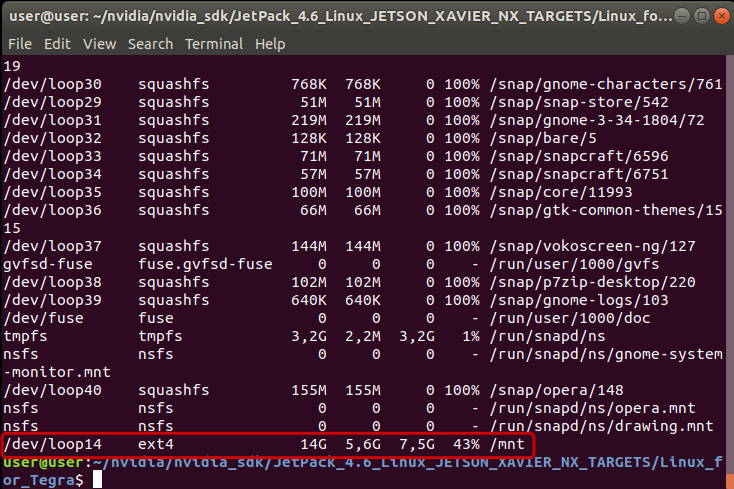
Mount the RAW image and check it's connected successfully with these commands:
sudo mount -t ext4 -o loop backup.img.raw /mnt
df -aTh
Read the "/etc/shadow" file and copy the hash code which contains your current user's password at the host PC.
sudo cat /etc/shadow
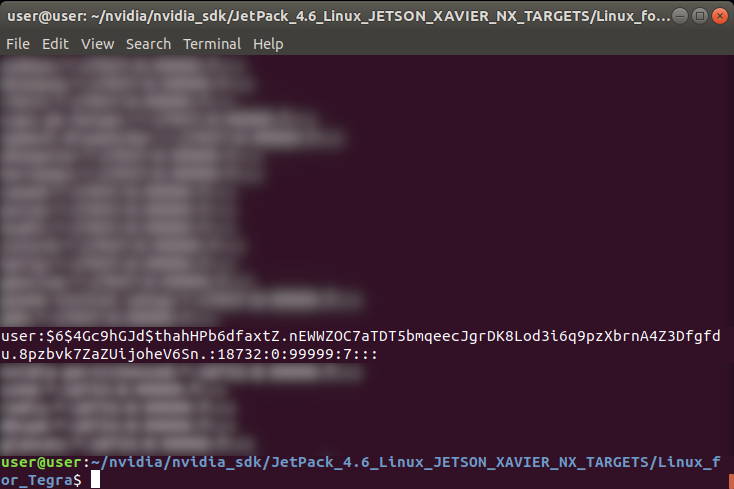
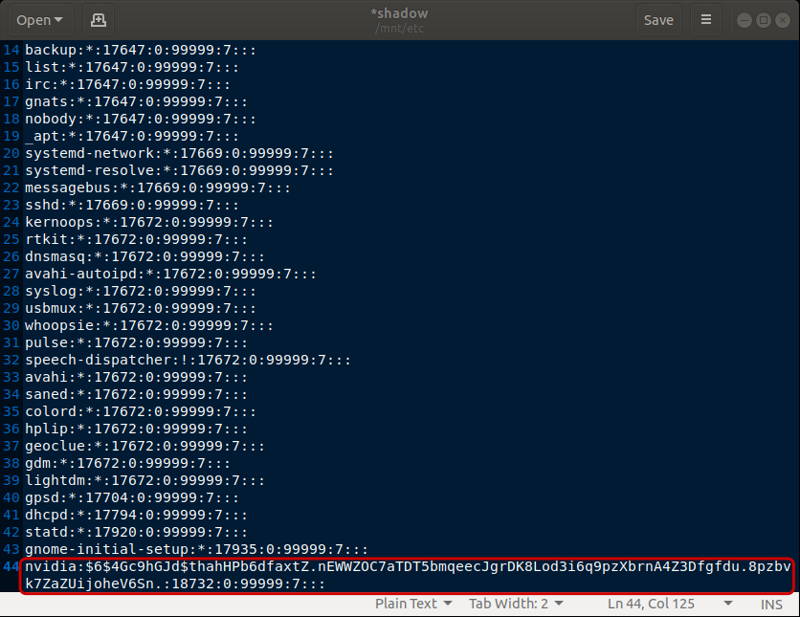
Copy the hash code to the Jetson's Backup image's "/etc/shadow" file (it contains on /mnt/etc/shadow).
We used "gedit" text editor to edit the file. You can use another text manager too.
sudo gedit /mnt/etc/shadow
Unmount the RAW image, remove the default images (if they created before) and move the backup RAW image into the bootloader folder.
sudo umount /mnt
sudo rm bootloader/system.img*
sudo mv backup.img.raw bootloader/system.img
Flashing the Image on Jetson
Now, connect the Jetson module's Recovery USB to the host PC and set it in Recovery Mode. Then, flash the updated image on it. (The "target_module_type" for Xavier NX is "jetson-xavier-nx-devkit-emmc", for TX2 NX is "jetson-xavier-nx-devkit-tx2-nx", for Nano is "jetson-nano-emmc" & for AGX Xavier is "jetson-xavier")
sudo ./flash.sh -r {target_module_type} mmcblk0p1
In our setup, we typed this command:
sudo ./flash.sh -r jetson-xavier-nx-devkit-emmc mmcblk0p1
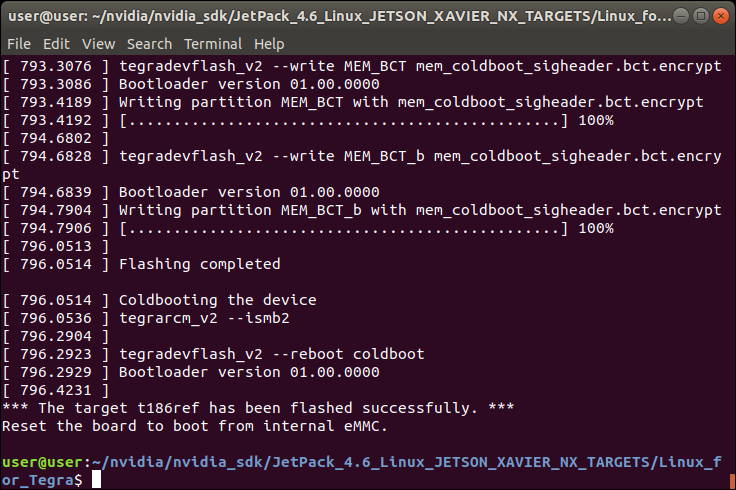
At the end of the flashing script, the Jetson module rebooted and logged in successfully with host PC's password.
Thank you for reading our blog post.
For more information on our range of compatible systems for your Jetson modules, including the DSBOX-NX2, check out our collection of Industrial Box PCsdesigned to support Jetson Xavier NX and other Jetson modules.