Hardware: DSBOX-NX2
OS: JetPack 4.5 (L4T-32.5.0)
In this post, we will explain how to run YOLO real-time object detection with Docker on NVIDIA Jetson Xavier NX. The process is the same with NVIDIA Jetson Nano and AGX Xavier. Firstly, we have to pull a Docker image which is based on NVIDIA L4T ML.
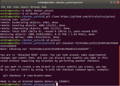
First, pull the relevant container as shown below. Then, create the YOLOv5 folder and pull the Ultralytic’s repository:
docker pull nvcr.io/nvidia/l4t-ml:r32.5.0-py3
mkdir docker_yolov5
cd docker_yolov5/
git clone https://github.com/ultralytics/yolov5
cd yolov5/
git checkout 91547edec1a33121b3607e8c946e051514182b4f
cd ..
mv yolov5/ standard
mkdir pytorch_hub
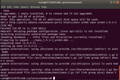
We can run the Docker container by using the below command. When we go into the container, we need to update "apt" package and install "nano" text editor (You can install a different text editor you would like to use.).
docker run -it --gpus all -v /home/nvidia/docker_yolov5/:/yolov5 -e DISPLAY=:0 -v /tmp/.X11-unix:/tmp/.X11-unix nvcr.io/nvidia/l4t-ml:r32.5.0-py3
cd yolov5/standard/
apt update
apt install nano
We need to install some python packages. The required packages are identified in the "requirements.txt" file. Before the install of those packages, we need to make some arrangements inside the file.
Open "requirements.txt" file and set "opencv-python", "torch" and "torchvision" should be changed as comment lines because there is the possibility of version incompatibility for those packages and these packages are still installed. We do not need them.
nano requirements.txt

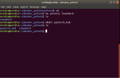
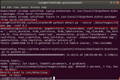
After making arrangements, we install the required packages by using the below command.
pip3 install -r requirements.txt
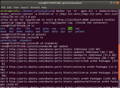
Now, we are ready to test YOLOv5 with test image.
python3 detect.py --source ./data/images/zidane.jpg --conf 0.5
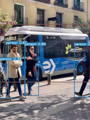
Here is the saved test image.

Additionally, you can test YOLOv5 environment with another examples. We tested a simple example from this page:
https://pytorch.org/hub/ultralytics_yolov5/#load-from-pytorch-hub
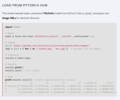
We created the test file out of Docker. In this file, we changed the model file (line 4) from:
model = torch.hub.load('ultralytics/yolov5', 'yolov5s', pretrained=True)
to
model = torch.hub.load('/yolov5/standard', 'custom', '/yolov5/standard/yolov5s.pt', source = 'local')

Change the current directory and run the test script.
cd ../pytorch_hub
python3 pytorch_example.py
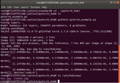
The result images are stored in:
“/yolov5/pytorch_hub/runs/hub/exp/” path into the Docker container
and “~/docker_yolov5/pytorch_hub/runs/hub/exp” path into the host PC side.
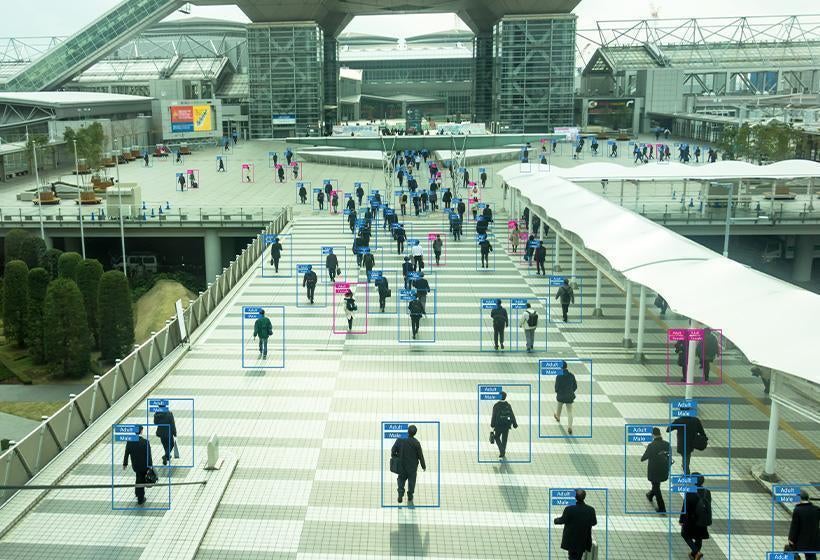
Here are the result images:

Thank you for reading our blog post.