

Yocto Guide for Forecr Jetson Thor series
Featured Products
Intro
Welcome to the yocto guide of meta-tegra-forecr layer. In this guide we will cover everything you need to quickly start working with this Yocto Project.
Before You Start
Building Yocto images is resource and time intensive. Make sure your machine has:
- Disk space: at least 400GB free
- RAM: 16GB minimum, more is better
- OS: Ubuntu 22.04 LTS or higher
- Time: a first build from scratch can take several hours; incremental rebuilds after that are much faster thanks to Yocto's shared-state cache
What Do You Get
Currently with this wrynose repo you are getting a JetPack version 7.2. Also our meta-tegra-forecr layer include DeepStream 9.1, CUDA, cuDNN, and TensorRT preinstalled and ready to use out of the box — no separate SDK Manager download or manual package installation needed.
Getting the Environment Ready
Our meta-tegra-forecr layer depends on meta-tegra layer. That means you can't use this layer as it is.
To get the workspace ready, in a fresh shell:
To get the workspace ready, in a fresh shell:
# Create an empty folder which will contain all the Yocto sources
$ mkdir yocto_forecr
$ cd yocto_forecr
It's important to start on a fresh workspace folder because in a minute we will clone bunch of files to that folder.
Afterwards we need to clone the meta-tegra-forecr bitbake layer.
$ git clone https://github.com/forecr/meta-tegra-forecr.git -b wrynose
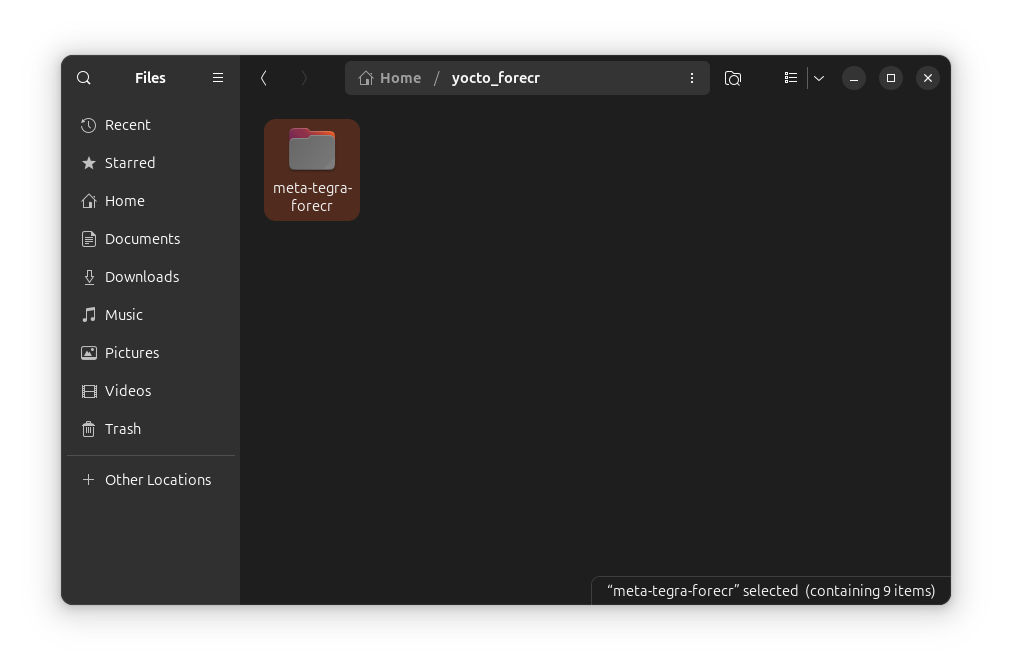
Inside the meta-tegra-forecr there will be a script called build_bitbake.sh. Move that to a folder we created.
$ cd ${PATH_TO_WORKSPACE_FOLDER}/yocto_forecr
$ cp meta-tegra-forecr/build_bitbake.sh .
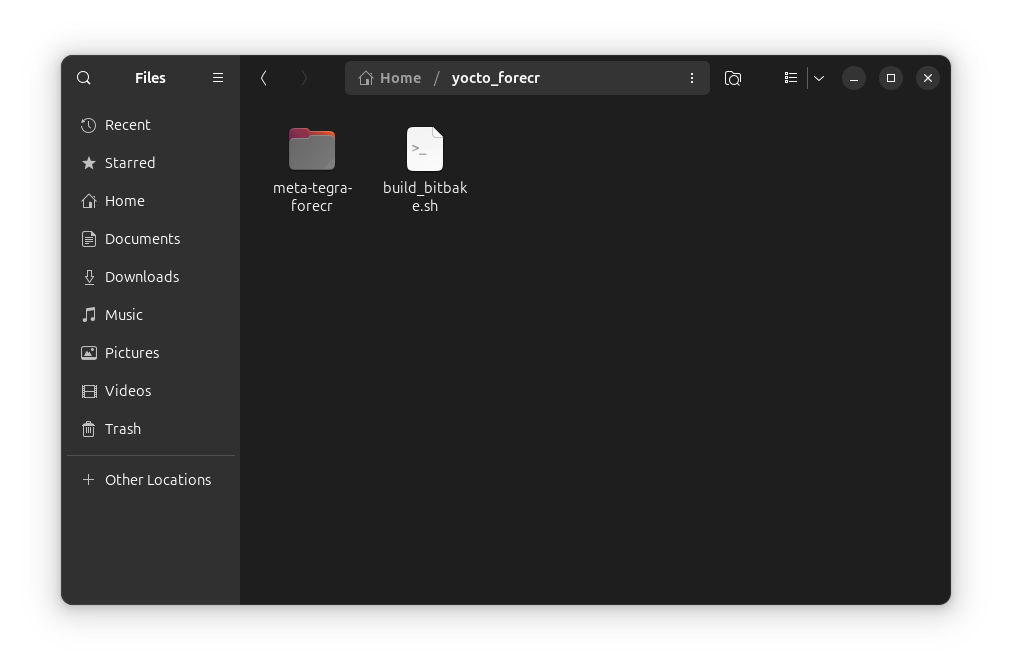
This build_bitbake.sh script is a powerful script that will set up and drive a bitbake build for this workspace.
THORMAX-T5000
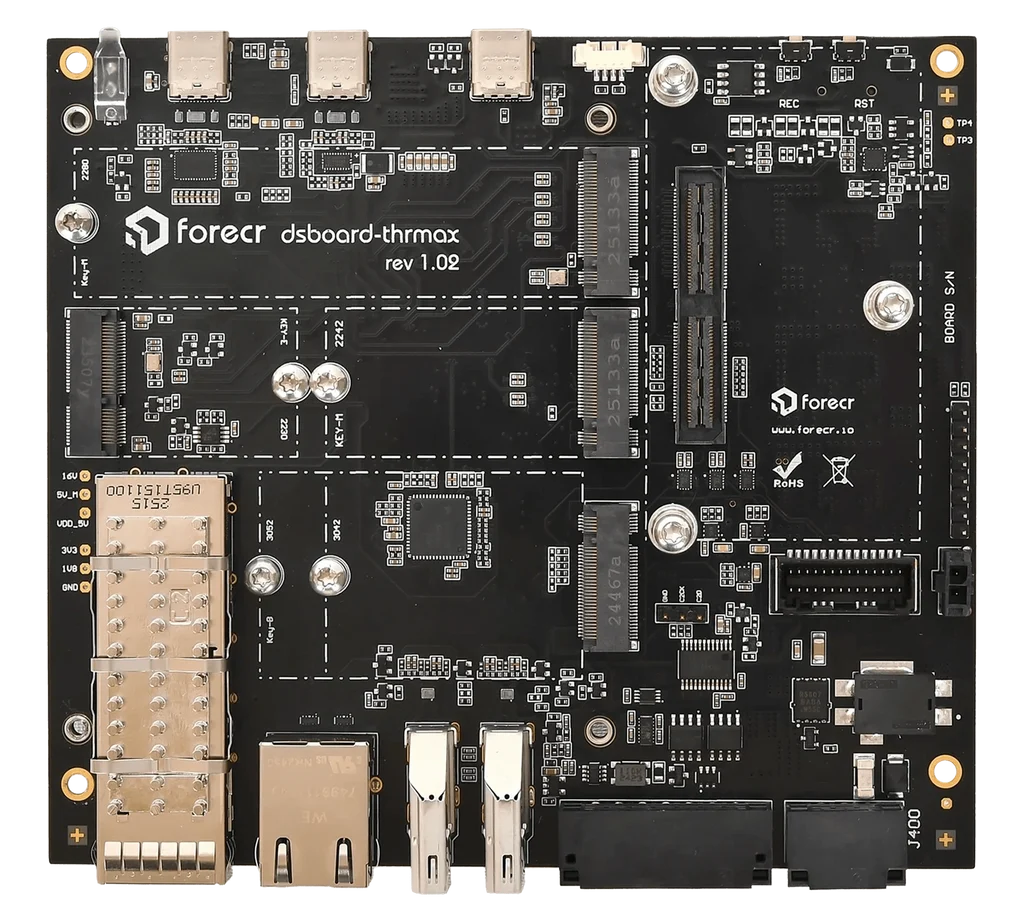
To build yocto for thormax-t5000 you need to type the below command:
$ ./build_bitbake.sh forecr-dsboard-thrmax-t5000 core-image-weston
Our script usage is like the following:
./build_bitbake.sh [-y] [-h] [bitbake-target]
Note: Here, its important to add core-image-weston since a lot of the things we do include an display, thats why we are selecting weston. build_bitbake.sh -y will install missing host build dependencies for you non-interactively. Omit -y if you'd rather review and approve each package yourself.
Here is an example log screen you will get:
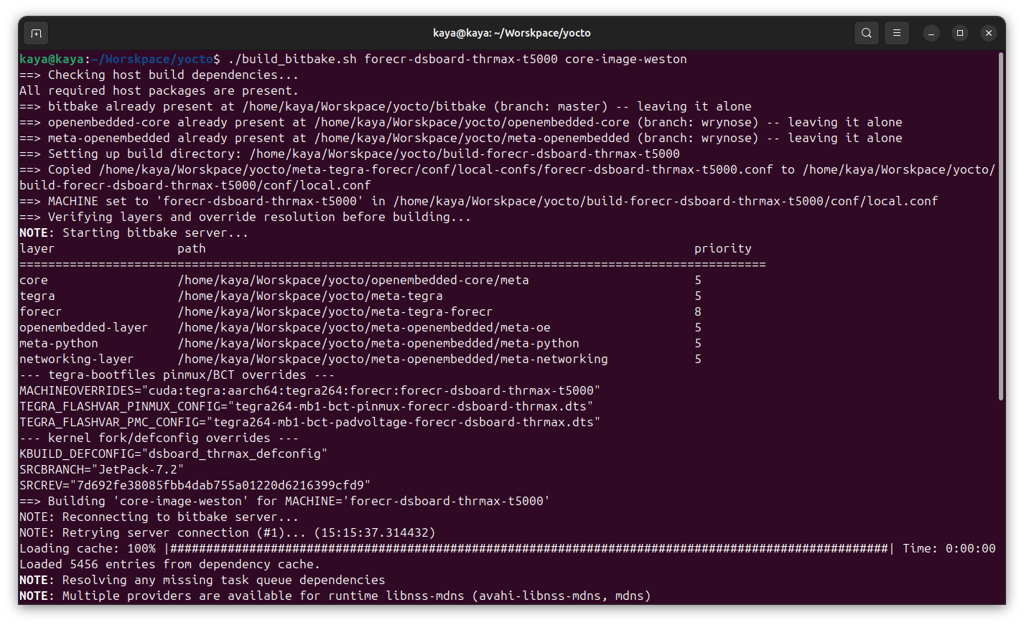
And once it finish building you will see a log similar to this:
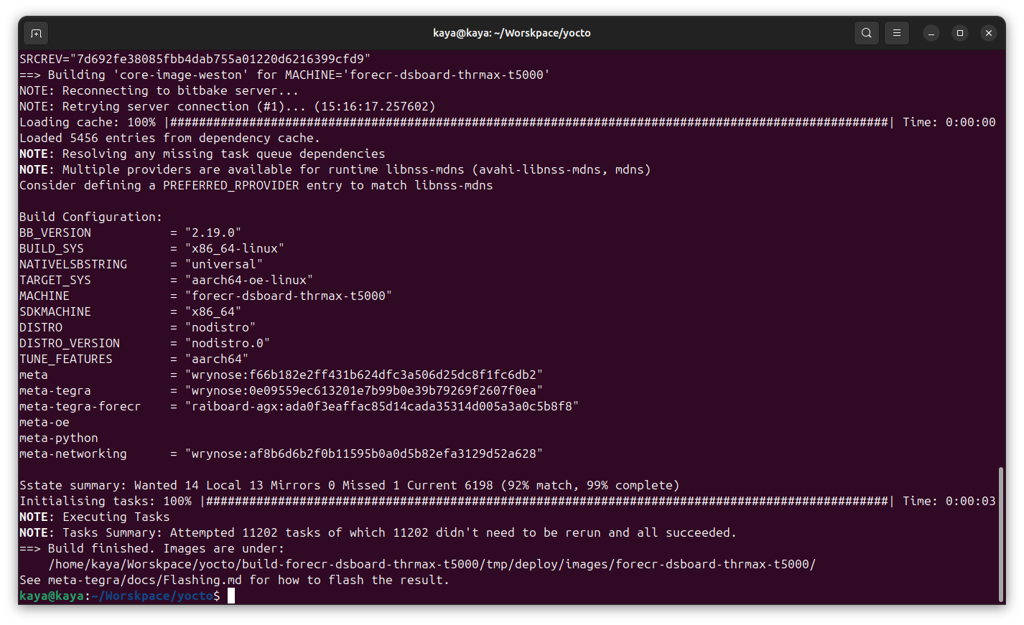
It will create this directory once the command gets executed:
THRMAX-T4000
To build yocto for thormax-t4000 you need to type the below command:
$ ./build_bitbake.sh forecr-dsboard-thrmax-t4000 core-image-weston
Our script usage is like the following:
./build_bitbake.sh [-y] [-h] [bitbake-target]
Note: Here, its important to add core-image-weston since a lot of the things we do include an display, thats why we are selecting weston. build_bitbake.sh -y will install missing host build dependencies for you non-interactively. Omit -y if you'd rather review and approve each package yourself.
Here is an example log screen you will get:
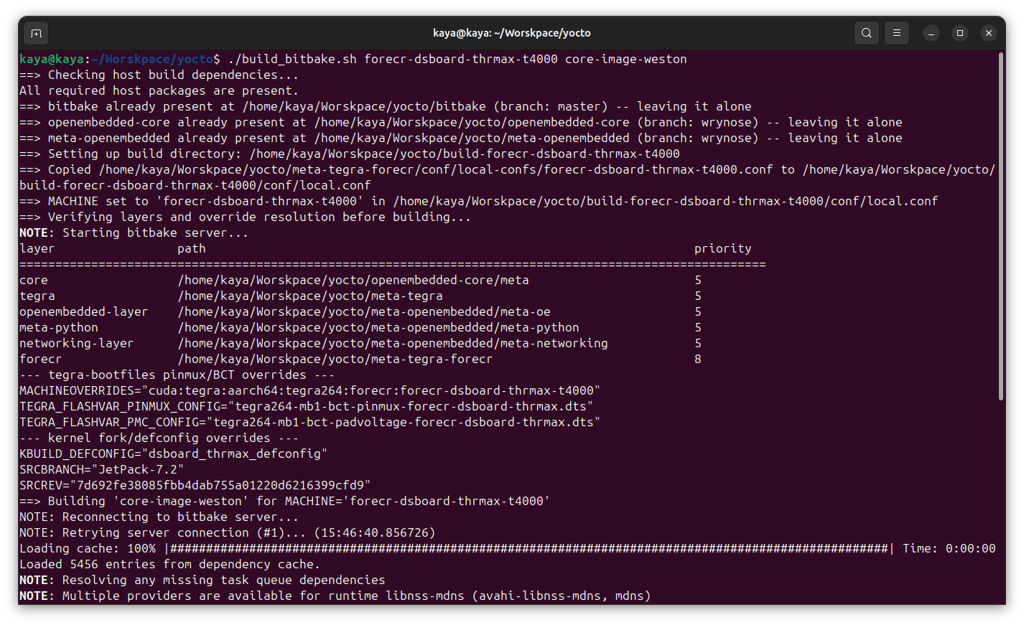
And once it finish building you will see a log similar to this:
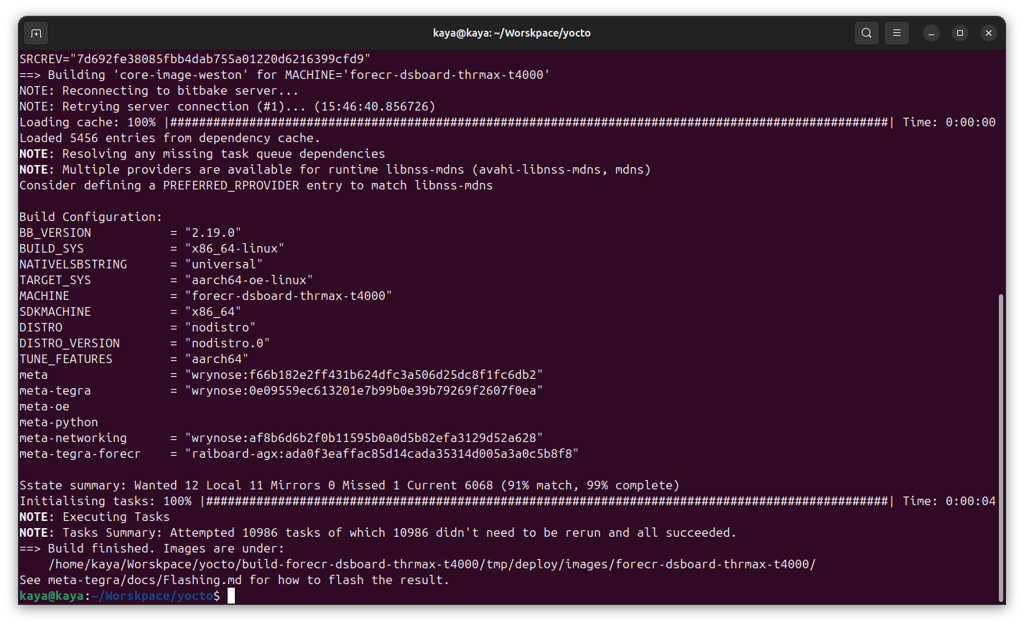
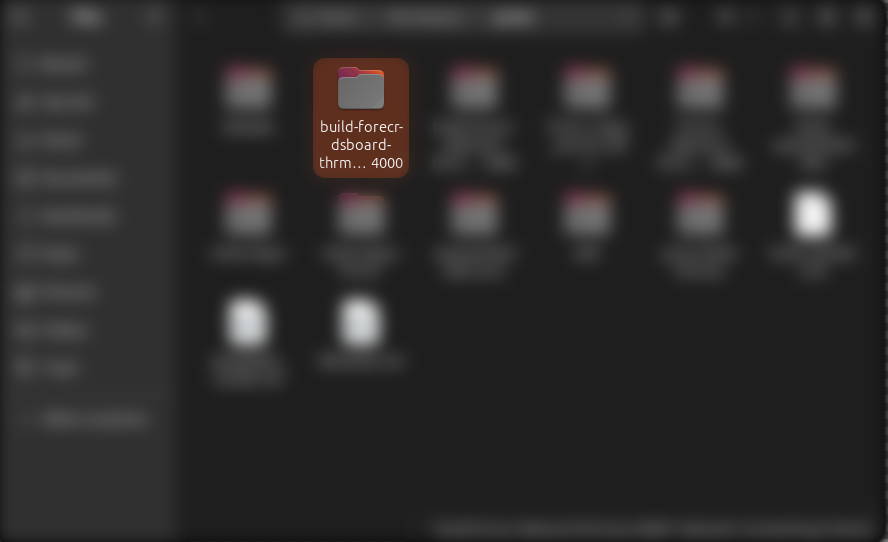
It will create this directory once the command gets executed:
How to Flash for Your Board
So you successfully build for your desired board. Now we need to flash your compiled build to the board.
In order to do that we start with making a fresh folder.
$ cd ${PATH_TO_WORKSPACE_FOLDER}/yocto_forecr
$ mkdir forecr-flash
THORMAX-T5000
In order to flash thrmax-t5000, we need to copy the files first:
$ cd ${PATH_TO_WORKSPACE_FOLDER}/yocto_forecr/forecr-flash
$ cp ../build-forecr-dsboard-thrmax-t5000/tmp/deploy/images/forecr-dsboard-thrmax-t5000/core-image-weston-forecr-dsboard-thrmax-t5000.rootfs-*.tegraflash-tar.zst .
Then we need to extract the compressed file with following commands:
$ mkdir flash-thrmax-t5000
$ tar -xvf core-image-weston-forecr-dsboard-thrmax-t5000.rootfs-*.tegraflash-tar.zst -C flash-thrmax-t5000
Now put your board into recovery mode. While the board's power connector is plugged in, connect the reset and recovery pins to ground (GND) together, then remove the reset connection, then remove the recovery-to-GND connection about 3 seconds later.
Note: Exact reset/recovery button or pin layout can differ between DSBOARD-THRMAX and DSBOX-THRMAX — confirm against your board's own physical documentation.
Connect the board's recovery USB port to your host machine.
Note: For a stable connection, connect the board directly to your host PC's USB port — avoid USB hubs or docking stations.
Verify the board is detected on your host machine:
$ lsusb
You should see an entry like 0955:7026 NVidia Corp. for a T5000 module.
$ cd flash-thrmax-t5000
$ sudo ./initrd-flash
Once you execute it, you will get a log from the terminal like below:
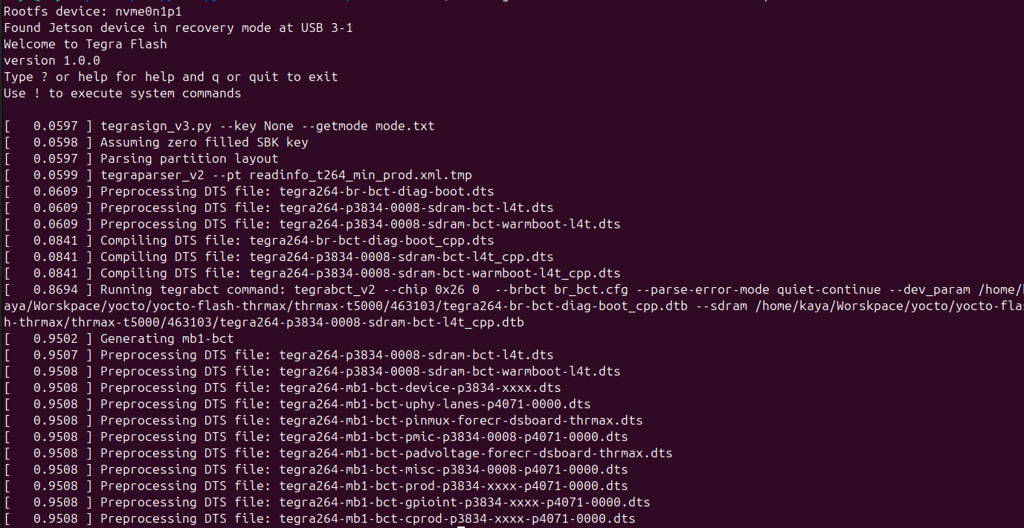
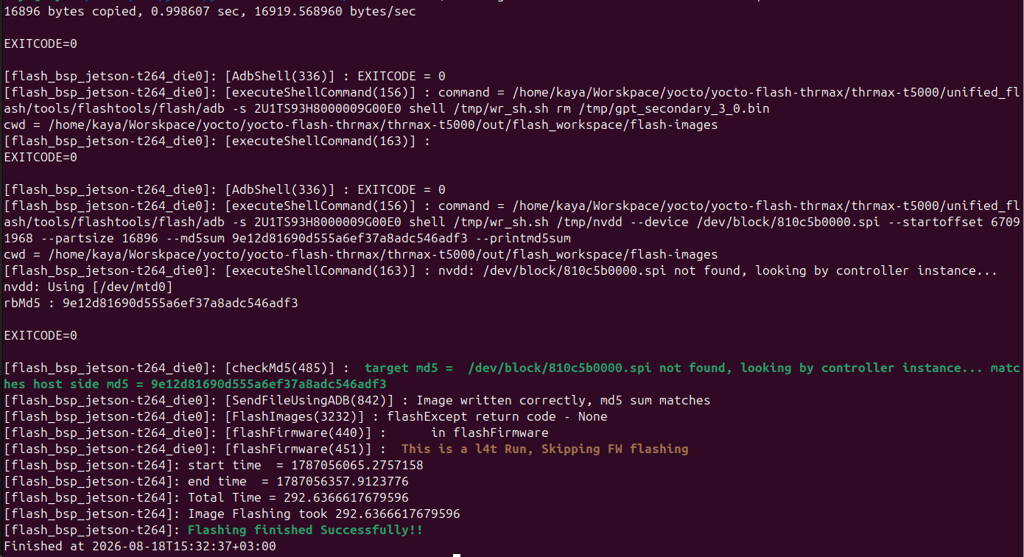
If everything goes correctly you should see a Flashing finished Successfully!! message in the terminal like below.
THORMAX-T4000
In order to flash thrmax-t4000, we need to copy the files first:
$ cd ${PATH_TO_WORKSPACE_FOLDER}/yocto_forecr/forecr-flash
$ cp ../build-forecr-dsboard-thrmax-t4000/tmp/deploy/images/forecr-dsboard-thrmax-t4000/core-image-weston-forecr-dsboard-thrmax-t4000.rootfs-*.tegraflash-tar.zst .
Then we need to extract the compressed file with following commands:
$ mkdir flash-thrmax-t4000
$ tar -xvf core-image-weston-forecr-dsboard-thrmax-t4000.rootfs-*.tegraflash-tar.zst -C flash-thrmax-t4000
Now put your board into recovery mode. While the board's power connector is plugged in, connect the reset and recovery pins to ground (GND) together, then remove the reset connection, then remove the recovery-to-GND connection about 3 seconds later.
Note: Exact reset/recovery button or pin layout can differ between DSBOARD-THRMAX and DSBOX-THRMAX — confirm against your board's own physical documentation.
Connect the board's recovery USB port to your host machine.
Note: For a stable connection, connect the board directly to your host PC's USB port — avoid USB hubs or docking stations.
Verify the board is detected on your host machine:
$ lsusb
You should see an entry like 0955:7226 NVidia Corp. for a T4000 module.
$ cd flash-thrmax-t4000
$ sudo ./initrd-flash
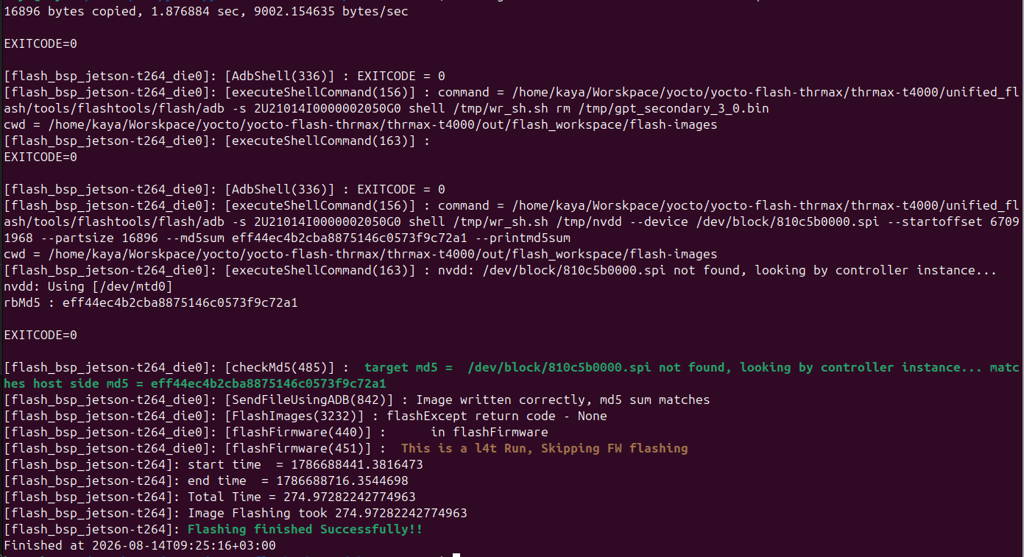
Once you execute it, you will get a log from the terminal like below:
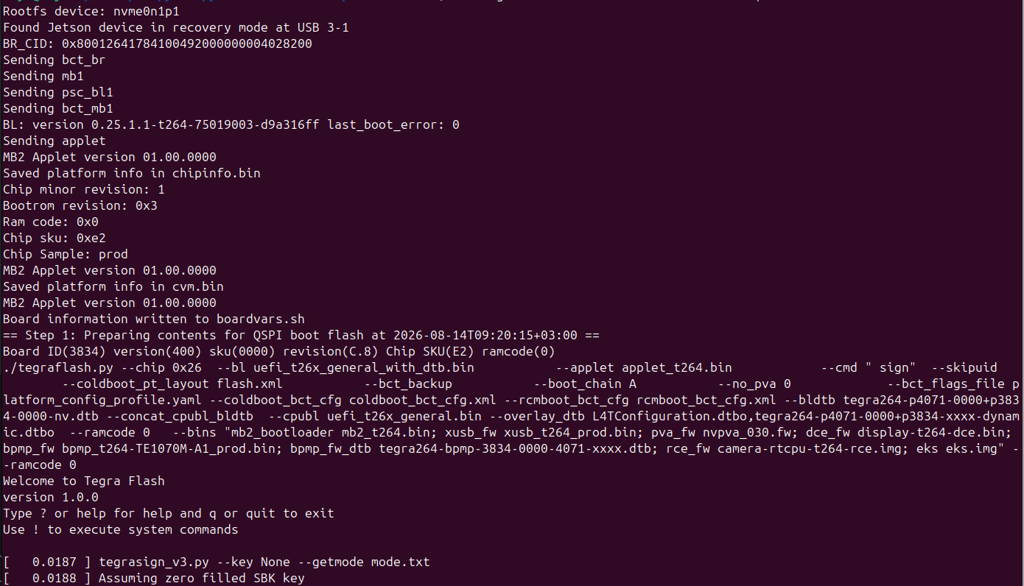
If everything goes correctly you should see a Flashing finished Successfully!! message in the terminal like below.
Logging In
These images ship with passwordless root for development convenience — no default password is set.
- Serial console: connect to the board's debug UART and log in as root with no password.
- SSH: once the board is on your network, ssh root@
— no password prompt.
Note: Passwordless root is meant for development/bring-up. Revisit this before deploying anything resembling a production image.
Troubleshooting
Flashing hangs / board never comes up (OP-TEE)
Symptom: during flashing, the board hangs indefinitely right after the secure OS loads — the serial console shows repeated Stage-2 page fault / Injecting Data Abort exception messages, and USB/ADB never comes up for the flash tool to continue.
Cause: meta-tegra's default configuration source-builds OP-TEE from scratch (USE_PREBUILT_OPTEE=0), which has a known init bug on this hardware that prevents it from ever handing control back to the kernel.
Fix: This is already set correctly in the local.conf this guide's build produces (USE_PREBUILT_OPTEE=1, using NVIDIA's prebuilt secure-OS binary instead). If you're customizing your own local.conf from scratch, make sure this stays set — otherwise you'll hit this hang.
